WebGPU / TSL
WebGPU は、GPU上でグラフィックスをレンダリングし計算を行うための低レベルAPIを提供する新しいWeb標準です。WebGLの後継として設計されており、より良いパフォーマンスと高度な機能を提供します。
素晴らしいニュースとして、今やThree.jsでそれをコードベースに最小限の変更を加えるだけで使用可能です。
このレッスンでは、WebGPUをThree.jsとReact Three Fiberで使用する方法と、新しい**Three Shading Language (TSL)**を使用してシェーダーを書く方法を探ります。
シェーダーに不慣れな場合は、まずShaders章を完了してからこちらに進むことをお勧めします。
WebGPU Renderer
WebGLの代わりにWebGPU APIを使用するためには、WebGLRendererの代わりにWebGPURendererを使用する必要があります(Three.jsのドキュメントにはまだ専用のセクションはありません)。
React Three Fiberでは、<Canvas>コンポーネントを作成するときにレンダラーのセットアップが自動で行われます。ただし、<Canvas>コンポーネントのglプロップに関数を渡すことでデフォルトのレンダラーをオーバーライドできます。
App.jsxでは、デフォルトのWebGLRendererを使用する<Canvas>コンポーネントがあります。これをWebGPURendererを使用するように変更しましょう。
最初に、WebGPURendererが準備完了するまでframeloopを停止する必要があります。これを行うために、frameloopプロップをneverに設定します。
// ... import { useState } from "react"; function App() { const [frameloop, setFrameloop] = useState("never"); return ( <> {/* ... */} <Canvas // ... frameloop={frameloop} > {/* ... */} </Canvas> </> ); } export default App;
次に、Three.jsのWebGPUバージョンをインポートします:
import * as THREE from "three/webgpu";
WebGPUを使用する場合、
three/webgpuモジュールを使用する必要があります。これは、WebGPURendererがThree.jsのデフォルトビルドに含まれていないためです。
次に、glプロップを使用して新しいWebGPURendererインスタンスを作成します:
// ... function App() { const [frameloop, setFrameloop] = useState("never"); return ( <> {/* ... */} <Canvas // ... gl={(canvas) => { const renderer = new THREE.WebGPURenderer({ canvas, powerPreference: "high-performance", antialias: true, alpha: false, stencil: false, shadowMap: true, }); renderer.init().then(() => { setFrameloop("always"); }); return renderer; }} > {/* ... */} </Canvas> </> ); } // ...
新しいWebGPURendererインスタンスを作成し、それにcanvas要素を渡します。レンダラーのオプションとして、powerPreference、antialias、alpha、stencil、shadowMapを設定しています。これらのオプションはWebGLRendererで使用されるものと似ています。
最後に、レンダラーのinit()メソッドを呼び出し初期化します。初期化が完了すると、frameloopのステートを"always"に設定してレンダリングを開始します。
ブラウザで結果を確認してみましょう:
私たちのキューブは、WebGLRendererの代わりにWebGPURendererを使用してレンダリングされています。
これで完了です!私たちはReact Three FiberアプリケーションでWebGPURendererを正常にセットアップしました。これで、WebGLRendererを使うのと同じように、Three.jsのAPIを使って3Dオブジェクトを作成し操作できます。
最大の変更点はシェーダーの記述方法です。WebGPU APIはWebGLとは異なるシェーディング言語を使用するため、シェーダーを異なる方法で書く必要があります。 WGSLで書くのです。
ここで**Three Shading Language (TSL)**が登場します。
Three Shading Language
TSL は、Three.js と共に使用するために設計された新しいシェーディング言語で、ノードベースのアプローチを使用してよりユーザーフレンドリーに シェーダー を記述することができます。
TSL の大きな利点は、レンダラーに依存しないことです。つまり、WebGL や WebGPU など異なるレンダラーでも同じシェーダーを使用できます。
これにより、2つのシェーディング言語間の違いを心配することなく、シェーダーを記述および維持することが容易になります。
もし新しいレンダラーがリリースされた場合でも、TSL が対応している限り、同じシェーダーを変更することなく使用できるため、将来の発展にも対応しています。
Three Shading Language はまだ開発中ですが、最新の Three.js バージョンで既に利用可能です。それを学び、変更を追跡する最良の方法は、Three Shading Language wiki ページをチェックすることです。私はこれを使用してその使い方を学びました。
Node based materials
TSL でシェーダーを作成する方法を理解するためには、ノードベースの意味を理解する必要があります。
ノードベースのアプローチでは、異なるノードをつなげてグラフを作成し、それを用いてシェーダーを構築します。各ノードは特定の操作や関数を表し、ノード間のつながりはデータの流れを表します。
このアプローチには多くの利点があります。
- ビジュアル表現: シェーダーのデータと操作の流れを理解し視覚化するのが簡単です。
- 再利用性: 異なるシェーダーで使用できる再利用可能なノードを作成できます。
- 柔軟性: ノードを追加・削除することでシェーダーの挙動を簡単に変更できます。
- 拡張性: 既存の素材から機能を追加/カスタマイズすることが簡単です。
- アグノスティック: TSL はターゲットレンダラーに適したコードを生成します。例えば WebGL (GLSL) や WebGPU (WGSL) です。
最初の ノードベースのマテリアル をコーディングする前に、オンラインの Three.js playground を使用して、node-system を視覚的に実験することができます。
Three.js playground を開き、上部の Examples ボタンをクリックし、basic > fresnel を選びます。
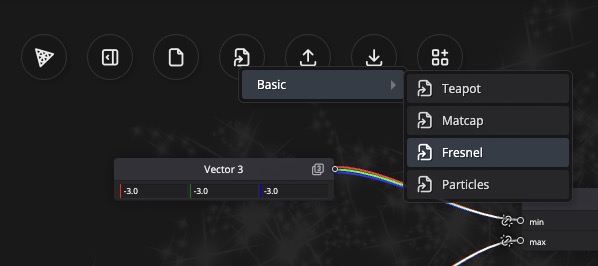
color ノード2つと float ノードが fresnel ノードに接続されたノードベースのマテリアルエディターが表示されます。(Color A、Color B、および Fresnel Factor)
fresnel ノードは Basic Material の色に接続されており、ティーポットをフレネル効果で彩ります。
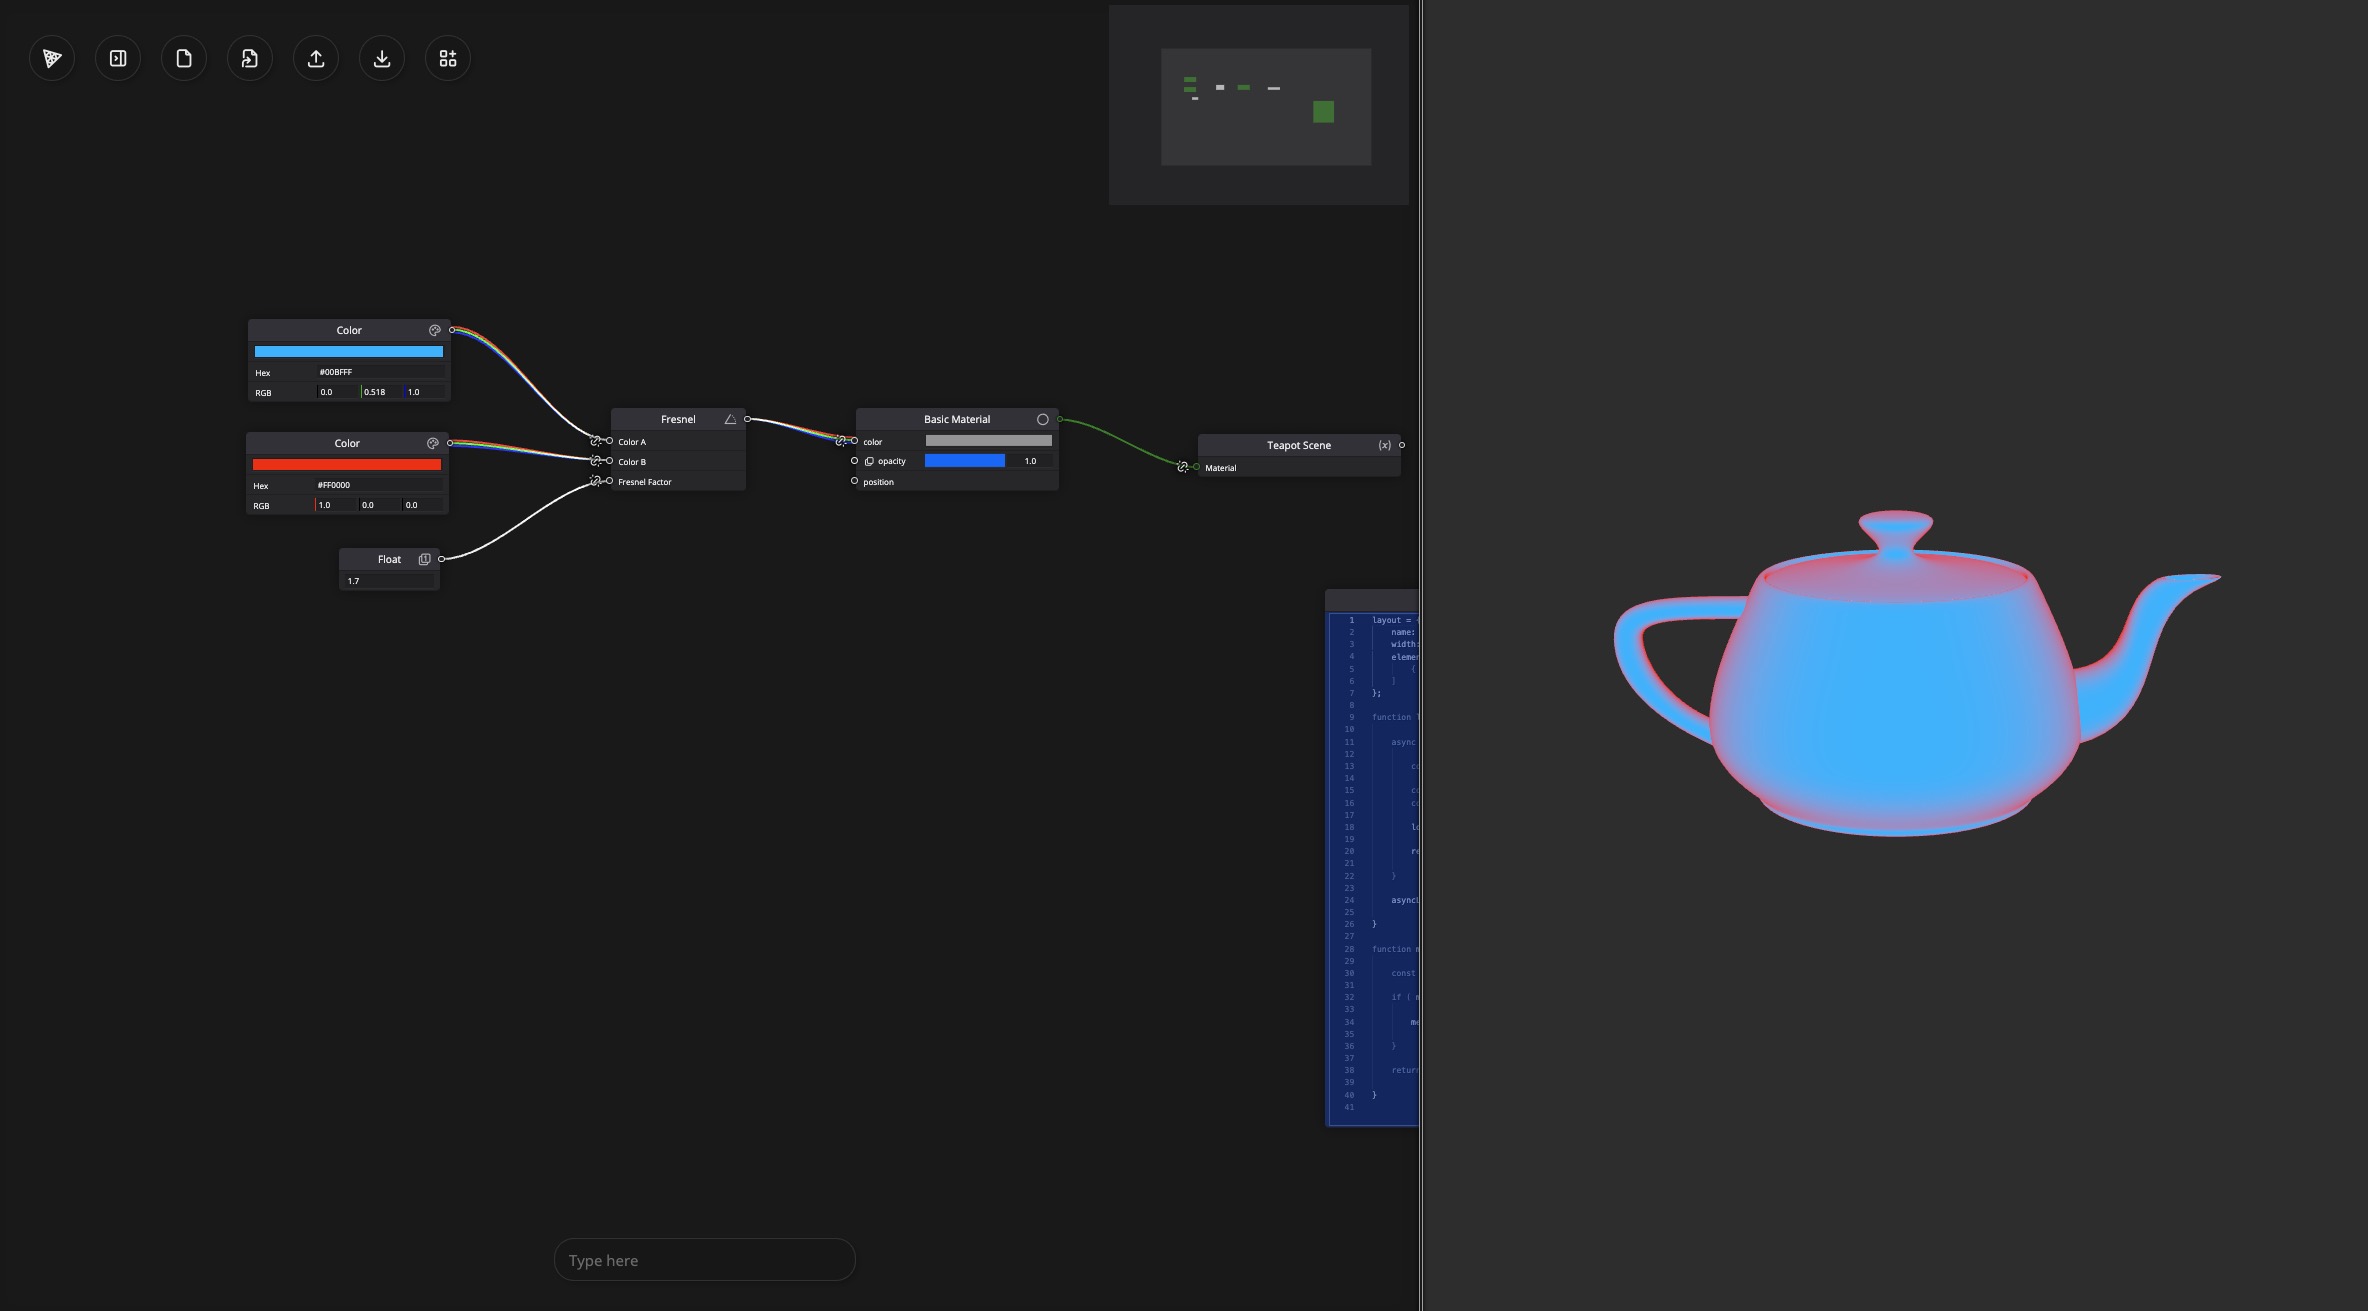
Splitscreen ボタンを使用して右側で結果をプレビューします。
Basic Material の透明度を時間に基づいて変化させたいとします。Timer ノードを追加し、Fract ノードに接続して、時間が1に達したときに0にリセットします。それを Basic Material の opacity 入力に接続します。
私たちのティーポットはフェードインしてから消え、再びフェードインするようになりました。
異なるノードを試し、それらがマテリアルにどのように影響するか確認する時間を取ってください。
ノードベースのマテリアル の基本的な理解を得たので、React Three Fiber で新しい ノードベースのマテリアル を使用する方法を見てみましょう。
React Three Fiberの実装
これまで、WebGLでは、MeshBasicMaterial、MeshStandardMaterial、あるいはカスタムのShaderMaterialを使用してマテリアルを作成していました。
WebGPUを使用する際には、TSLと互換性のある新しいマテリアルを使用する必要があります。これらの名前は、Materialの前にNodeを付けた、これまで使用していたものと同じです。
MeshBasicMaterial->MeshBasicNodeMaterialMeshStandardMaterial->MeshStandardNodeMaterialMeshPhysicalMaterial->MeshPhysicalNodeMaterial- ...
これらをReact Three Fiberで宣言的に使用するには、extendする必要があります。App.jsx内で次のようにします。
// ... import { extend } from "@react-three/fiber"; extend({ MeshBasicNodeMaterial: THREE.MeshBasicNodeMaterial, MeshStandardNodeMaterial: THREE.MeshStandardNodeMaterial, }); // ...
将来的なバージョンのReact Three Fiberでは、この作業が自動的に行われるかもしれません。
これで新しいMeshBasicNodeMaterialとMeshStandardNodeMaterialをコンポーネント内で使用できるようになりました。
Experienceコンポーネント内のキューブのMeshStandardMaterialをMeshStandardNodeMaterialに置き換えてみましょう。
<mesh> <boxGeometry args={[1, 1, 1]} /> <meshStandardNodeMaterial color="pink" /> </mesh>
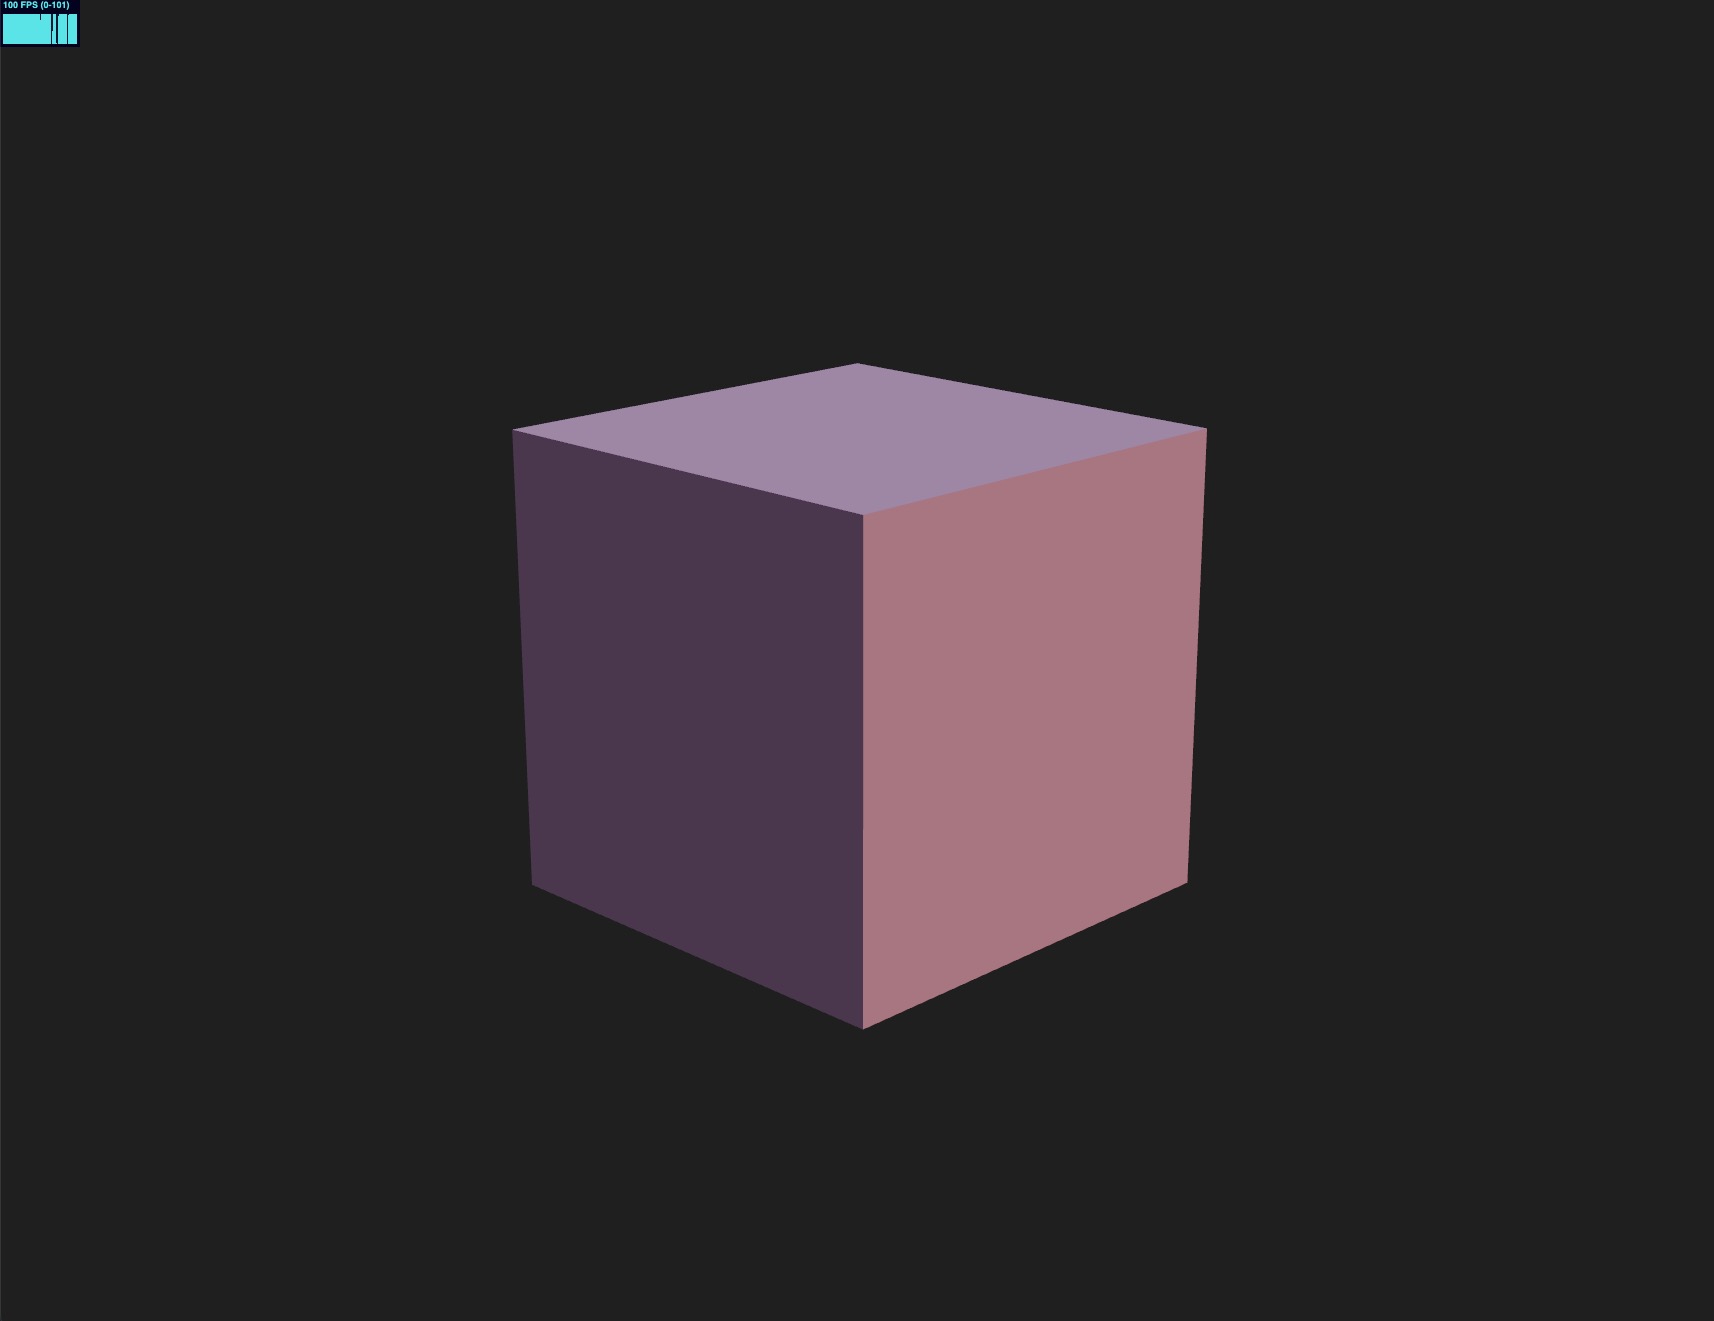
MeshStandardNodeMaterialは、MeshStandardMaterialと同じように使用できます。
これにより、キューブはMeshStandardMaterialの代わりにMeshStandardNodeMaterialに依存するようになりました。これで、ノードを使用してマテリアルをカスタマイズできます。
Color Node
TSLを使って独自のノードを作成し、マテリアルをカスタマイズする方法を学びましょう。
まず、src/componentsフォルダにPracticeNodeMaterial.jsxという新しいコンポーネントを作成します。
export const PracticeNodeMaterial = ({ colorA = "white", colorB = "orange", }) => { return <meshStandardNodeMaterial color={colorA} />; };
そして、Experience.jsxでキューブを平面に置き換え、PracticeNodeMaterialを使用します。
// ... import { PracticeNodeMaterial } from "./PracticeNodeMaterial"; export const Experience = () => { return ( <> {/* ... */} <mesh rotation-x={-Math.PI / 2}> <planeGeometry args={[2, 2, 200, 200]} /> <PracticeNodeMaterial /> </mesh> </> ); };
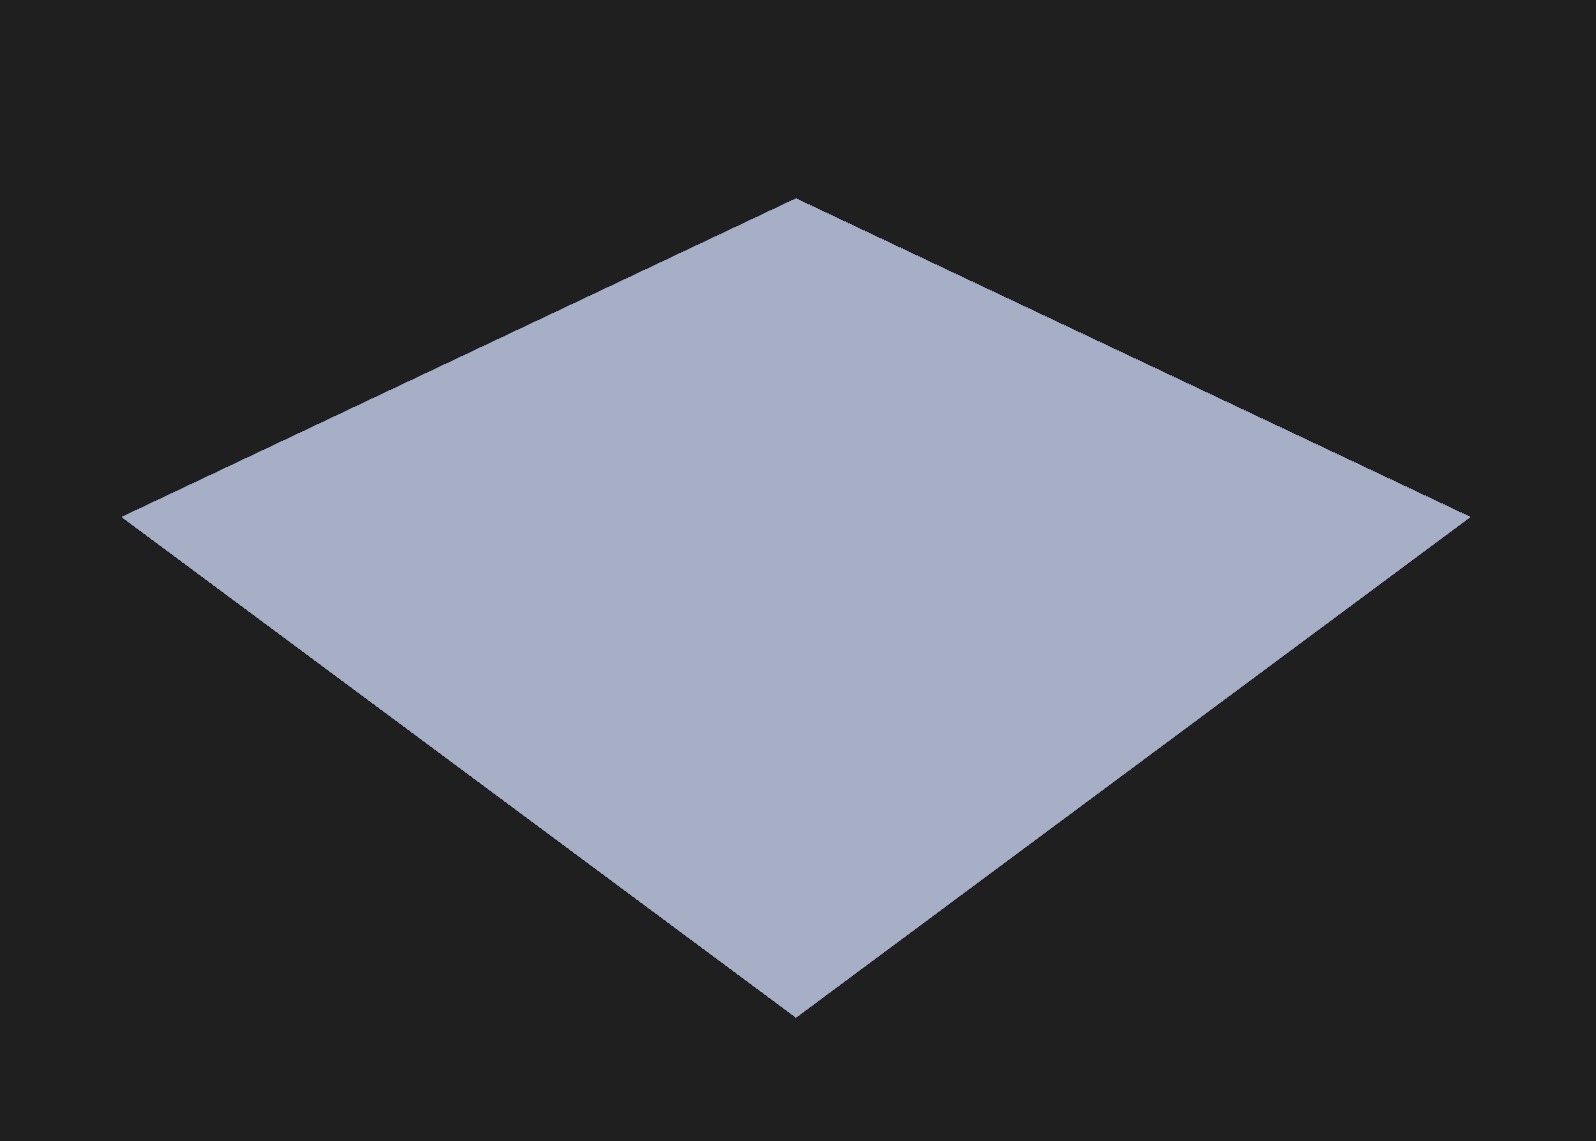
PracticeNodeMaterialを使った平面ができました。
マテリアルをカスタマイズするために、さまざまなノードを使用して変更できます。利用可能なノードのリストはwikiページにあります。
まず、colorNodeノードを使用してマテリアルの色を変更してみましょう。PracticeNodeMaterial.jsxで以下のようにします。
import { color } from "three/tsl"; export const PracticeNodeMaterial = ({ colorA = "white", colorB = "orange", }) => { return <meshStandardNodeMaterial colorNode={color(colorA)} />; };
three/tslモジュールからcolorノードを使ってcolorNodeプロップを設定します。colorノードは色を引数に取り、マテリアルで使用できる色ノードを返します。
これで以前と同じ結果が得られますが、さらにノードを追加してマテリアルをカスタマイズできます。
three/tslモジュールからmixとuvノードをインポートし、それらを使用して平面のUV座標に基づいて2つの色をミックスします。
import { color, mix, uv } from "three/tsl"; export const PracticeNodeMaterial = ({ colorA = "white", colorB = "orange", }) => { return ( <meshStandardNodeMaterial colorNode={mix(color(colorA), color(colorB), uv())} /> ); };
これは、マテリアルの最終的な色を得るために異なるノードを実行します。mixノードは2つの色と1つのファクター(この場合、UV座標)を取って、それに基づいて2つの色をミックスした色を返します。
GLSLでmix関数を使うのとまったく同じですが、ノードベースのアプローチを使うことで、より読みやすくなります。
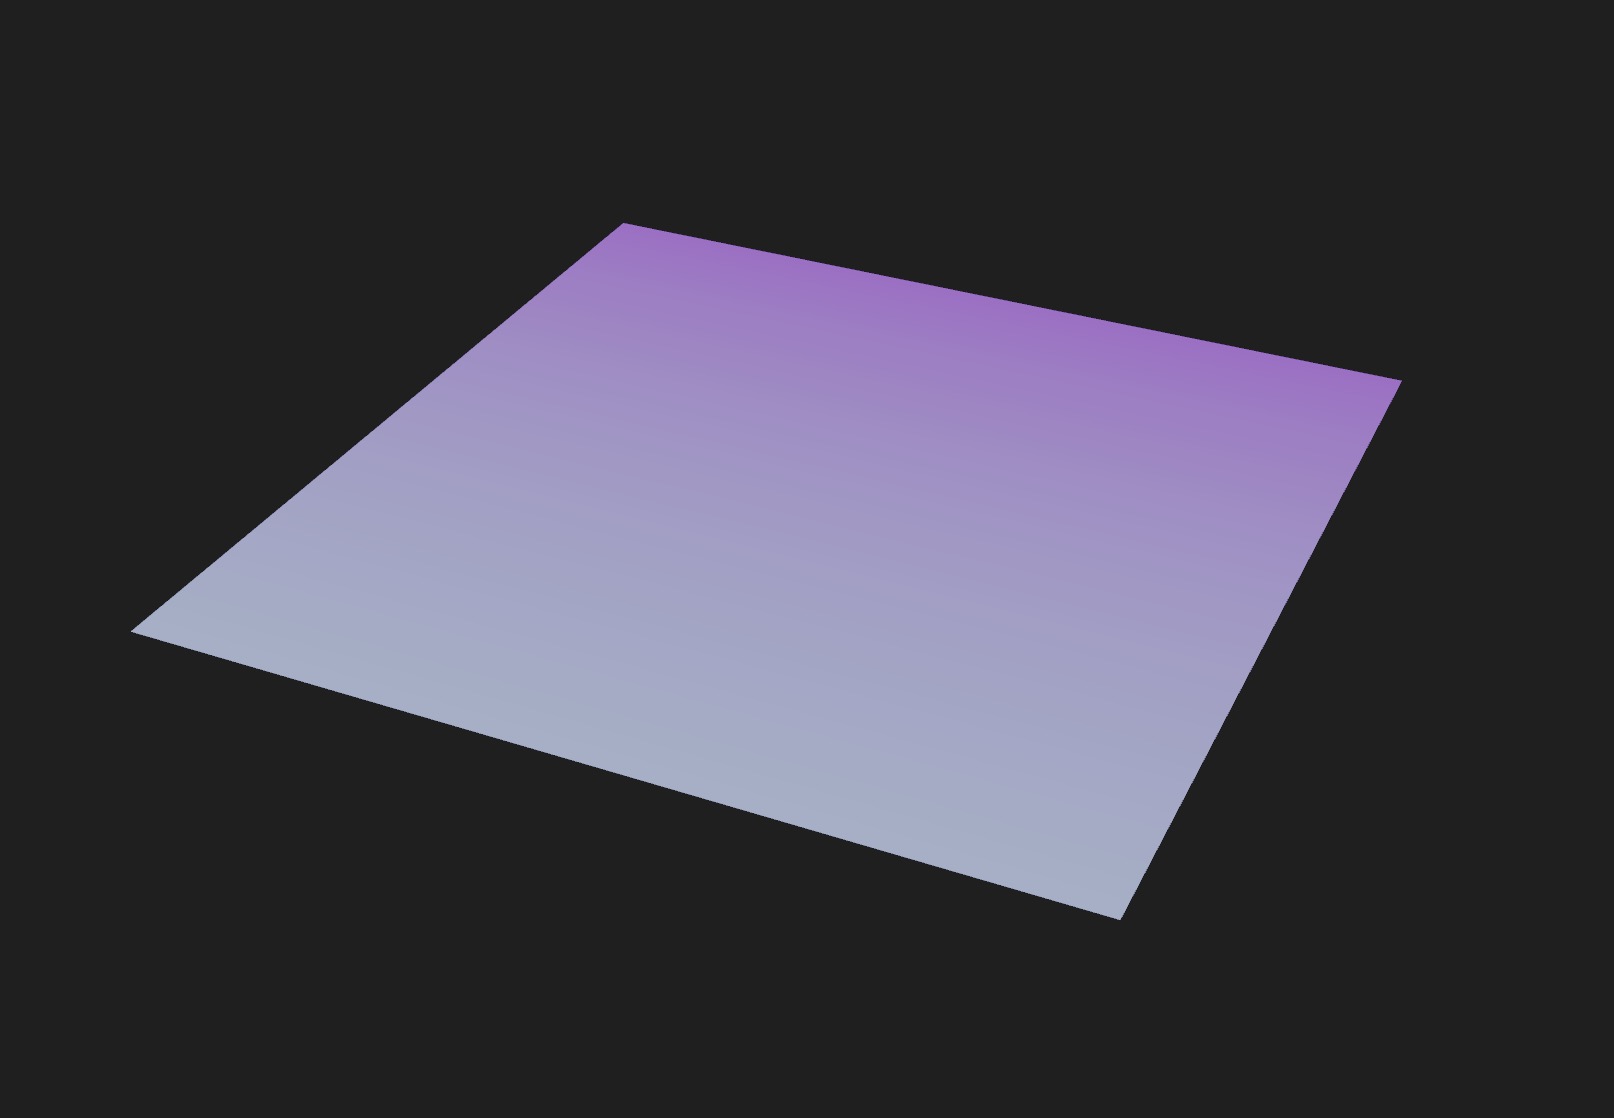
平面のUV座標に基づいて2つの色がミックスされているのが見えます。
素晴らしいのは、ゼロから始めるわけではないことです。既存のMeshStandardNodeMaterialを使用し、そこに独自のノードを追加しているだけなので、MeshStandardNodeMaterialのシャドウやライティング、その他の機能は依然として利用可能です。
非常にシンプルなノードロジックの場合、インラインノード宣言でも問題ありませんが、より複雑なロジックの場合、useMemoフックでノード(や後でユニフォームなど)を宣言することをお勧めします。
// ... import { useMemo } from "react"; export const PracticeNodeMaterial = ({ colorA = "white", colorB = "orange", }) => { const { nodes } = useMemo(() => { return { nodes: { colorNode: mix(color(colorA), color(colorB), uv()), }, }; }, []); return <meshStandardNodeMaterial {...nodes} />; };
これは以前と全く同じことをしますが、nodesオブジェクトにさらに多くのノードを追加し、より整理された汎用的な方法でmeshStandardNodeMaterialに渡すことができます。
colorAとcolorBのプロップを変更しても、useMemoフックのおかげでシェーダの再コンパイルは発生しません。
マテリアルの色を変更するコントロールを追加しましょう。Experience.jsxで以下のようにします。
// ... import { useControls } from "leva"; export const Experience = () => { const { colorA, colorB } = useControls({ colorA: { value: "skyblue" }, colorB: { value: "blueviolet" }, }); return ( <> {/* ... */} <mesh rotation-x={-Math.PI / 2}> <planeGeometry args={[2, 2, 200, 200]} /> <PracticeNodeMaterial colorA={colorA} colorB={colorB} /> </mesh> </> ); };
デフォルトの色は正しく動作していますが、色の更新が反映されていません。
これは、meshStandardNodeMaterialに色をuniformsとして渡す必要があるためです。
Uniforms
TSL で uniforms を宣言するには、three/tsl モジュールの uniform ノードを使用します。uniform ノードは値を引数として受け取り(float、vec3、vec4 などの異なるタイプが可能)、コンポーネントコードから更新される際に異なるノードで使用できる uniform ノードを返します。
PracticeNodeMaterial.jsx のハードコードされた色を uniforms に切り替えましょう:
// ... import { uniform } from "three/tsl"; export const PracticeNodeMaterial = ({ colorA = "white", colorB = "orange", }) => { const { nodes, uniforms } = useMemo(() => { const uniforms = { colorA: uniform(color(colorA)), colorB: uniform(color(colorB)), }; return { nodes: { colorNode: mix(uniforms.colorA, uniforms.colorB, uv()), }, uniforms, }; }, []); return <meshStandardNodeMaterial {...nodes} />; };
コードの整理のために uniforms オブジェクトを宣言し、ノード作成時に得たデフォルト値の代わりに uniform 値を使用します。
これらを useMemo で返すことによって、コンポーネントで uniforms にアクセスできるようになります。
useFrame の中で uniforms を更新できます:
// ... import { useFrame } from "@react-three/fiber"; export const PracticeNodeMaterial = ({ colorA = "white", colorB = "orange", }) => { // ... useFrame(() => { uniforms.colorA.value.set(colorA); uniforms.colorB.value.set(colorB); }); return <meshStandardNodeMaterial {...nodes} />; };
オブジェクトの uniform を更新するときは、
value.setメソッドを使用します。例えば、colorまたはvec3の uniforms です。floatの uniforms の場合、値を直接設定する必要があります:uniforms.opacity.value = opacity;
色がリアルタイムで正しく更新されています。
カラーに対する作業をもっと行う前に、positionNode を使用して平面の頂点の位置にどのように影響を与えるかを見てみましょう。
Position Node
positionNodeノードは、ジオメトリの頂点の位置に影響を与えることができます。
React Three Fiber: The Ultimate Guide to 3D Web Development
✨ You have reached the end of the preview ✨
Go to the next level with Three.js and React Three Fiber!
Get full access to this lesson and the complete course when you enroll:
- 🔓 Full lesson videos with no limits
- 💻 Access to the final source code
- 🎓 Course progress tracking & completion
- 💬 Invite to our private Discord community
One-time payment. Lifetime updates included.