パーティクル
パーティクルはシーンに生命を吹き込む素晴らしい方法です。雪、雨、火、煙、魔法のエフェクトなど、さまざまな方法で使用できます。霧、ほこり、火花などの雰囲気を演出するためによく使われます。
このレッスンでは、ThreejsとReact Three Fiberを使用して、星空と降雪効果を持つ夜の雪景色を作成するさまざまな方法を紹介します。
雪片が降り、星が空で輝く様子を見てみましょう。❄️✨
星
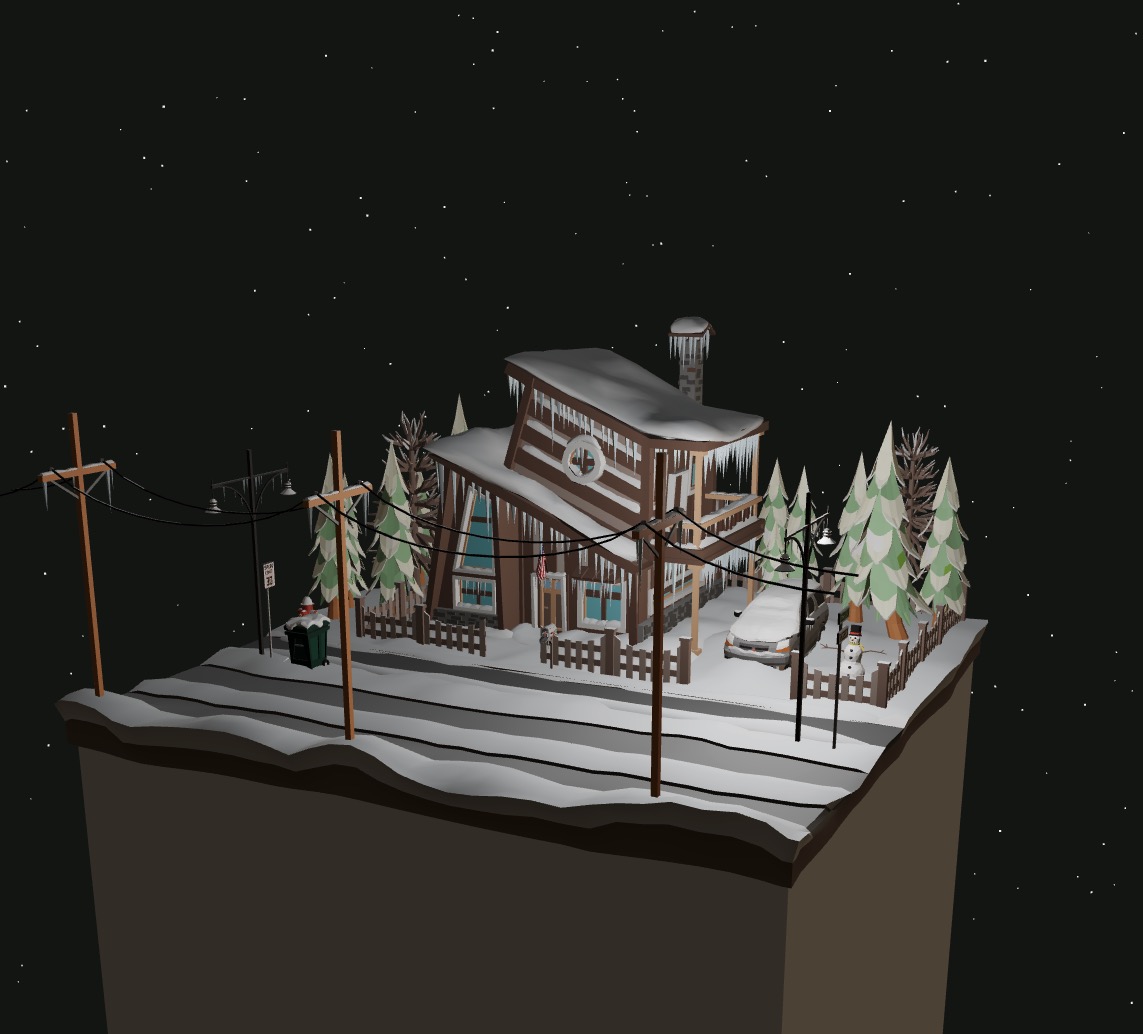
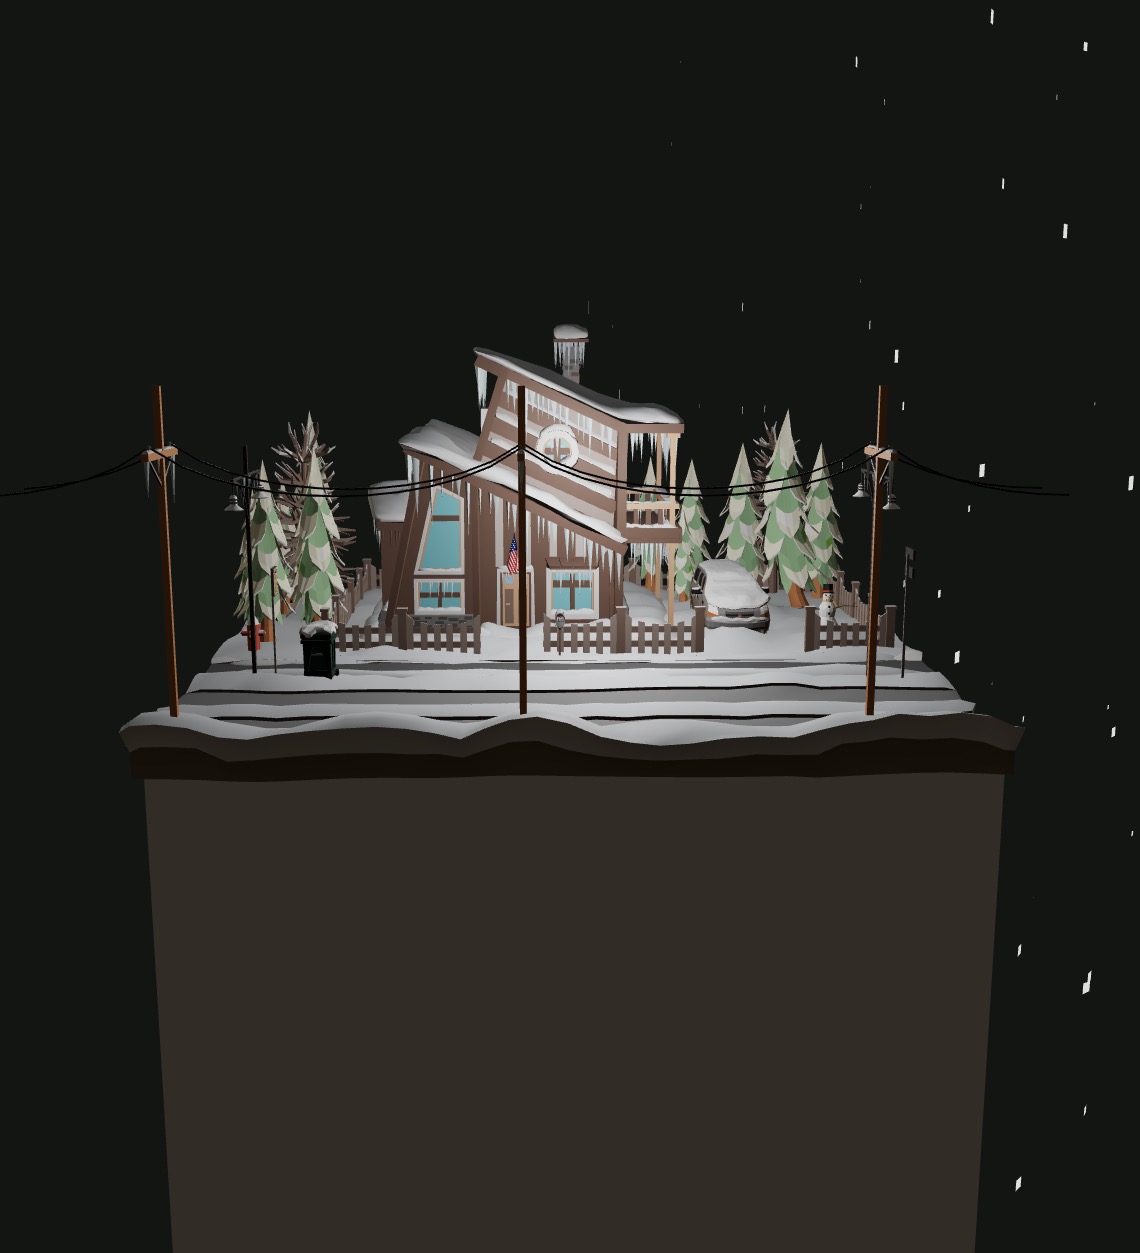
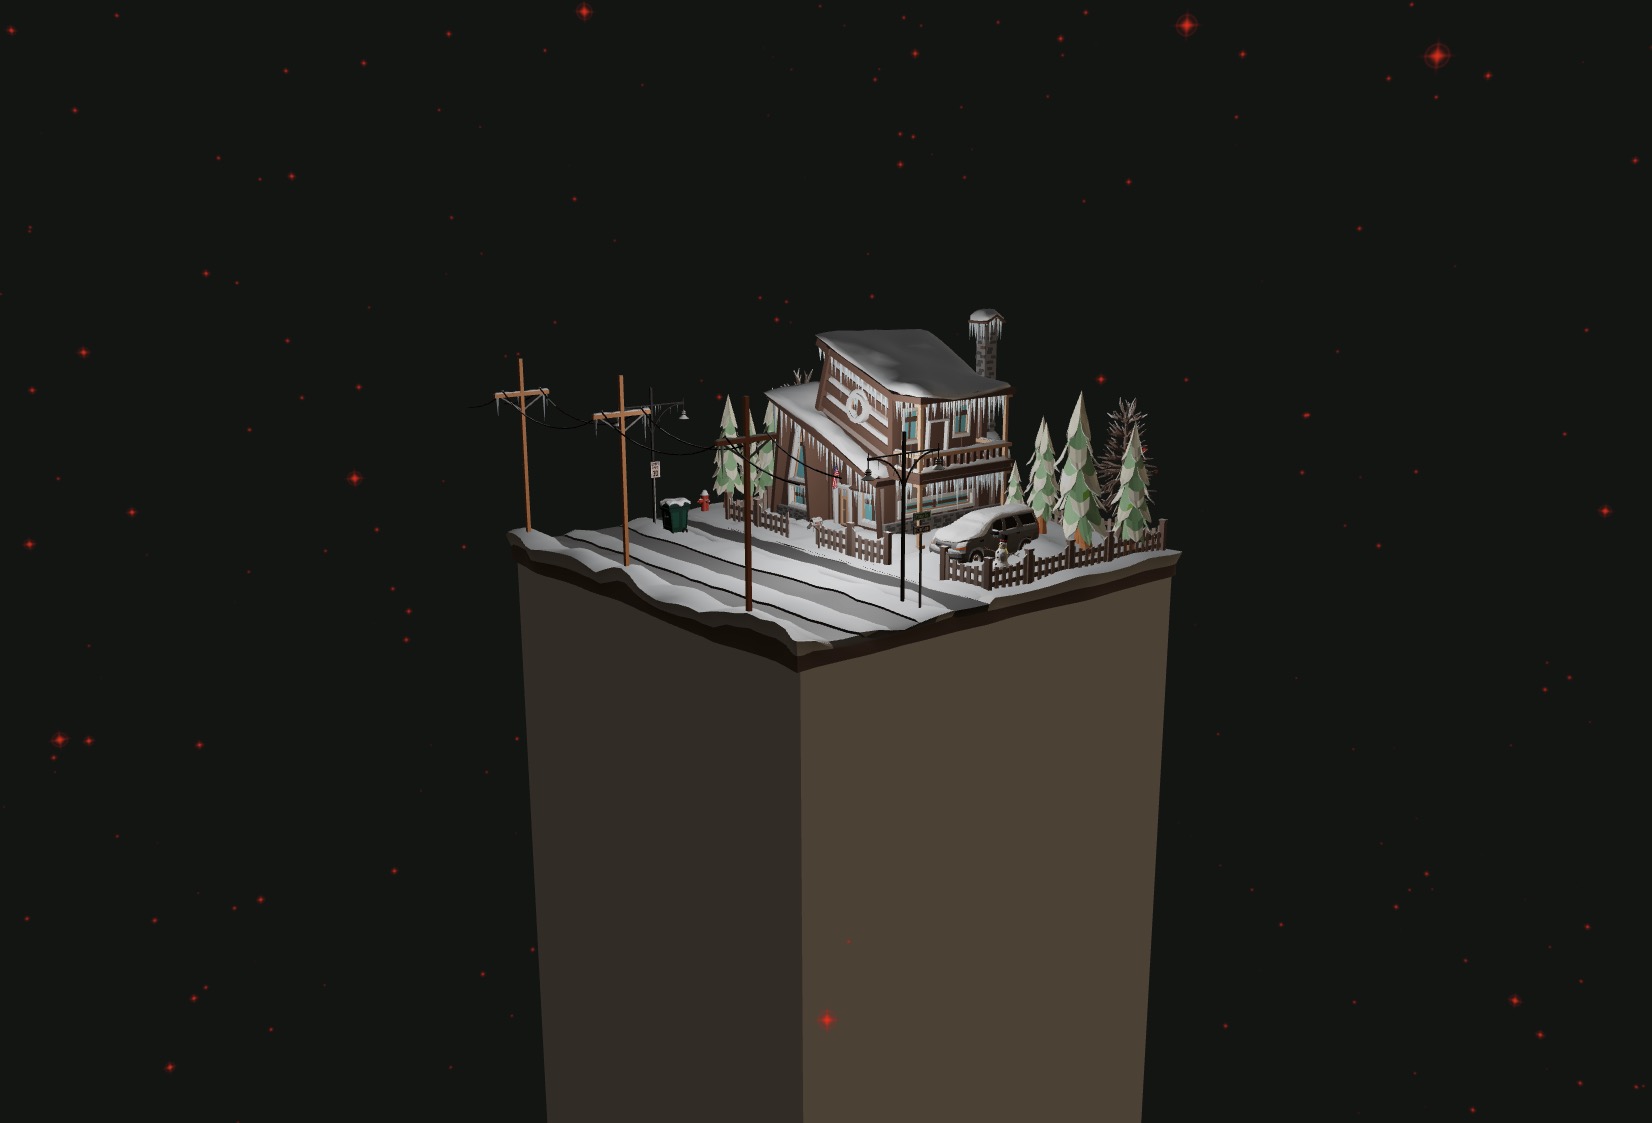
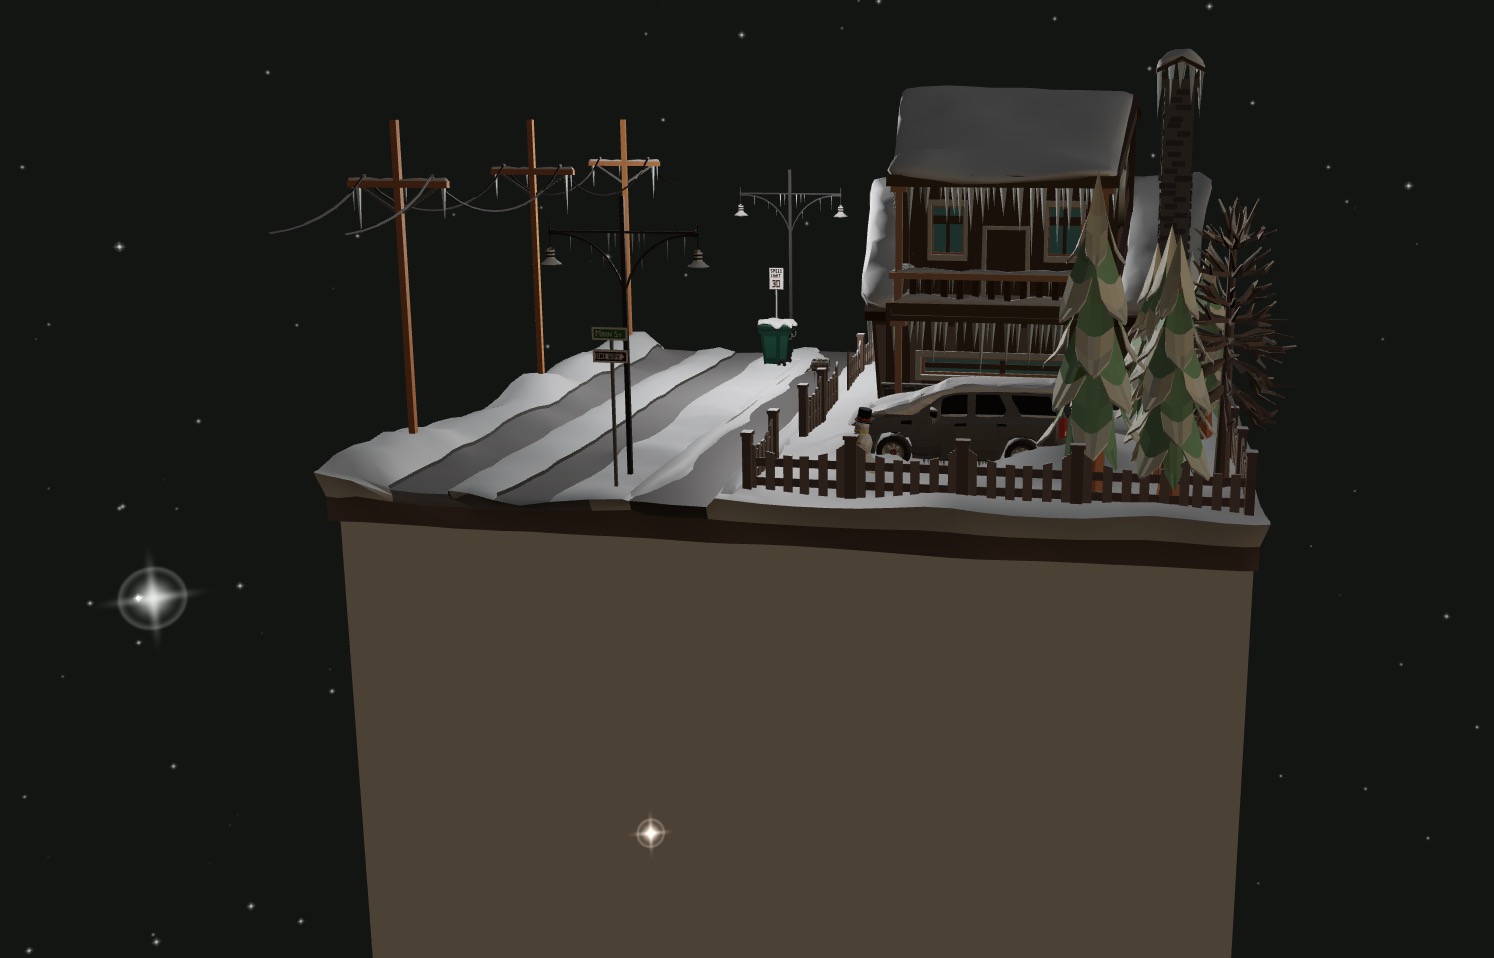
スターターコードには、EdwiixGGによるこの"Low Poly Winter Scene"がキューブの上に配置され、アニメーション化された光源があります。
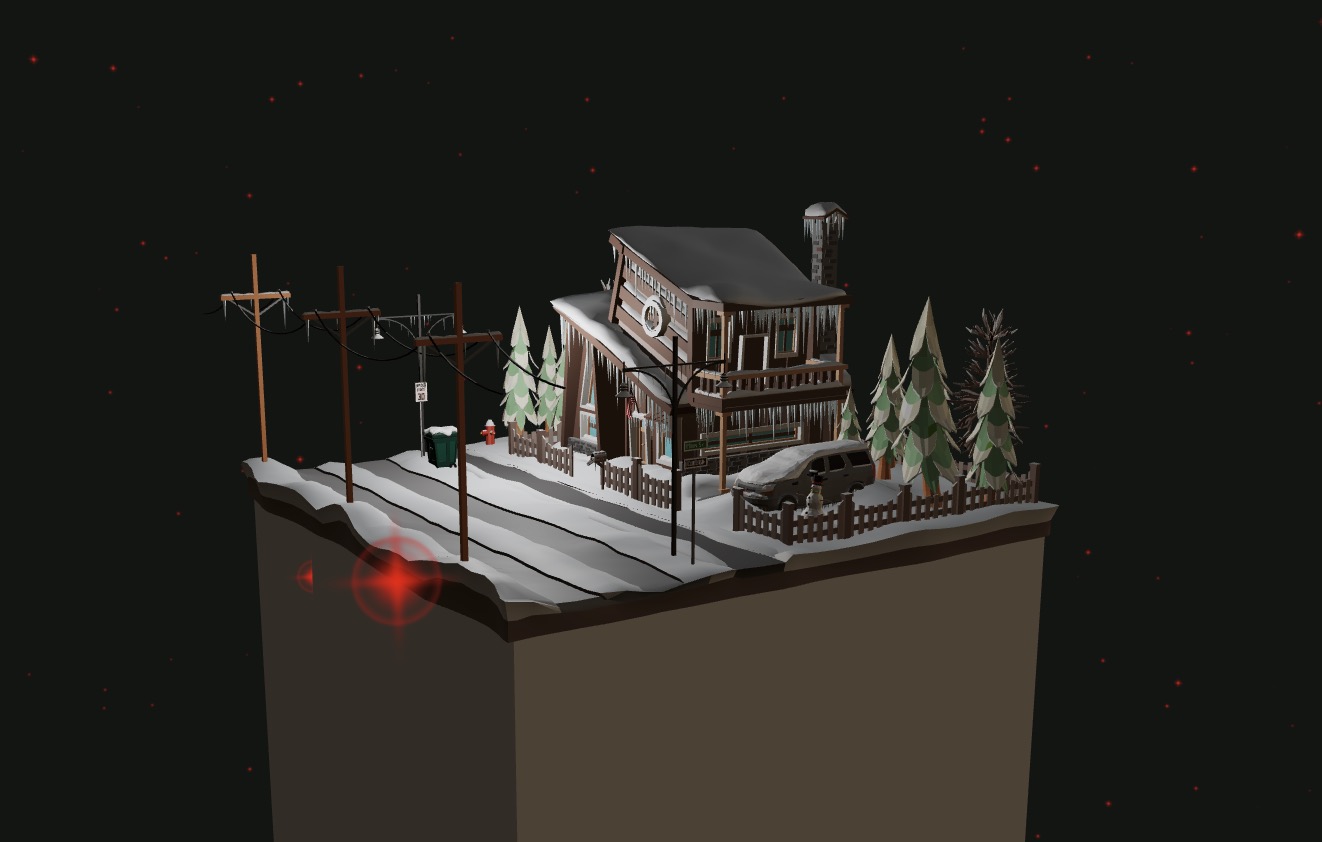
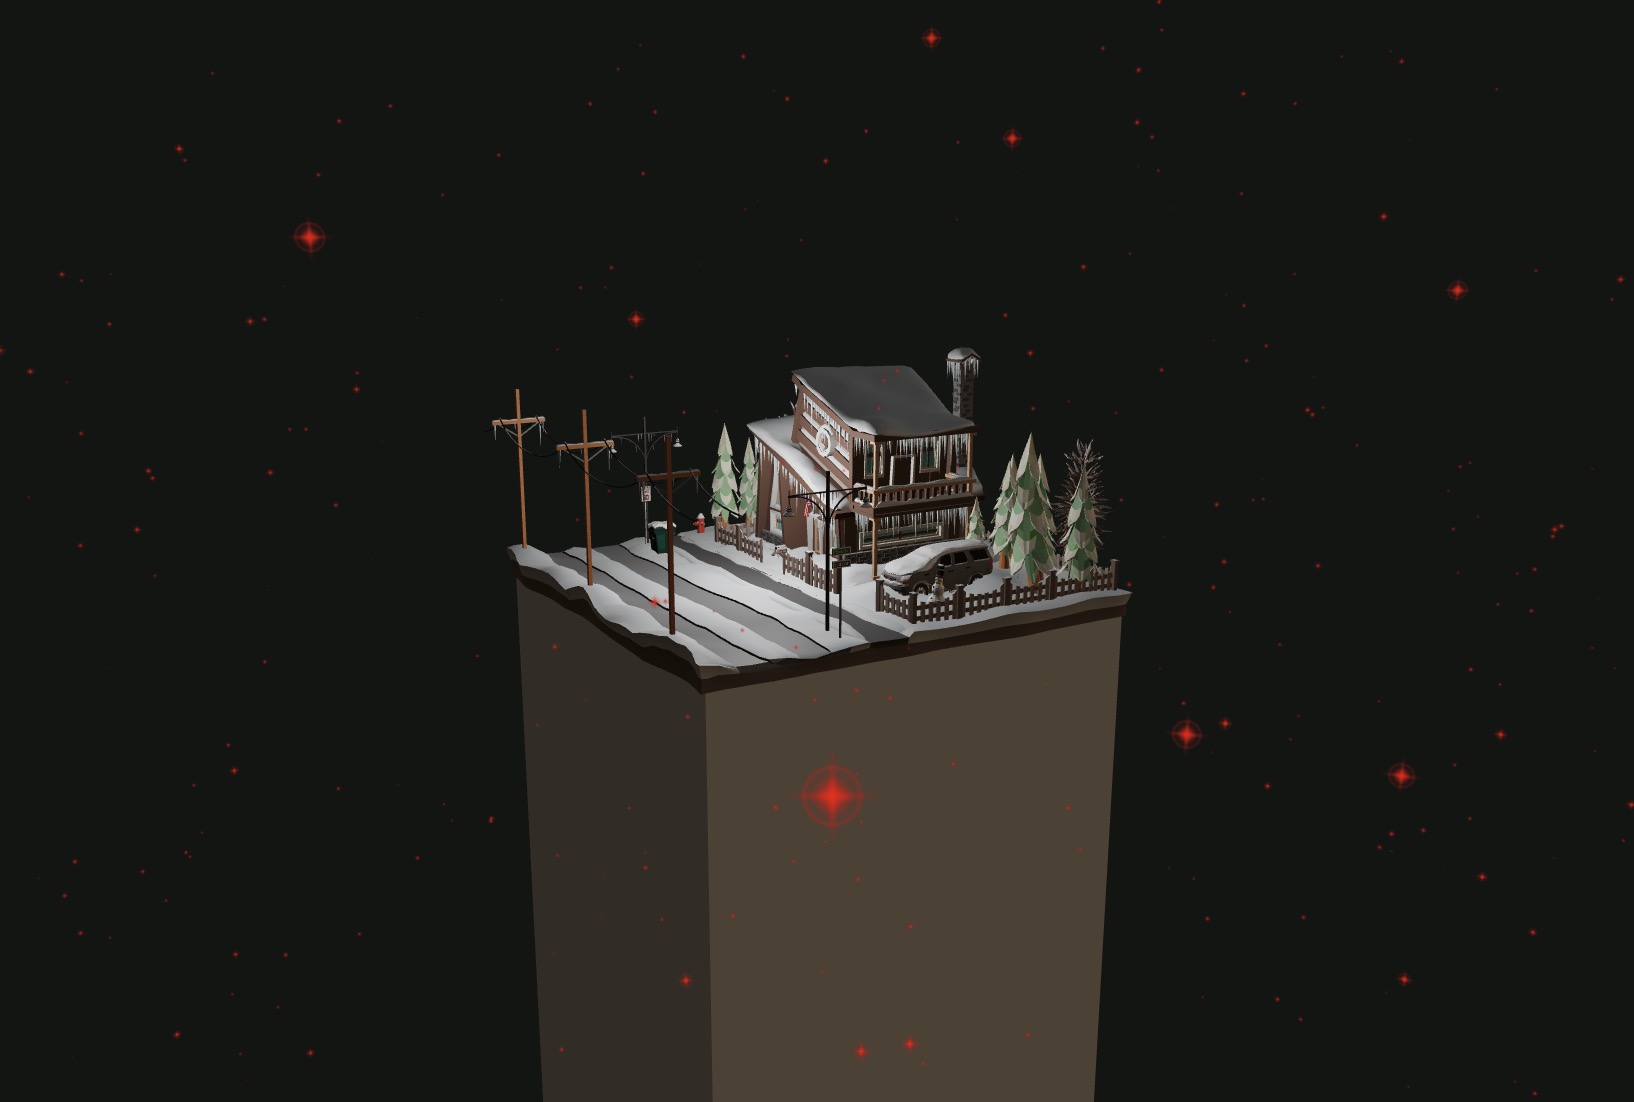
すでに素敵ですが、空に星を追加することでさらに面白くできます。
まず空に星を追加しましょう。React Three Fiberで最も簡単な方法は、dreiライブラリのStarsコンポーネントを使用することです。
components/Experience.jsxで:
// ... import { Stars } from "@react-three/drei"; export const Experience = () => { // ... return ( <> <Stars /> {/* ... */} </> ); };
そして、空が輝く可愛らしい星でいっぱいになりました!
factorを使って距離に基づいてサイズを調整したり、speedを使ってフェードエフェクトのタイミングを調整することができます。
利用可能なすべてのパラメータについては、ドキュメントを参照してください。
Starsコンポーネントのソースコードを確認して、どのように動作するかを詳しく見てみましょう。
星をレンダリングするために、ジオメトリに三つの属性が付加されているpointsを使用していることがわかります:
position: 各星の位置を決定colors: 各星の色を決定size: 各星のサイズを決定
次に、特注のShaderMaterial StarfieldMaterialがこれらの属性値とフェード効果のためのtime uniformに基づいて点を正しく表示する責任を持っています。
まず第一に、このアプローチは非常に優れていて、軽量で、完全にGPUで処理されるため、大量の星を配置することも可能です。
しかし、視覚的に改善できる点が二つあります:
- 星が四角形で表現されている。
- フェード効果がすべての星で同期されており、フラッシュ効果をもたらします。
Starsコンポーネントではこれらの側面を制御できないため、自分自身の星システムを作成しましょう!
カスタムスター
星をより簡単に制御するために、インスタンシングを使ってロジックをCPU側で処理します。
最適化されていない方法でも、適度な数の星なら問題なく、はるかに柔軟に対応できます。この章の後半でシンプルなVFXエンジンを構築し、TSLを学習するときに、GPU側でパーティクルを処理する方法を学びます。
PS: インスタンシングは、**最適化のレッスン**で見たように、同じジオメトリのオブジェクトを大量にレンダリングする効率的な手法です。
インスタンス
まずは新しいファイル components/StarrySky.jsx に StarrySky コンポーネントを作成してみましょう:
import { Instance, Instances } from "@react-three/drei"; import { useMemo, useRef } from "react"; import { randFloatSpread } from "three/src/math/MathUtils.js"; export const StarrySky = ({ nbParticles = 1000 }) => { const particles = useMemo( () => Array.from({ length: nbParticles }, (_, idx) => ({ position: [ randFloatSpread(20), randFloatSpread(20), randFloatSpread(20), ], })), [] ); return ( <Instances range={nbParticles} limit={nbParticles} frustumCulled={false}> <planeGeometry args={[1, 1]} /> <meshBasicMaterial /> {particles.map((props, i) => ( <Particle key={i} {...props} /> ))} </Instances> ); }; const Particle = ({ position }) => { const ref = useRef(); return <Instance ref={ref} position={position} />; };
平面ジオメトリーとメッシュベーシックマテリアルを組み合わせたInstancedMeshを作成しています。
Drei の <Instance /> コンポーネントのおかげで、このメッシュのインスタンスを作成し、各パーティクル(インスタンス)を個別に制御することができます。
さて、components/Experience.jsx で Stars コンポーネントをカスタムコンポーネントに置き換えましょう:
// ... import { StarrySky } from "./StarrySky"; export const Experience = () => { // ... return ( <> <StarrySky /> {/* ... */} </> ); };
これで、このようなカオティックな空になります:
良い出発点です!
星のサイズを調整しましょう。パーティクルの位置を設定している useMemo 内で、size 属性を追加できます:
import { randFloat, randFloatSpread } from "three/src/math/MathUtils.js"; // ... const particles = useMemo( () => Array.from({ length: nbParticles }, (_, idx) => ({ position: [randFloatSpread(20), randFloatSpread(20), randFloatSpread(20)], size: randFloat(0.1, 0.25), })), [] );
そして Particle コンポーネント内で、この size 属性を Instance コンポーネントに渡せます:
const Particle = ({ position, size }) => { const ref = useRef(); return <Instance ref={ref} position={position} scale={size} />; };
これでより良くなり、異なるサイズの星ができました:
しかし問題があります。星は randFloatSpread(20) を使用して -20 から 20 の間に配置されていますが、星は空の遠くに配置したいです。
これを行うには、常に z を 0 とし、x 位置を 5 から 15 の間に調整しましょう。
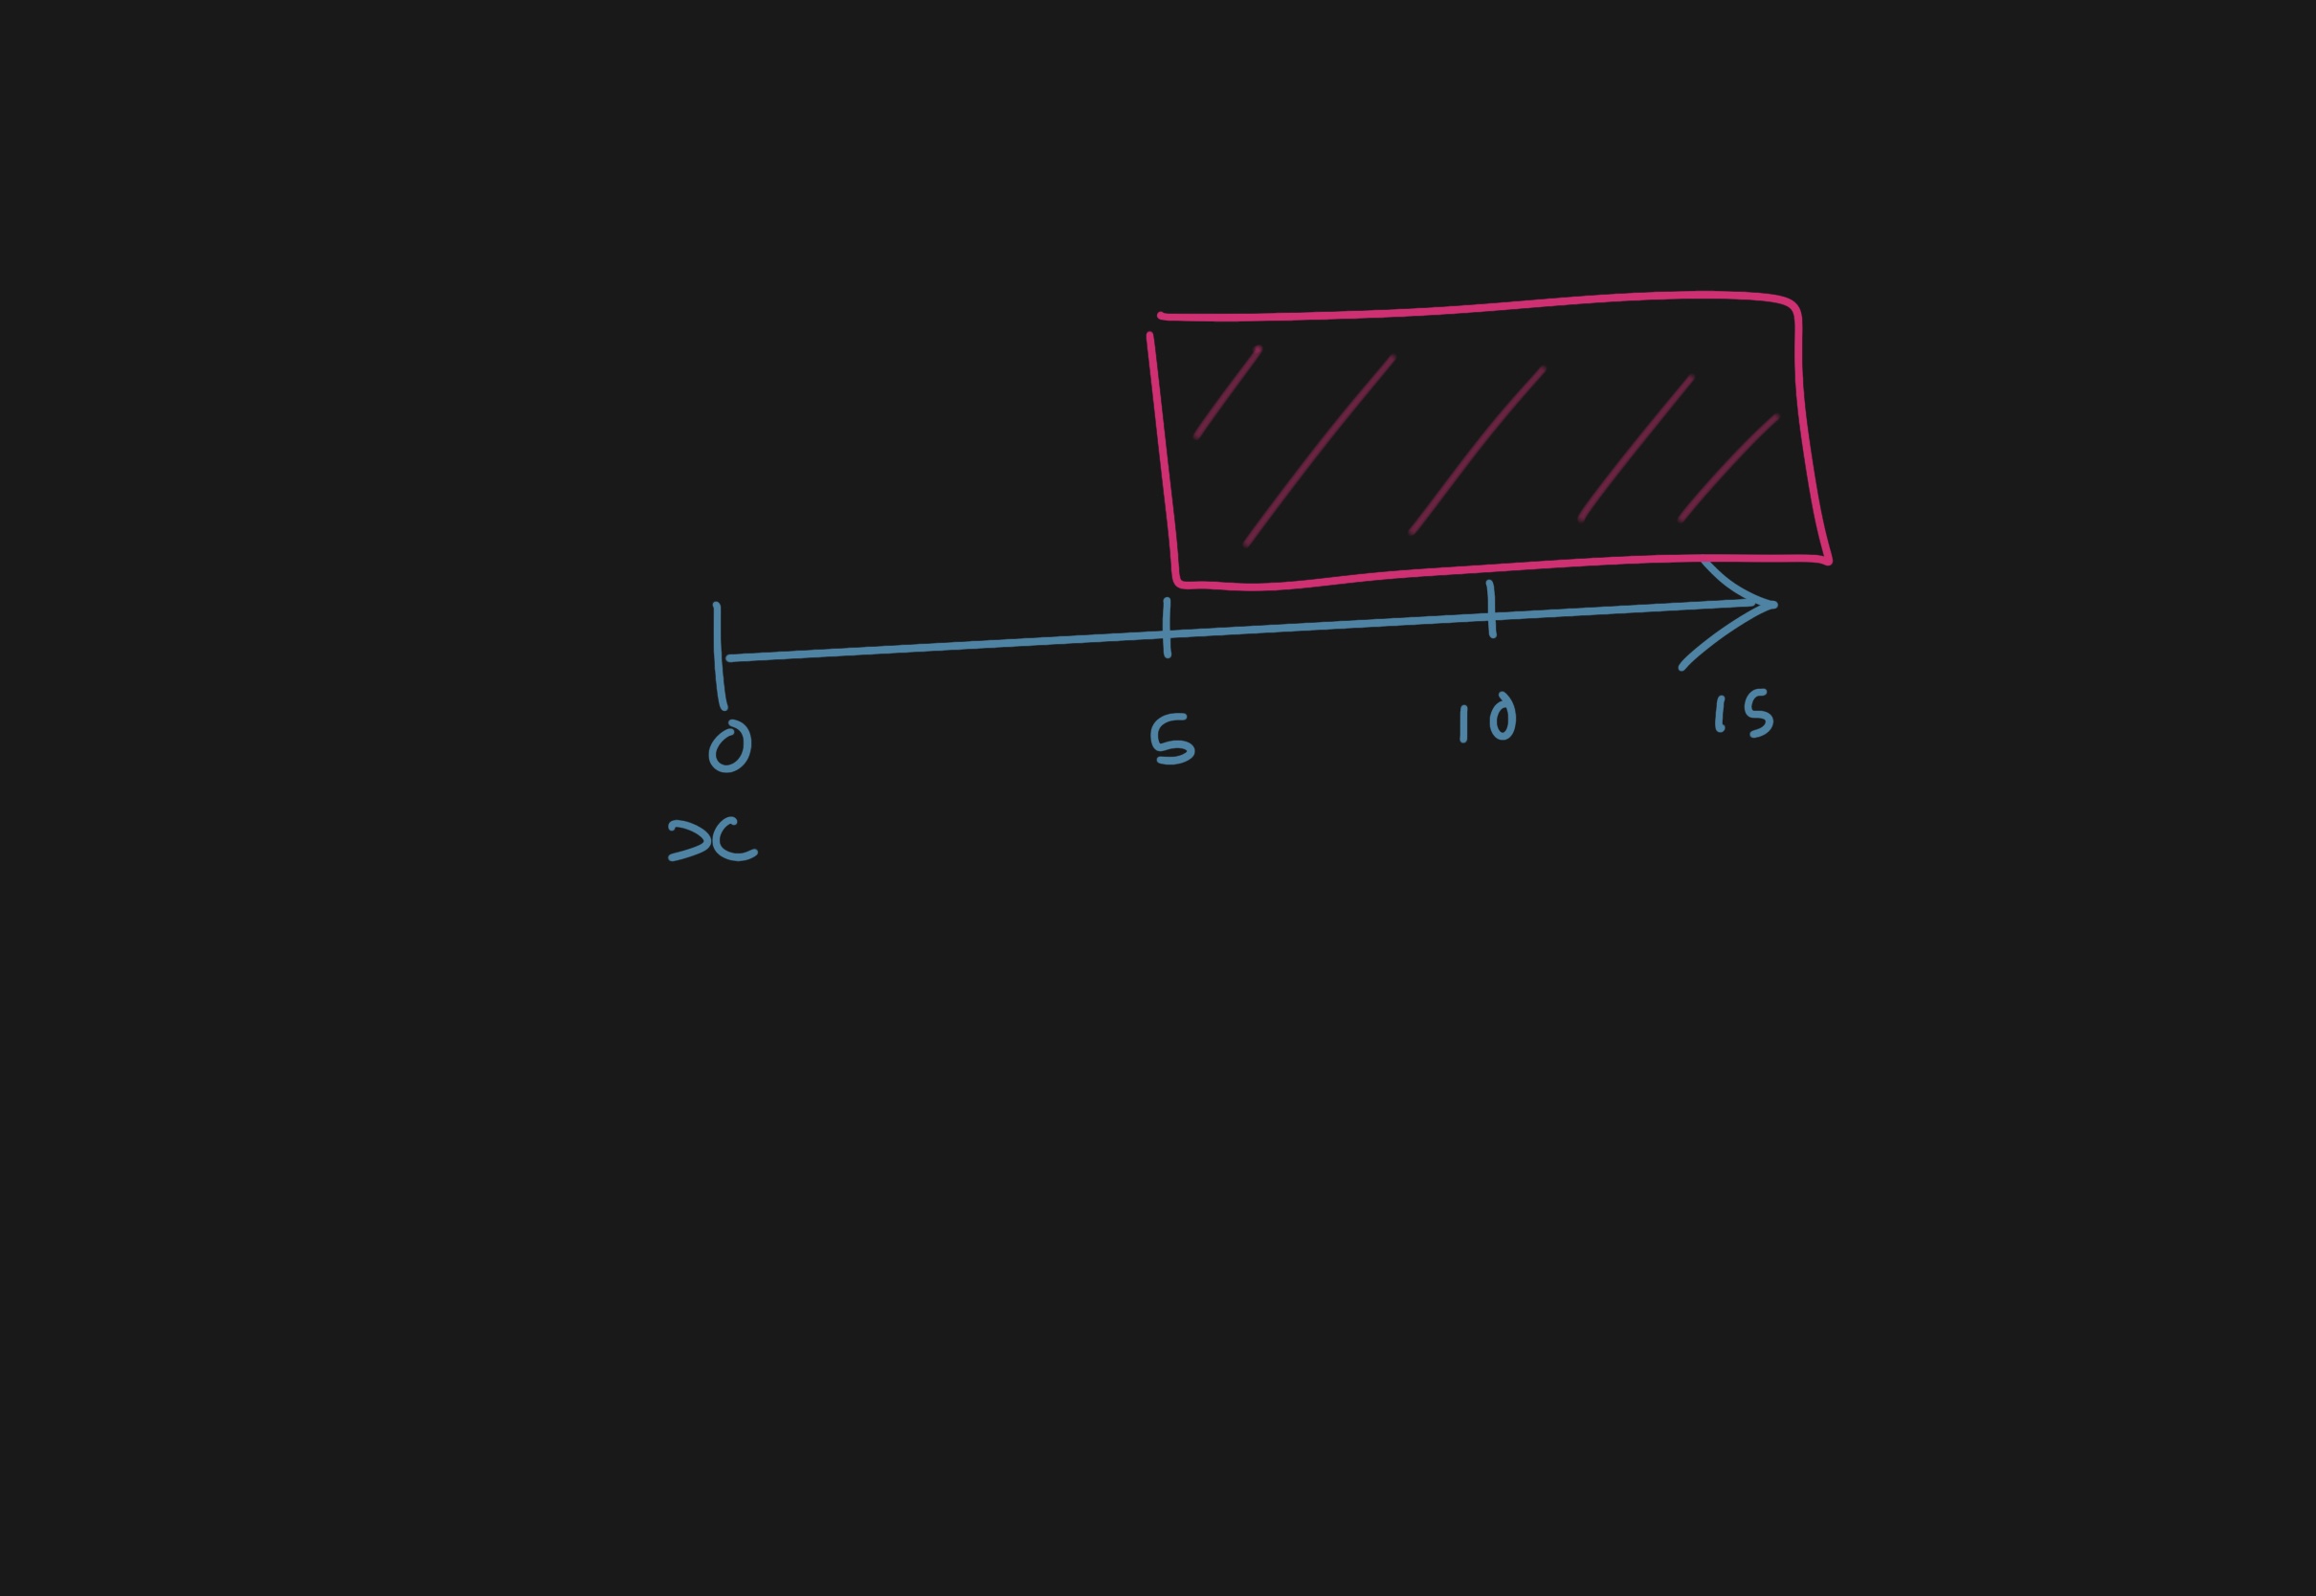
星は x 軸上でランダムに 5 から 15 の間に配置されます。
そして、中心を囲むように y の位置を 0 から 2 * Math.PI の間で回転させます。
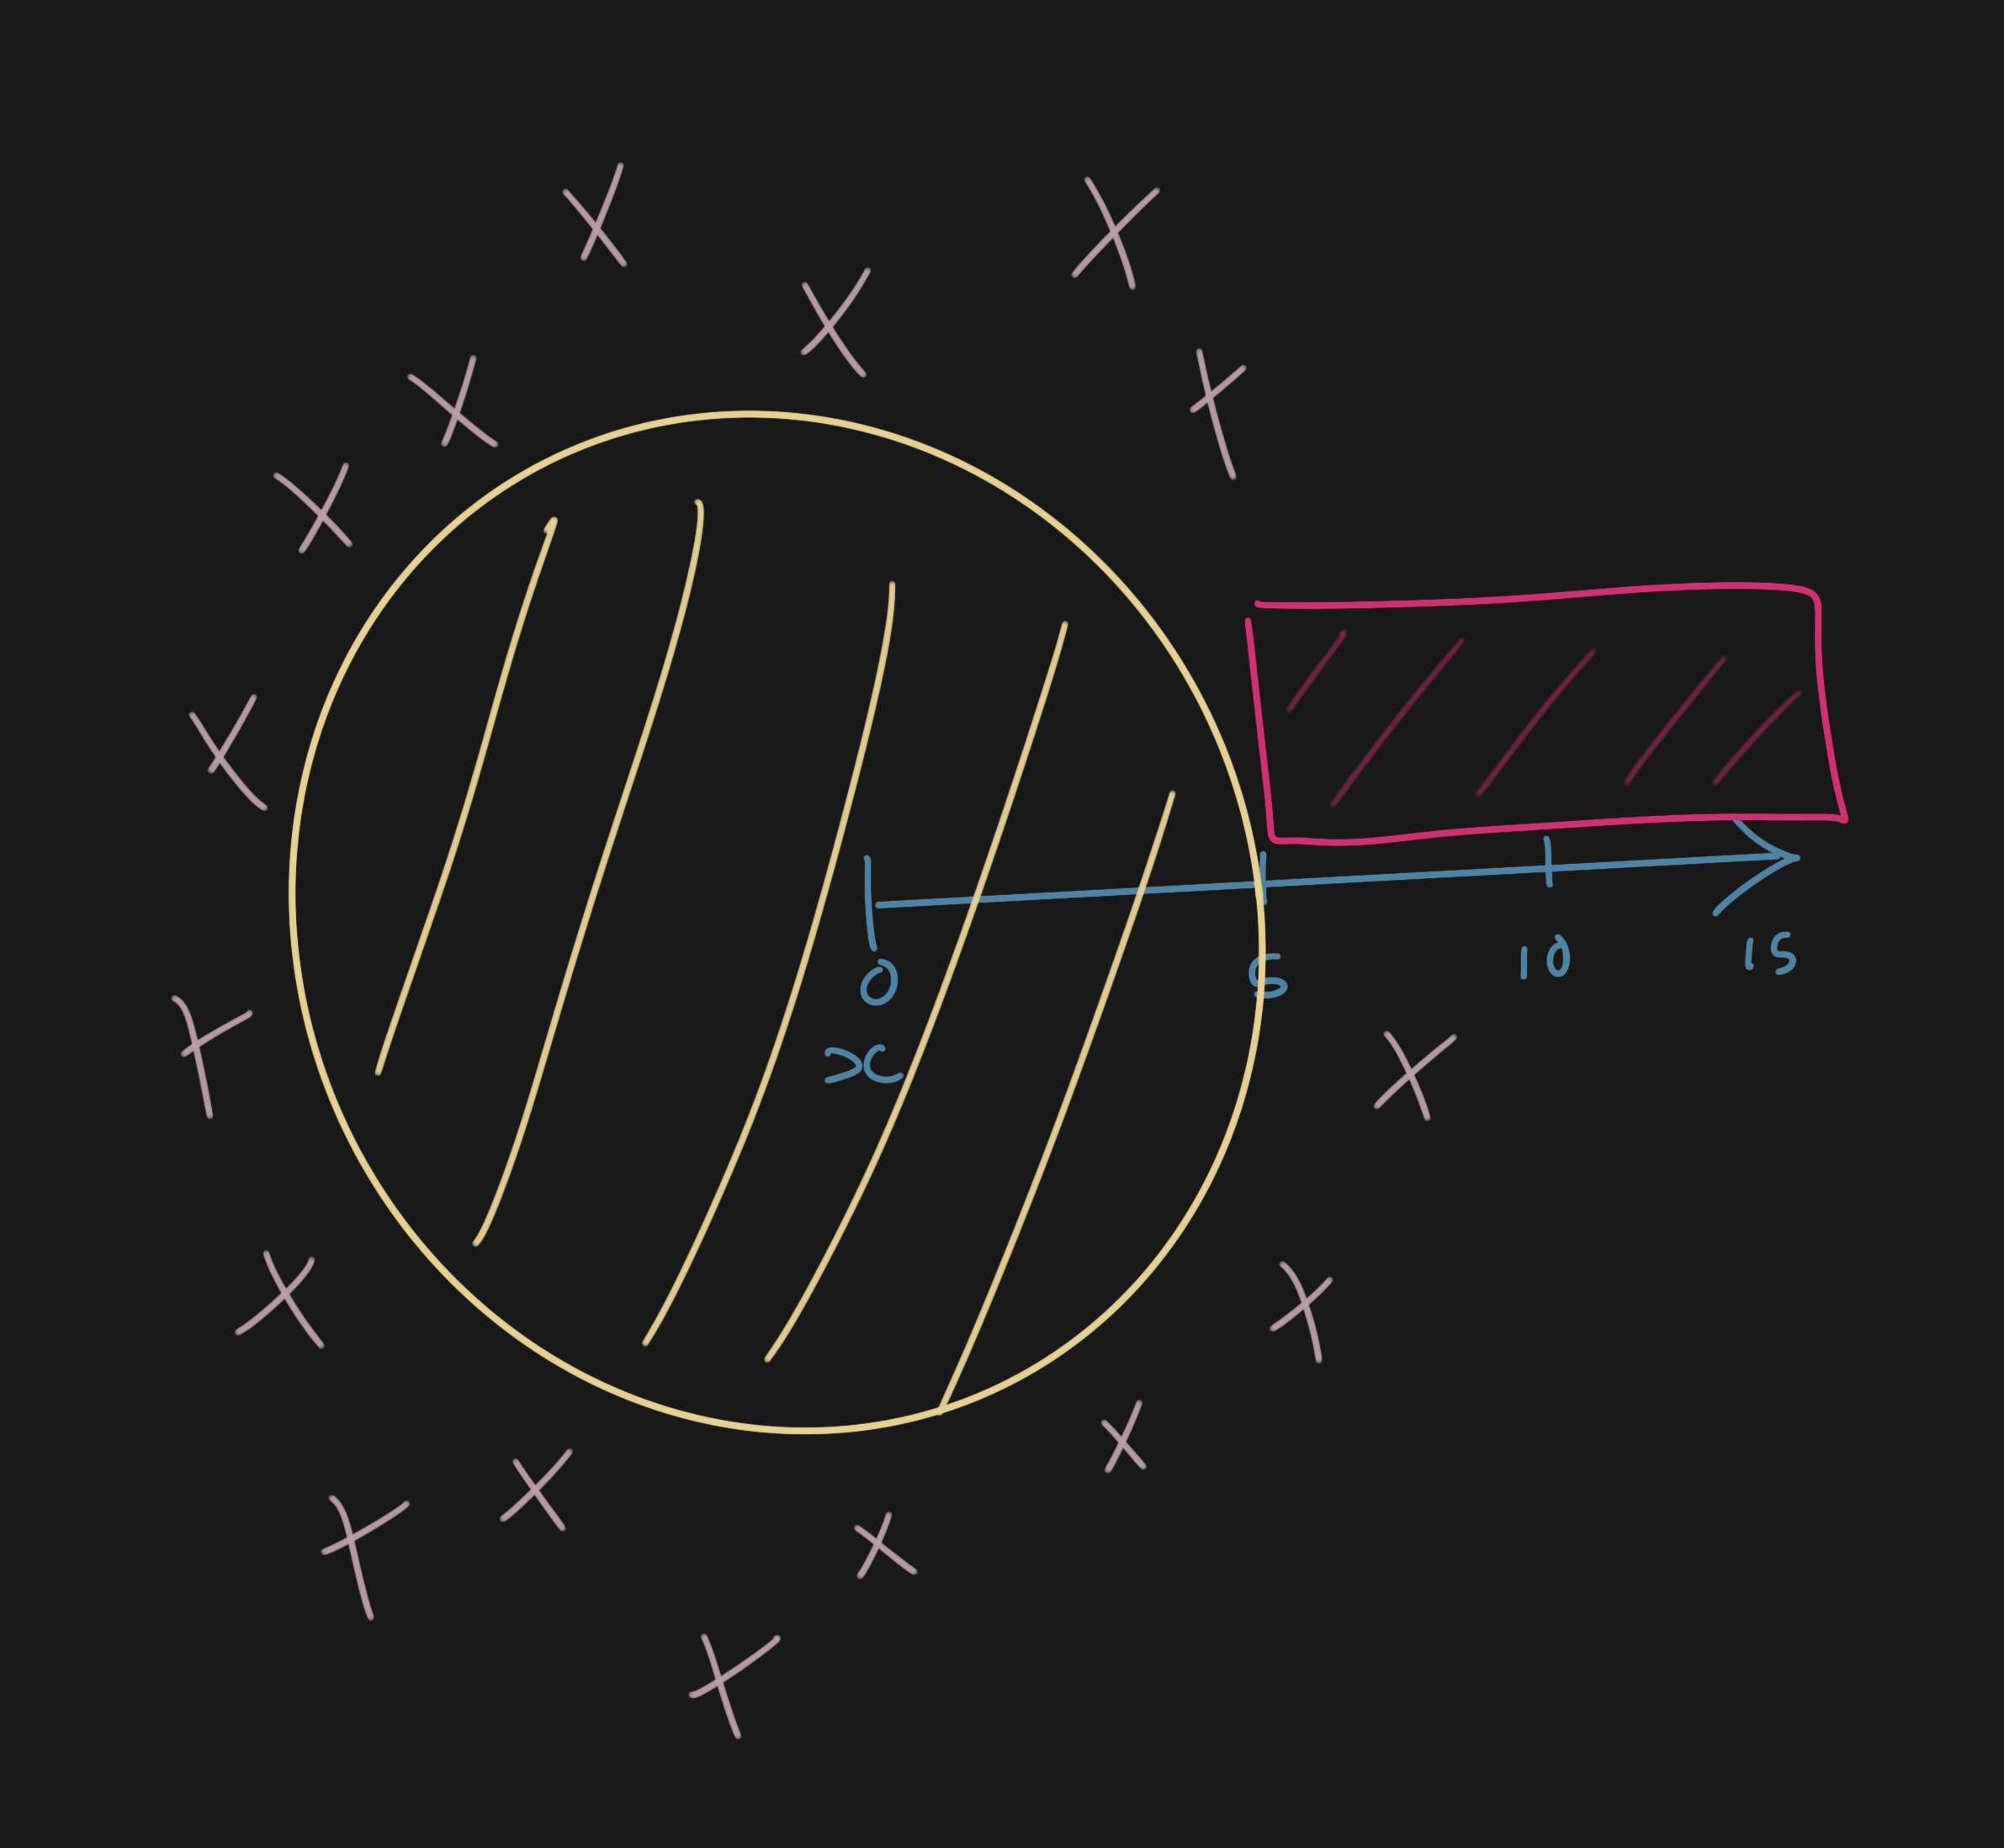
中心には星が電灯しないようになり、星は全方向に広がっています。
パーティクルの位置を設定している useMemo 内で、position 属性を調整し、rotation 属性を追加します:
const particles = useMemo( () => Array.from({ length: nbParticles }, (_, idx) => ({ position: [randFloat(5, 15), randFloatSpread(20), 0], rotation: [0, randFloat(0, Math.PI * 2), 0], size: randFloat(0.1, 0.25), })), [] );
そして Particle コンポーネント内で、この rotation 属性を Instance を親として持つ group に渡します:
const Particle = ({ position, size, rotation }) => { const ref = useRef(); return ( <group rotation={rotation}> <Instance ref={ref} position={position} scale={size} /> </group> ); };
これで私たちは中心のまわりに星を持っています:
シーンの中央に星がなくなり、平面が中心に向かっています。カメラの位置に基づくと、側面から星を見ることができます。
カメラを常に向くように星にビルボード効果を追加しましょう。これはR3Fの useFrame フックを使って実現できます:
// ... import { useFrame } from "@react-three/fiber"; // ... const Particle = ({ position, size, rotation }) => { // ... useFrame(({ camera }, delta) => { if (!ref.current) { return; } ref.current.lookAt(camera.position); }); // ... };
ref.current の lookAt メソッドを使用して、平面が常にカメラを向くようにします。
星が今すぐカメラを常に向いています! カメラがシーンの中心にないため、私たちの近くにいくつかの星が見えます。素晴らしい効果です。
星システムが完成したので、テクスチャや色を追加するなどして簡単にカスタマイズできます。
パーティクルテクスチャ
星をより星らしく見せるためにテクスチャを追加してみましょう。KenneyのParticle Packを使用します。
ダウンロードして、画像をpublicディレクトリ内の新しいtexturesフォルダに追加します。
StarrySkyコンポーネントで、useTextureローダーを使用してテクスチャを読み込みます。
// ... import { useTexture } from "@react-three/drei"; export const StarrySky = ({ nbParticles = 1000 }) => { const texture = useTexture("textures/star_02.png"); // ... return ( <Instances range={nbParticles} limit={nbParticles}> <planeGeometry args={[1, 1]} /> <meshBasicMaterial alphaMap={texture} transparent color={"red"} /> {particles.map((props, i) => ( <Particle key={i} {...props} /> ))} </Instances> ); }; // ... useTexture.preload("textures/star_02.png");
テクスチャをmeshBasicMaterialのalphaMap属性に割り当て、transparent属性をtrueに設定します。これにより、テクスチャの白い部分が透明になり、黒い部分が表示されつつ、色をコントロールすることができます。
恐怖の赤い星!🌟
テクスチャは良いものの、問題があります。ある星が他の星の前にあると後ろの星が隠れてしまいます。
これは、ピクセルの可視性の計算がシーン内のピクセルの深さに基づいているためです。この計算を行うにはジオメトリが使用され、テクスチャではありません。これが他の星によって星が切られて見える理由です。
この問題を解決するにはいくつかの方法があります。
- 星の深度テストを無効にすることができます。
<meshBasicMaterial alphaMap={texture} transparent depthTest={false} />
これで問題は解決されますが、深度効果が失われ、星が他のオブジェクトの後ろにあっても常に見えるようになります。(この使用例では3Dモデルを通して星が見えるため望ましくありません。)
- 星の深度書き込みを無効にすることができます。
<meshBasicMaterial alphaMap={texture} transparent depthWrite={false} />
これにより、カメラと星の間にある他のオブジェクトによって星が隠れるようになります。(この使用例では、星が3Dモデルによって適切に隠れるため、これが求められます。)
- テクスチャに基づいて深度計算を行うカスタムシェーダーを使用することができます。
カスタムgl_FragDepth値をフラグメントシェーダー内で指定することにより、ピクセルの深度をコントロールできます。
この解決方法はこのレッスンでは扱いませんが、必要であればこの方法も可能です。
ブレンドモード
深度の問題が修正されたので、星をより美しく見せるために素敵なブレンドモードを追加しましょう。
blending モードをデフォルトの NormalBlending から AdditiveBlending に設定すると、星の色が後ろのピクセルの色に加算されます。複数の星が重なり合うと、色がより明るくなります。
import { AdditiveBlending } from "three"; // ... <meshBasicMaterial alphaMap={texture} transparent depthWrite={false} blending={AdditiveBlending} color={"white"} />;
左側には、重なり合う星がどのように互いに影響し合っているかがわかります。
パーティクルのライフ
自分たちの星システムを作成したもう一つの理由は、星を個別に制御するためです。星が独立して独自であるために、各パーティクルに lifetime 属性を追加することができます。
パーティクルの位置設定を担当する useMemo の中で、lifetime 属性を追加できます:
const particles = useMemo( () => Array.from({ length: nbParticles }, (_, idx) => ({ position: [randFloat(5, 15), randFloatSpread(20), 0], rotation: [0, randFloat(0, Math.PI * 2), 0], size: randFloat(0.1, 0.25), lifetime: randFloat(1, 6), })), [] );
Particle コンポーネントに age 参照を追加し、useFrame フックで更新しましょう:
const Particle = ({ position, rotation, size, lifetime }) => { const ref = useRef(); const age = useRef(0); useFrame(({ camera }, delta) => { age.current += delta; if (!ref.current) { return; } if (age.current > lifetime) { age.current = 0; } ref.current.lookAt(camera.position); }); // ... };
age は各フレームで増加し、lifetime に達すると 0 にリセットされます。
次に、星を age に基づいて拡大/縮小するようにしましょう。Instance の scale 属性を使用できます。
import { lerp, randFloat, randFloatSpread } from "three/src/math/MathUtils.js"; // ... const Particle = ({ position, rotation, size, lifetime }) => { const ref = useRef(); const age = useRef(0); useFrame(({ camera }, delta) => { age.current += delta; if (!ref.current) { return; } const lifetimeProgression = age.current / lifetime; ref.current.scale.x = ref.current.scale.y = ref.current.scale.z = lifetimeProgression < 0.5 ? lerp(0, size, lifetimeProgression) // 拡大 : lerp(size, 0, lifetimeProgression); // 縮小 // ... }); // ... }; // ...
lifetimeProgression を age と lifetime を使って計算します。そして lerp 関数を使用してスターを 0 から size に拡大し、size から 0 に縮小します。
今ではそれぞれの星が独自のライフサイクルを持ち、空はより魅力的になりました!lifetime、サイズ、位置を調整して、望む効果を得られるようにしてみてください。
パーティクルの色
現在、すべての星が白色です。星をより活気づけるために、年齢に基づいてそれぞれの星の色を変更できます。
まず、Instancesコンポーネントに、色がインスタンスごとに異なることを伝える必要があります。
// ... export const StarrySky = ({ nbParticles = 1000 }) => { // ... return ( <Instances range={nbParticles} limit={nbParticles} instanceColor> <planeGeometry args={[1, 1]} /> <meshBasicMaterial alphaMap={texture} transparent depthWrite={false} blending={AdditiveBlending} /> {/* ... */} </Instances> ); }; // ...
これにより、<Instances />は内部で新しい属性colorを作成し、position、rotation、scaleに加えて各インスタンスを追跡します。 (現時点で理解できなくても心配しないでください。後で独自のVFXエンジンを作成するときにもっと明確になるでしょう。)
meshBasicMaterialからcolor={"white"}属性を削除しても構いません。インスタンスのcolor属性によって上書きされるためです。
私はピンクと白を交互に使用しますが、お好みに合わせて色を設定してください。コンポーネントの外で色を宣言できます:
// ... import { AdditiveBlending, Color } from "three"; const colorStart = new Color("pink"); const colorEnd = new Color("white");
そしてParticleコンポーネント内で、lifetimeProgressionに基づいて色を更新できます:
// ... const Particle = ({ position, size, rotation, lifetime }) => { // ... useFrame(({ camera }, delta) => { // ... ref.current.color.r = lerp(colorStart.r, colorEnd.r, lifetimeProgression); ref.current.color.g = lerp(colorStart.g, colorEnd.g, lifetimeProgression); ref.current.color.b = lerp(colorStart.b, colorEnd.b, lifetimeProgression); // ... }); // ... }; // ...
目立ちにくいため、ここでは青と赤の色での例を示します:
色は青から始まり、紫に変わり、赤で終わります。
Bloom
星が輝くように、bloom 効果を追加しましょう。
まず、@react-three/postprocessing パッケージをインストールします。
yarn add @react-three/postprocessing
次に、EffectComposer と Bloom コンポーネントを Experience コンポーネントに追加できます。
// ... import { Bloom, EffectComposer } from "@react-three/postprocessing"; export const Experience = () => { // ... return ( <> {/* ... */} <EffectComposer> <Bloom mipmapBlur intensity={1.2} luminanceThreshold={1} /> </EffectComposer> </> ); };
星の色を調整して輝度のしきい値に到達するようにしましょう。StarrySky.jsx で:
const colorStart = new Color("pink").multiplyScalar(30); const colorEnd = new Color("white").multiplyScalar(30);
スケールファクターを調整して目的の効果を得ると共に、bloom 効果で目立つようになるので、星の色やサイズも調整してみてください。
サイズを 0.01 から 0.1 に調整するとより微妙な効果が得られることがわかりました。
まさに素晴らしいですね!🌟 ピンクから白への変化は微妙ですが、シーンにちょっとしたプラスを加えます。
Snowflakes
雪の結晶を追加する時が来ました!星と同じアプローチを採用しますが、異なるテクスチャと動作を使用します。
残念ながら、まだシンプルなVFXエンジンを持っていないので、最も速い方法はStarrySkyコンポーネントを複製し、それを調整してSnowflakesコンポーネントを作成することです。
components/Snowflakes.jsx内で:
import { Instance, Instances, useTexture } from "@react-three/drei"; import { useFrame } from "@react-three/fiber"; import { useMemo, useRef } from "react"; import { AdditiveBlending, Color } from "three"; import { lerp, randFloat, randFloatSpread } from "three/src/math/MathUtils.js"; export const Snowflakes = ({ nbParticles = 1000 }) => { const texture = useTexture("textures/star_02.png"); const particles = useMemo( () => Array.from({ length: nbParticles }, (_, idx) => ({ position: [randFloat(5, 15), randFloatSpread(20), 0], rotation: [0, randFloat(0, Math.PI * 2), 0], size: randFloat(0.01, 0.1), lifetime: randFloat(1, 6), })), [] ); return ( <Instances range={nbParticles} limit={nbParticles} instanceColor> <planeGeometry args={[1, 1]} /> <meshBasicMaterial alphaMap={texture} transparent depthWrite={false} blending={AdditiveBlending} /> {particles.map((props, i) => ( <Particle key={i} {...props} /> ))} </Instances> ); }; const colorStart = new Color("pink").multiplyScalar(30); const colorEnd = new Color("white").multiplyScalar(30); const Particle = ({ position, size, rotation, lifetime }) => { const ref = useRef(); const age = useRef(0); useFrame(({ camera }, delta) => { age.current += delta; if (!ref.current) { return; } const lifetimeProgression = age.current / lifetime; ref.current.scale.x = ref.current.scale.y = ref.current.scale.z = lifetimeProgression < 0.5 ? lerp(0, size, lifetimeProgression) // scale in : lerp(size, 0, lifetimeProgression); // scale out ref.current.color.r = lerp(colorStart.r, colorEnd.r, lifetimeProgression); ref.current.color.g = lerp(colorStart.g, colorEnd.g, lifetimeProgression); ref.current.color.b = lerp(colorStart.b, colorEnd.b, lifetimeProgression); if (age.current > lifetime) { age.current = 0; } ref.current.lookAt(camera.position); }); return ( <group rotation={rotation}> <Instance ref={ref} position={position} scale={size} /> </group> ); }; useTexture.preload("textures/star_02.png");
そして、components/Experience.jsx内で:
// ... import { Snowflakes } from "./Snowflakes"; export const Experience = () => { // ... return ( <> <StarrySky nbParticles={1000} /> <Snowflakes nbParticles={800} /> {/* ... */} </> ); };
試す前に、いくつか調整を行いましょう。
まず、テクスチャを変更します。Snowflakes.jsx内で:
export const Snowflakes = ({ nbParticles = 1000 }) => { const texture = useTexture("textures/magic_04.png"); // ... }; useTexture.preload("textures/magic_04.png");
再び、好きなテクスチャを見つけるためにパーティクルパックを参照するか、自分で作成してみてください!
次に、雪の結晶が位置する場所を調整します。シーンの中央にランダムに配置したいので、rotationを削除できます:
// ... export const Snowflakes = ({ nbParticles = 1000 }) => { // ... const particles = useMemo( () => Array.from({ length: nbParticles }, (_, idx) => ({ position: [randFloatSpread(5), randFloat(0, 10), randFloatSpread(5)], size: randFloat(0.01, 0.1), lifetime: randFloat(1, 6), })), [] ); // ... }; const Particle = ({ position, size, lifetime }) => { const ref = useRef(); const age = useRef(0); useFrame(({ camera }, delta) => { age.current += delta; if (!ref.current) { return; } const lifetimeProgression = age.current / lifetime; ref.current.scale.x = ref.current.scale.y = ref.current.scale.z = lifetimeProgression < 0.5 ? lerp(0, size, lifetimeProgression) // scale in : lerp(size, 0, lifetimeProgression); // scale out ref.current.color.r = lerp(colorStart.r, colorEnd.r, lifetimeProgression); ref.current.color.g = lerp(colorStart.g, colorEnd.g, lifetimeProgression); ref.current.color.b = lerp(colorStart.b, colorEnd.b, lifetimeProgression); if (age.current > lifetime) { age.current = 0; } ref.current.lookAt(camera.position); }); return <Instance ref={ref} position={position} scale={size} />; }; // ...
Particleコンポーネントの親グループとrotation属性を削除しました。
最後に、色を次のように置き換えましょう:
const colorStart = new Color("skyblue").multiplyScalar(30); const colorEnd = new Color("white").multiplyScalar(30);
こちらが、その見た目です:
良いスタートポイントです。私たちの星は空の遠くにあり、雪の結晶はシーンの中央に集中しています。
雪の結晶を空から降らせるように調整する時です。❄️
雪片が舞い落ちる
雪片の動きをより自然でユニークにするために、粒子にもう1つの属性を追加します: speed。
Snowflakes.jsxで以下のように設定します:
// ... export const Snowflakes = ({ nbParticles = 1000 }) => { // ... const particles = useMemo( () => Array.from({ length: nbParticles }, (_, idx) => ({ position: [randFloatSpread(5), randFloat(0, 10), randFloatSpread(5)], size: randFloat(0.01, 0.1), lifetime: randFloat(1, 6), speed: randFloat(0.1, 1), })), [] ); // ... }; // ...
そしてParticleコンポーネントでそれを利用します:
// ... const Particle = ({ position, size, lifetime, speed }) => { // ... useFrame(({ camera }, delta) => { // ... ref.current.position.y -= speed * delta; if (age.current > lifetime) { ref.current.position.set(position[0], position[1], position[2]); age.current = 0; } // ... }); // ... }; // ...
speed属性に基づいて粒子のy位置を単純に減少させます。lifetimeに達したときに最初の位置にリセットします。
位置属性として
Vector3を選んだ場合、ref.current.position.set(position[0], position[1], position[2])の代わりにref.current.position.copy(position)を使うことができます。
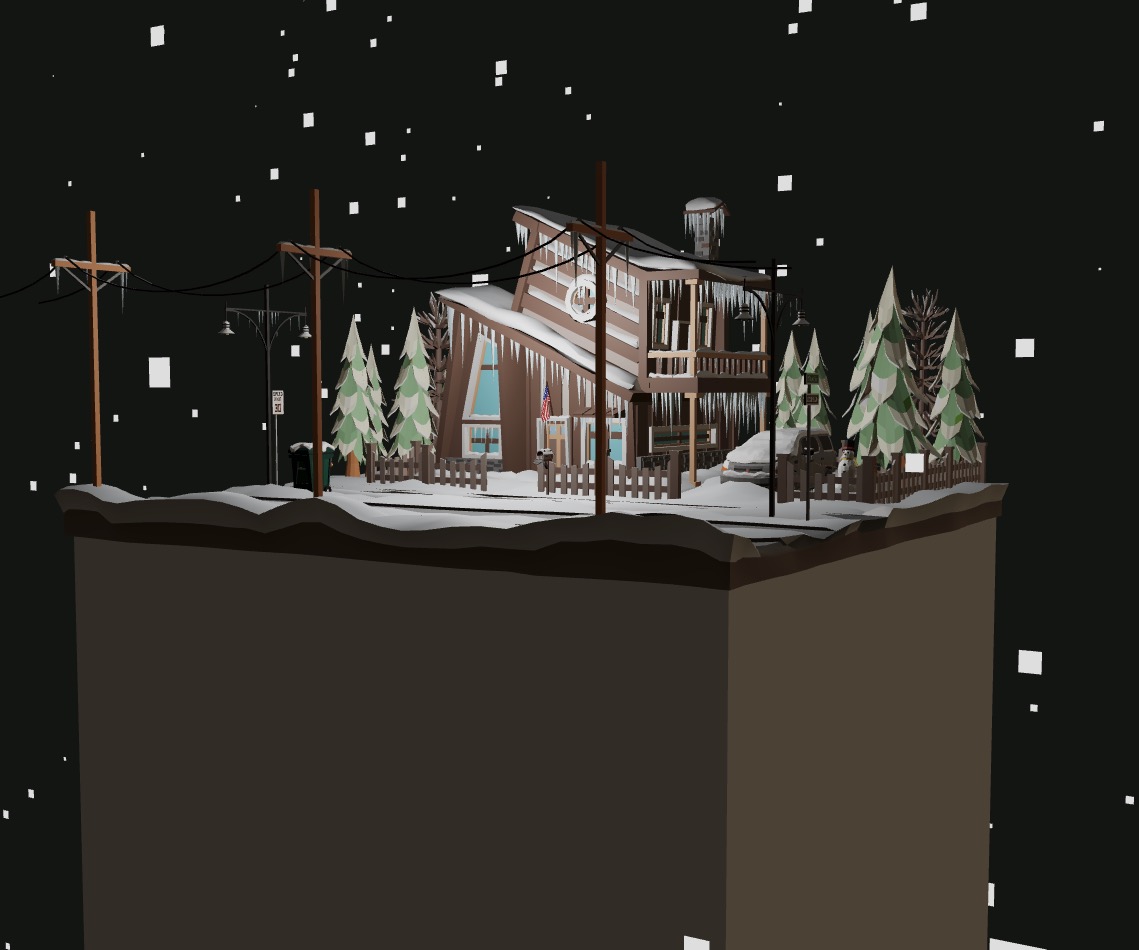
今、雪片が空から舞い降ります!
さらに一歩進んで、雪片に回転を追加し、風の効果をシミュレートしながら落下中にクルクル回らせることができます。
useFrameで次のように追加します:
ref.current.position.y -= speed * delta; ref.current.position.x += Math.sin(age.current * speed) * delta; ref.current.position.z += Math.cos(age.current * speed) * delta;
シェーダーの章からのお馴染みのsinとcosを思い出しますか?
回転するのを見てください! 🌪️
結論
このレッスンでは、粒子を作成し、命を吹き込み、それらをユニークにする方法を学びました。インスタンス化を使用して多くの粒子を処理し、useFrameフックを使用してアニメーション化しました。
これらの原則は、火、煙、爆発、またはあなたの創造力が想像できるものを作成するために様々な方法で応用できます。✨
React Three Fiber: The Ultimate Guide to 3D Web Development
✨ You have reached the end of the preview ✨
Go to the next level with Three.js and React Three Fiber!
Get full access to this lesson and the complete course when you enroll:
- 🔓 Full lesson videos with no limits
- 💻 Access to the final source code
- 🎓 Course progress tracking & completion
- 💬 Invite to our private Discord community
One-time payment. Lifetime updates included.