利用 TSL 和 WebGPU 实现 GPGPU 粒子
在这节课中,我们将通过使用 Three Shading Language (TSL) 和 WebGPU 创建数十万个漂浮粒子来渲染 3D 模型和 3D 文本。
我们不会使用面,而是使用大量粒子,这样可以让我们在不同模型之间进行平滑转换。
GPGPU 粒子渲染的狐狸模型,一本书和 3D 文本!🚀
GPGPU 粒子系统
在深入代码之前,让我们花一点时间来了解什么是 GPGPU,以及它如何在 Three.js 中应用。
什么是 GPGPU?
GPGPU(通用图形处理单元计算)是一项技术,利用 GPU 的并行处理能力来执行通常由 CPU 处理的计算。
在 Three.js 中,GPGPU 经常用于实时模拟、粒子系统和物理计算,通过在纹理中存储和更新数据,而不是依赖于 CPU 进行计算。
这种技术使得着色器拥有了内存和计算能力,能够进行复杂计算,并在无需 CPU 干预的情况下,将结果存储在纹理中。
这使得直接在 GPU 上进行大规模高效的计算成为可能。
感谢 TSL,创建 GPGPU 模拟的过程变得更加简单和直观。结合存储和缓冲节点与计算函数,我们可以用很少的代码创建复杂的模拟。
以下是一些 GPGPU 可用于的项目想法:
是时候从理论转向实践了!让我们使用 TSL 和 WebGPU 创建一个 GPGPU 粒子系统。
粒子系统
该入门包是一个基于WebGPU/TSL 课程实现的WebGPU 就绪模板。
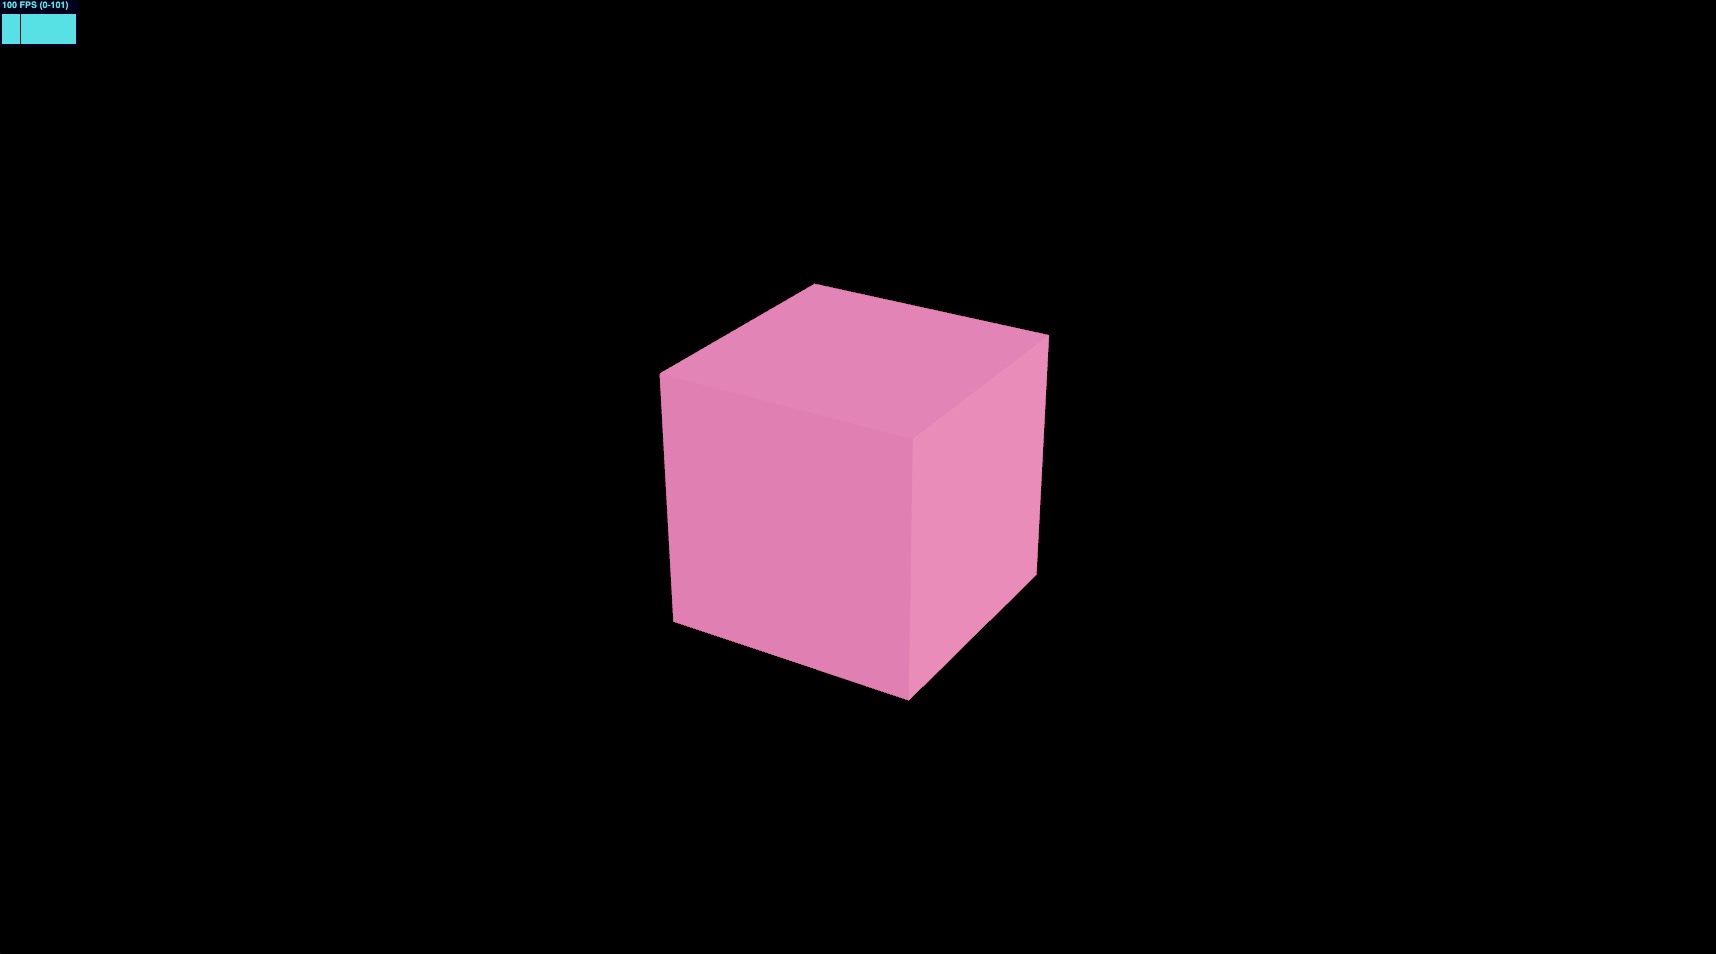
让我们用一个名为 GPGPUParticles 的新组件替换粉色 mesh。在 src/components 文件夹中创建一个名为 GPGPUParticles.jsx 的新文件并添加以下代码:
import { extend } from "@react-three/fiber"; import { useMemo } from "react"; import { color, uniform } from "three/tsl"; import { AdditiveBlending, SpriteNodeMaterial } from "three/webgpu"; export const GPGPUParticles = ({ nbParticles = 1000 }) => { const { nodes, uniforms } = useMemo(() => { // uniforms const uniforms = { color: uniform(color("white")), }; return { uniforms, nodes: { colorNode: uniforms.color, }, }; }, []); return ( <> <sprite count={nbParticles}> <spriteNodeMaterial {...nodes} transparent depthWrite={false} blending={AdditiveBlending} /> </sprite> </> ); }; extend({ SpriteNodeMaterial });
这里没有什么新东西,我们创建了一个GPGPUParticles组件,使用Sprite和SpriteNodeMaterial来渲染粒子。
使用 Sprite 比 InstancedMesh 的好处是它更轻且默认带有**看板(billboard)**效果。
让我们将 GPGPUParticles 组件添加到 Experience 组件中:
import { OrbitControls } from "@react-three/drei"; import { GPGPUParticles } from "./GPGPUParticles"; export const Experience = () => { return ( <> {/* <Environment preset="warehouse" /> */} <OrbitControls /> <GPGPUParticles /> {/* <mesh> <boxGeometry /> <meshStandardMaterial color="hotpink" /> </mesh> */} </> ); };
我们可以去掉mesh和environment组件。
![]()
我们可以看到屏幕中央有一个方块,这是白色 sprite粒子。所有的都在相同的位置上。
是时候设置我们的粒子系统了!
缓冲 / 存储 / 实例数组
在我们的 GPGPU 仿真中,我们需要让粒子记住它们的位置、速度、年龄和颜色,而不使用 CPU。
有些东西不需要我们存储数据。我们可以根据年龄和uniforms计算颜色。我们也可以使用固定的seed值随机生成速度。
但对于位置,由于目标位置可能会变化,我们需要将其存储在一个buffer中。同样对于年龄,我们希望在 GPU 中处理粒子的生命周期。
要在 GPU 中存储数据,我们可以使用storage node。它允许我们在 GPU 上存储和更新大量结构化数据。
为了用最少的代码实现这一点,我们将使用依赖于storage node的InstancedArray TSL 函数。
这部分的Three.js nodes还没有文档,通过研究示例和源代码可以理解其工作方式。
让我们在 useMemo 中准备缓冲区,在这里放置我们的 shader nodes:
// ... import { instancedArray } from "three/tsl"; export const GPGPUParticles = ({ nbParticles = 1000 }) => { const { nodes, uniforms } = useMemo(() => { // uniforms const uniforms = { color: uniform(color("white")), }; // buffers const spawnPositionsBuffer = instancedArray(nbParticles, "vec3"); const offsetPositionsBuffer = instancedArray(nbParticles, "vec3"); const agesBuffer = instancedArray(nbParticles, "float"); return { uniforms, nodes: { colorNode: uniforms.color, }, }; }, []); // ... }; // ...
instancedArray 是一个 TSL 函数,用于创建指定大小和类型的缓冲区。
使用storage node的相同代码看起来是这样的:
import { storage } from "three/tsl"; import { StorageInstancedBufferAttribute } from "three/webgpu"; const spawnPositionsBuffer = storage( new StorageInstancedBufferAttribute(nbParticles, 3), "vec3", nbParticles );
使用这些缓冲区,我们可以存储每个粒子的位置和年龄,并在 GPU 中更新它们。
要访问缓冲区中的数据,我们可以使用 .element(index) 获取指定索引处的值。
在我们的情况下,将使用每个粒子的 instancedIndex 来访问缓冲区中的数据:
// ... import { instanceIndex } from "three/tsl"; export const GPGPUParticles = ({ nbParticles = 1000 }) => { const { nodes, uniforms } = useMemo(() => { // ... // buffers const spawnPositionsBuffer = instancedArray(nbParticles, "vec3"); const offsetPositionsBuffer = instancedArray(nbParticles, "vec3"); const agesBuffer = instancedArray(nbParticles, "float"); const spawnPosition = spawnPositionsBuffer.element(instanceIndex); const offsetPosition = offsetPositionsBuffer.element(instanceIndex); const age = agesBuffer.element(instanceIndex); return { uniforms, nodes: { colorNode: uniforms.color, }, }; }, []); // ... }; // ...
instanceIndex 是一个内置的 TSL 函数,返回当前处理的实例的索引。
这使我们能够访问每个粒子缓冲区中的数据。
我们在这个项目中不需要它,但通过能够访问另一个实例的数据,我们可以创建粒子间的复杂交互。例如,我们可以创建一群相互追随的鸟群。
初始计算
为了设置粒子的初始位置和年龄,我们需要创建一个 compute 函数,该函数将在模拟开始时在 GPU 上执行。
要使用 TSL 创建 compute 函数,我们需要使用 Fn 节点来调用它,并用返回的 compute 方法传入粒子数:
// ... import { Fn } from "three/src/nodes/TSL.js"; export const GPGPUParticles = ({ nbParticles = 1000 }) => { const { nodes, uniforms } = useMemo(() => { // ... const spawnPosition = spawnPositionsBuffer.element(instanceIndex); const offsetPosition = offsetPositionsBuffer.element(instanceIndex); const age = agesBuffer.element(instanceIndex); // init Fn const lifetime = randValue({ min: 0.1, max: 6, seed: 13 }); const computeInit = Fn(() => { spawnPosition.assign( vec3( randValue({ min: -3, max: 3, seed: 0 }), randValue({ min: -3, max: 3, seed: 1 }), randValue({ min: -3, max: 3, seed: 2 }) ) ); offsetPosition.assign(0); age.assign(randValue({ min: 0, max: lifetime, seed: 11 })); })().compute(nbParticles); // ... }, []); // ... }; // ...
我们创建了一个 computeInit 函数,用随机值分配我们的缓冲区。
randValue 函数尚不存在,我们需要自己创建它。
我们可以使用的函数有:
hash(seed): 基于 seed 生成一个0到1之间的随机值。range(min, max): 生成一个介于 min 和 max 之间的随机值。
在 Three.js Shading Language Wiki 上查看更多信息。
但是 range 函数定义了一个属性并存储了它的值。这不是我们想要的。
让我们创建一个 randValue 函数,它将返回基于 seed 的 min 和 max 之间的随机值:
import { hash } from "three/tsl"; const randValue = /*#__PURE__*/ Fn(({ min, max, seed = 42 }) => { return hash(instanceIndex.add(seed)).mul(max.sub(min)).add(min); }); export const GPGPUParticles = ({ nbParticles = 1000 }) => { // ... }; // ...
randValue 函数接受 min、max 和 seed 值,并返回一个基于 seed 的 min 和 max 之间的随机值。
/*#__PURE__*/是用于 Tree-shaking 的注释。它告诉打包器如果函数未被使用就移除它。更多详情见这里。
现在我们需要调用我们的 computeInit 函数。这是 renderer 的工作。让我们用 useThree 导入它并在声明之后立即调用:
// ... import { useThree } from "@react-three/fiber"; export const GPGPUParticles = ({ nbParticles = 1000 }) => { const gl = useThree((state) => state.gl); const { nodes, uniforms } = useMemo(() => { // ... const computeInit = Fn(() => { // ... })().compute(nbParticles); gl.computeAsync(computeInit); // ... }, []); // ... }; // ...
为了能够可视化,我们需要更改 SpriteNodeMaterial 的 positionNode 以使用 spawnPosition 和 offsetPosition 缓冲区。
// ... export const GPGPUParticles = ({ nbParticles = 1000 }) => { // ... const { nodes, uniforms } = useMemo(() => { // ... return { uniforms, nodes: { positionNode: spawnPosition.add(offsetPosition), colorNode: uniforms.color, }, }; }, []); // ... }; // ...
我们将 positionNode 设置为 spawnPosition 和 offsetPosition 向量的和。
它工作吗?我们来检查一下!

Mayday! It's all white! ⬜️
往后缩一点?
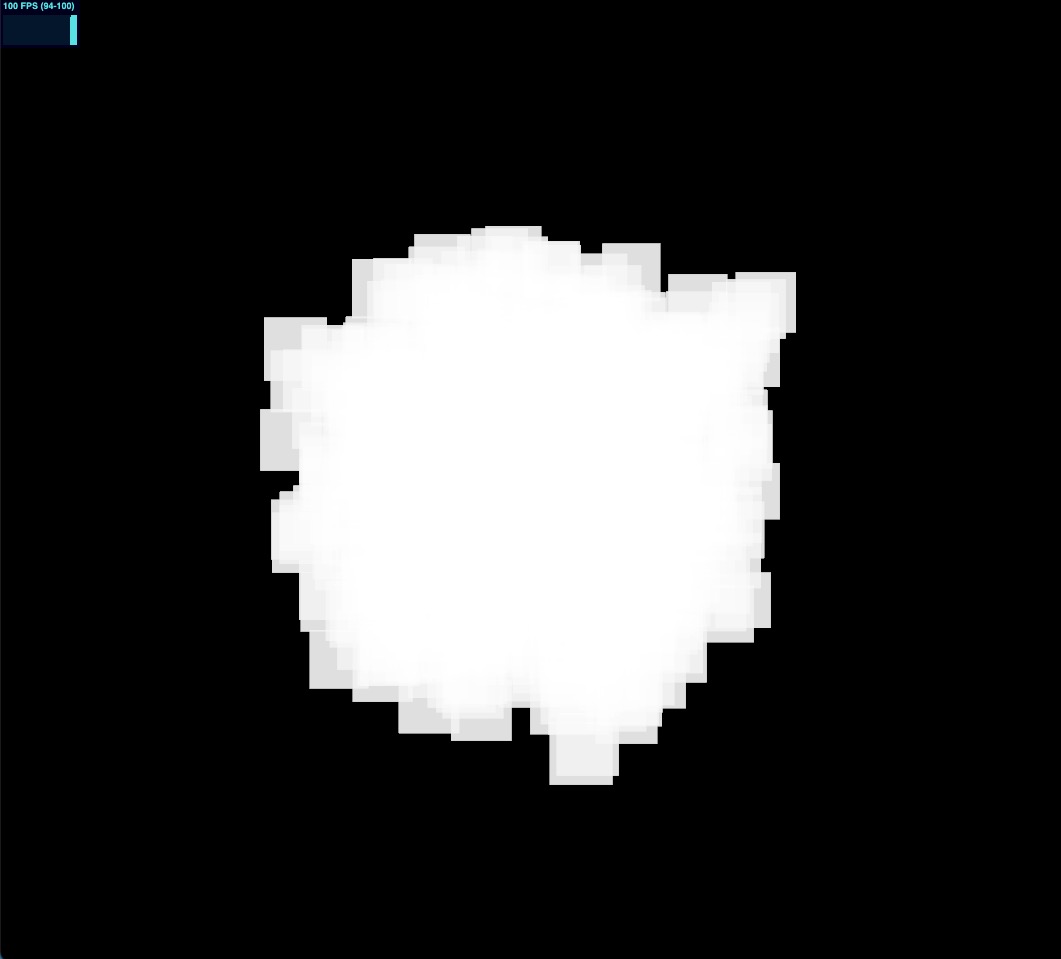
还好,我们能看到粒子,它们太大了几乎占满了整个屏幕! 😮💨
让我们通过为 scaleNode 设置一个随机值来修复它:
// ... import { range } from "three/tsl"; // ... export const GPGPUParticles = ({ nbParticles = 1000 }) => { // ... const { nodes, uniforms } = useMemo(() => { // ... const scale = vec3(range(0.001, 0.01)); return { uniforms, nodes: { positionNode: spawnPosition.add(offsetPosition), colorNode: uniforms.color, scaleNode: scale, }, }; }, []); return ( <> <sprite count={nbParticles}> <spriteNodeMaterial {...nodes} transparent depthWrite={false} blending={AdditiveBlending} /> </sprite> </> ); }; // ...
在这种情况下,我们可以使用 range 函数生成 0.001 和 0.01 之间的随机值。
完美,现在我们的粒子具有不同的大小和位置! 🎉
不过有点静态,我们需要给它添加一些运动。
更新计算
像我们为 init compute function 做的那样,让我们创建一个将在每一帧执行的 update compute function。
在此函数中,我们将更新粒子的 position 和 age:
// ... import { deltaTime, If } from "three/tsl"; export const GPGPUParticles = ({ nbParticles = 1000 }) => { // ... const { nodes, uniforms } = useMemo(() => { // ... const instanceSpeed = randValue({ min: 0.01, max: 0.05, seed: 12 }); // update Fn const computeUpdate = Fn(() => { age.addAssign(deltaTime); If(age.greaterThan(lifetime), () => { age.assign(0); offsetPosition.assign(0); }); offsetPosition.addAssign(vec3(instanceSpeed)); })().compute(nbParticles); // ... }, []); // ... }; // ...
React Three Fiber: The Ultimate Guide to 3D Web Development
✨ You have reached the end of the preview ✨
Go to the next level with Three.js and React Three Fiber!
Get full access to this lesson and the complete course when you enroll:
- 🔓 Full lesson videos with no limits
- 💻 Access to the final source code
- 🎓 Course progress tracking & completion
- 💬 Invite to our private Discord community
One-time payment. Lifetime updates included.