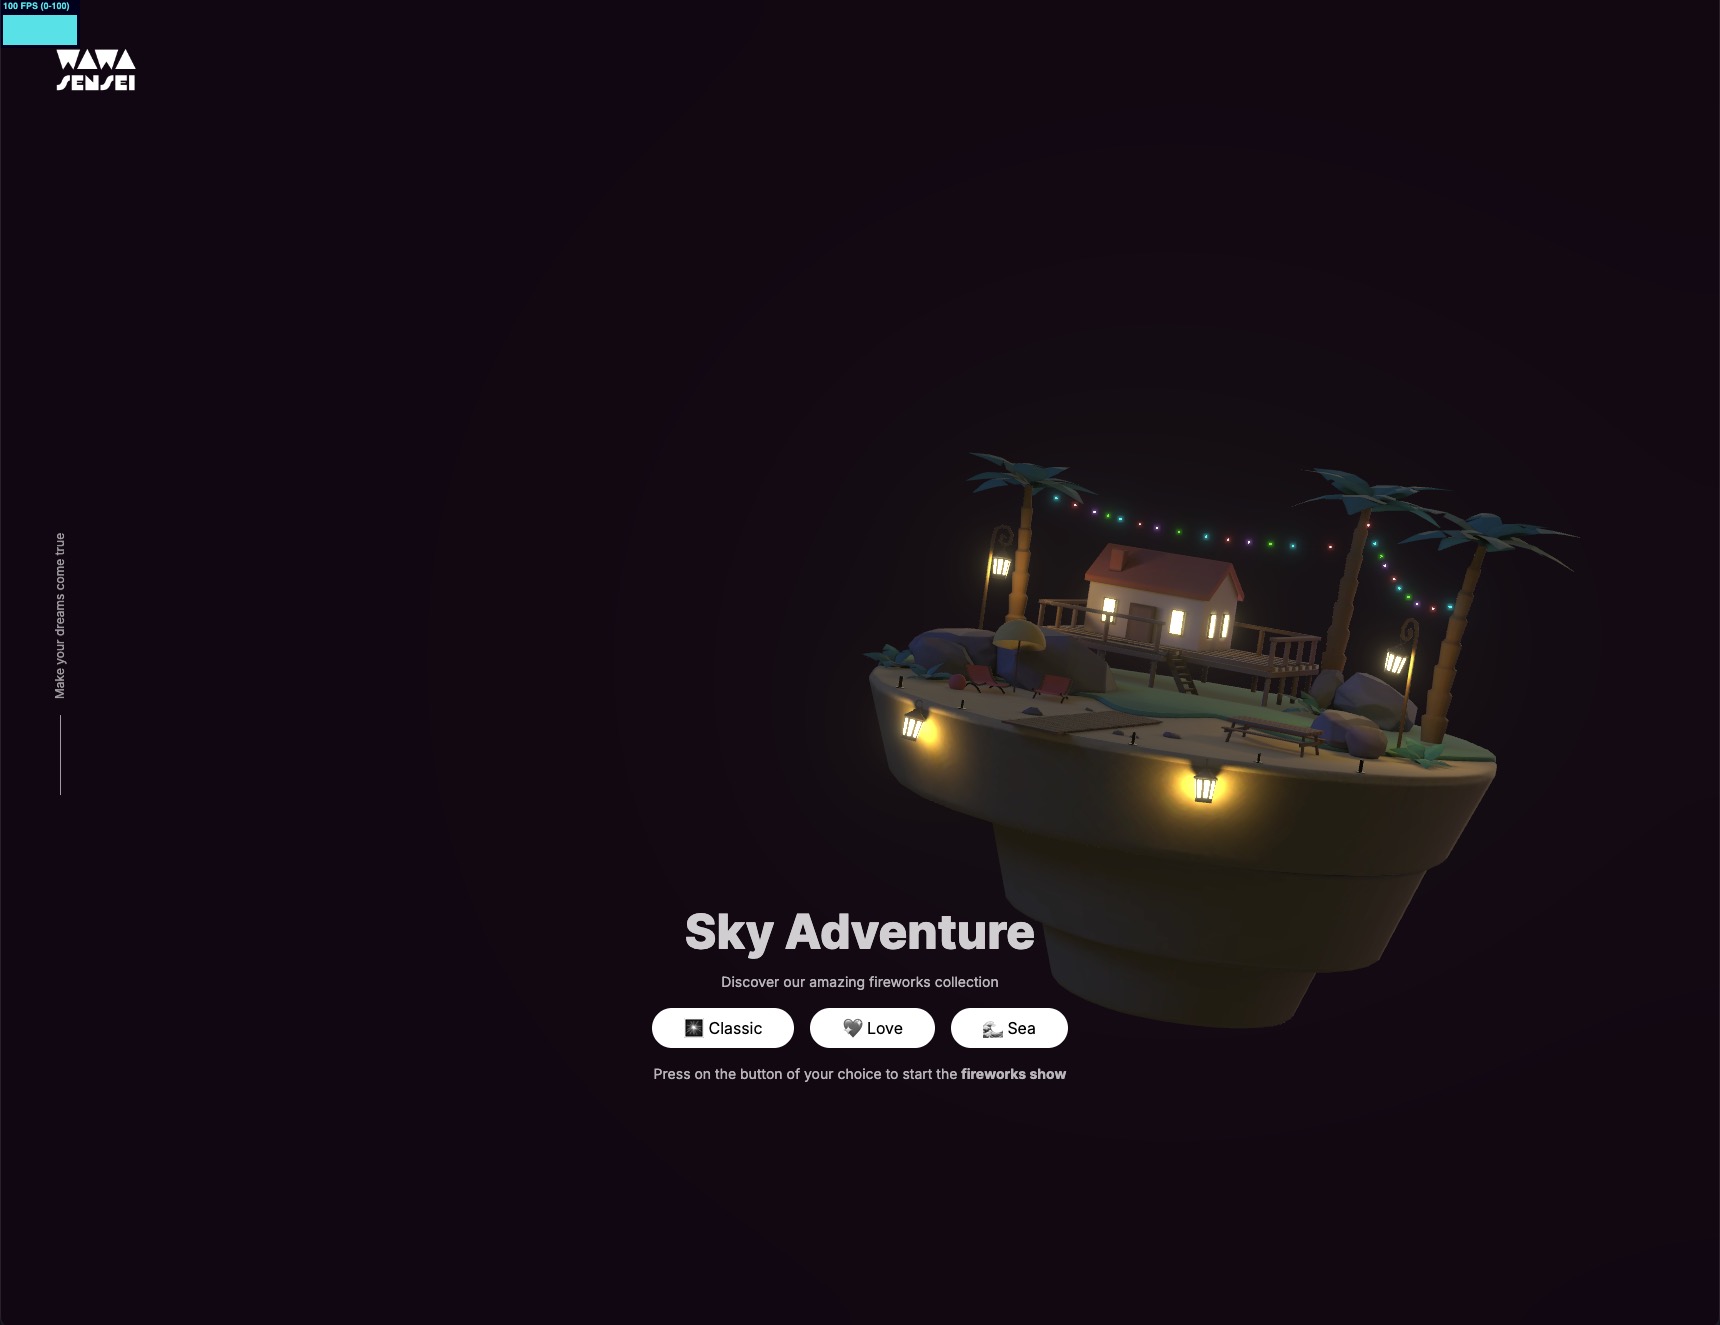
欢迎来到 Sky Adventure,一家提供银河系最佳烟花的未来公司!🎇
我们将使用 Three.js、React Three Fiber 和我们的 VFX 引擎创建一个 3D 网站,以展示我们的烟花。
这就是我们将要一起构建的效果!
启动项目
我们的启动项目已经包含以下内容:
- 一个基础的 React Three Fiber 设置,其中有一个迷人的漂浮岛,我们将从那里发射烟花。
- 后期处理效果,使模型(以及后来的烟花)中的灯光产生辉光。
- 使用 Tailwind CSS 制作的简单 UI,其中有三个按钮,稍后用于发射烟花。
这是我们运行启动项目时得到的效果。
烟火
为了创建烟花,我们将使用我们在上一课中构建的 VFX 引擎。这个引擎允许我们创建和管理具有不同行为的多个粒子系统。
useFireworks
为了高效管理烟花效果,我们将创建一个名为 useFireworks 的自定义 hook。这个 hook 将负责创建和管理烟花。
首先,添加 zustand 库到我们的项目中:
yarn add zustand
现在在一个名为 hooks 的文件夹中,创建一个新文件 useFireworks.js:
import { create } from "zustand"; const useFireworks = create((set, get) => { return { fireworks: [], }; }); export { useFireworks };
这是一个简单的 store,包含一个空的烟花数组。
下面我们添加一个创建烟花的方法:
// ... import { randFloat, randInt } from "three/src/math/MathUtils.js"; const useFireworks = create((set) => { return { fireworks: [], addFirework: () => { set((state) => { return { fireworks: [ ...state.fireworks, { id: `${Date.now()}-${randInt(0, 100)}-${state.fireworks.length}`, position: [0, 0, 0], velocity: [randFloat(-8, 8), randFloat(5, 10), randFloat(-8, 8)], delay: randFloat(0.8, 2), color: ["skyblue", "pink"], }, ], }; }); }, }; }); // ...
addFirework 将向 store 中添加一个新的烟花,包括:
id:作为 React 组件中 key 的唯一标识符。position:烟花的起始位置。velocity:烟花在爆炸前的方向和速度。delay:烟花爆炸前的时间延迟。color:用于烟花爆炸粒子的颜色数组。
现在,我们可以将这个 hook 连接到我们的 UI 以发射烟花。
打开 UI.jsx 并将 addFirework 方法连接到 按钮 上:
import { useFireworks } from "../hooks/useFireworks"; export const UI = () => { const addFirework = useFireworks((state) => state.addFirework); return ( <section className="fixed inset-0 z-10 flex items-center justify-center"> {/* ... */} <div // ... > {/* ... */} <div className="flex gap-4"> <button // .. onClick={addFirework} > 🎆 经典 </button> <button // .. onClick={addFirework} > 💖 爱心 </button> <button // .. onClick={addFirework} > 🌊 海洋 </button> </div> {/* ... */} </div> </section> ); };
为了检测其是否工作,我们创建一个 Fireworks.jsx 组件。我们先简单地在控制台中记录烟花的数据:
import { useFireworks } from "../hooks/useFireworks"; export const Fireworks = () => { const fireworks = useFireworks((state) => state.fireworks); console.log(fireworks); };
然后将其添加到 Experience 组件中:
// ... import { Fireworks } from "./Fireworks"; export const Experience = () => { // ... return ( <> {/* ... */} <Float speed={0.6} rotationIntensity={2} position-x={4} floatIntensity={2} > <Fireworks /> <Gltf src="/models/SkyIsland.glb" /> </Float> {/* ... */} </> ); };
我们导入 Fireworks 组件并将其添加到 <Float /> 组件中的 SkyIsland 旁。
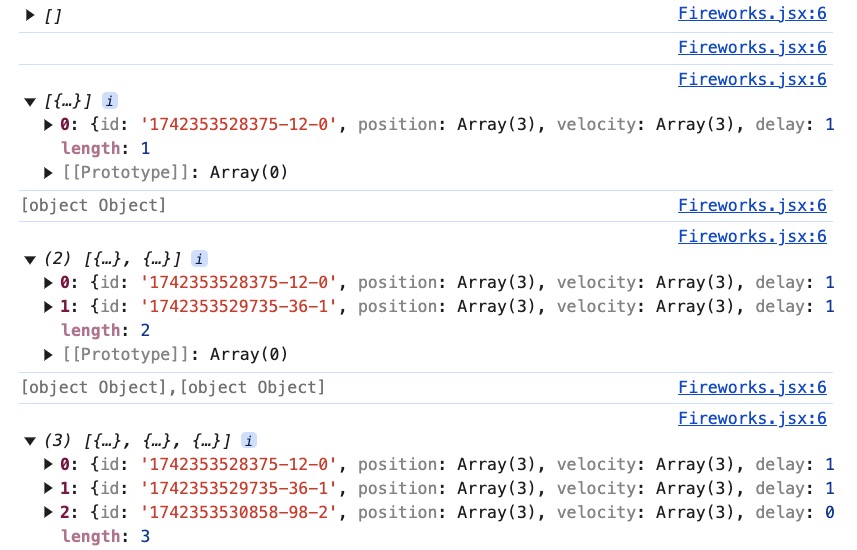
当按下按钮时,我们可以在控制台中看到烟花被正确添加到 store 中。
在将它们呈现在场景中之前,我们需要管理烟花的生命周期。目前,它们被添加但从未被移除。
在我们的 useFireworks hook 中的 addFirework 方法中,我们可以添加一个 setTimeout 来在特定时间后移除烟花。
首先,我们需要知道烟花什么时候生成。我们可以在烟花对象中添加一个 time 属性:
{ id: `${Date.now()}-${randInt(0, 100)}-${state.fireworks.length}`, // ... time: Date.now(), },
然后调用 setTimeout 来移除那些已经爆炸并消失的烟花:
addFirework: () => { set((state) => { // ... }); setTimeout(() => { set((state) => ({ fireworks: state.fireworks.filter( (firework) => Date.now() - firework.time < 4000 // 最长延迟2秒 + 粒子的最大生存时间2秒 ), })); }, 4000); },
我们过滤掉在4秒前添加的烟花。这样,我们就能保留仍在活动的烟花。
根据您将使用的烟花的最终设置调整时间。
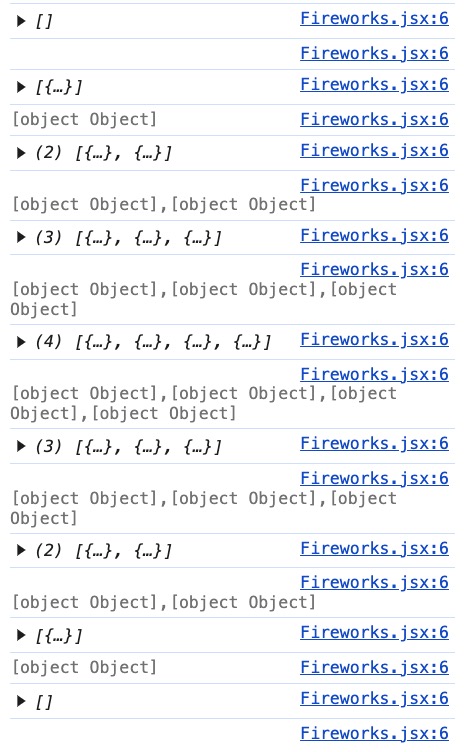
当按下按钮时,我们可以在控制台中看到烟花在特定时间后被正确移除。
现在我们可以深入您一直期待的部分:在场景中创建烟花!
VFX 引擎 (Wawa VFX)
为了避免从上一课中复制粘贴组件,我将 VFX 引擎作为一个 package 发布到 npm 上:Wawa VFX。你可以通过运行以下命令来安装它:
yarn add wawa-vfx@^1.0.0
使用
@^1.0.0,我们确保总是使用 package 的主版本 1,但包括最新的次版本和补丁版本。这样,我们可以受益于最新的功能和 bug 修复,而不会有破坏性的变更。
我们现在可以在项目中使用 <VFXParticles /> 和 <VFXEmitter /> 了!
在 experience 中,让我们将 VFXParticles 组件添加到场景中:
// ... import { VFXParticles } from "wawa-vfx"; export const Experience = () => { const controls = useRef(); return ( <> {/* ... */} <VFXParticles name="firework-particles" settings={{ nbParticles: 100000, gravity: [0, -9.8, 0], renderMode: "billboard", intensity: 3, }} /> <EffectComposer> <Bloom intensity={1.2} luminanceThreshold={1} mipmapBlur /> </EffectComposer> </> ); };
我们为 VFXParticles 组件添加了以下设置:
100000个粒子。当我们达到限制时,最老的粒子将被移除,这应该足以同时处理许多烟花。gravity用于模拟粒子的重力。-9.8是地球的重力。 (但是等等,我们是在太空!👀)renderMode设置为billboard以始终面向相机。intensity设置为3使粒子在夜空中发光。
<VFXParticles />组件的位置并不太重要。但请确保它处于场景的顶层。
接下来,在 VFXParticles 旁边添加一个 VFXEmitter 组件以在 debug 模式下塑造爆炸,并可以访问视觉控制:
// ... import { VFXEmitter, VFXParticles } from "wawa-vfx"; export const Experience = () => { const controls = useRef(); return ( <> {/* ... */} <VFXParticles name="firework-particles" settings={{ nbParticles: 100000, gravity: [0, -9.8, 0], renderMode: "billboard", intensity: 3, }} /> <VFXEmitter emitter="firework-particles" debug /> {/* ... */} </> ); };
确保将 emitter 属性设置为与 VFXParticles 组件相同的 name,并将 debug 设置为 true 以查看控件。
*起草烟花爆炸的第一个版本。*💥
一旦对设置感到满意,你可以从 VFXEmitter 组件中移除 debug 属性,按下导出按钮并将设置粘贴到 VFXEmitter 组件中。
<VFXEmitter emitter="firework-particles" settings={{ nbParticles: 5000, delay: 0, spawnMode: "burst", colorStart: ["skyblue", "pink"], particlesLifetime: [0.1, 2], size: [0.01, 0.4], startPositionMin: [-0.1, -0.1, -0.1], startPositionMax: [0.1, 0.1, 0.1], directionMin: [-1, -1, -1], directionMax: [1, 1, 1], startRotationMin: [degToRad(-90), 0, 0], startRotationMax: [degToRad(90), 0, 0], rotationSpeedMin: [0, 0, 0], rotationSpeedMax: [3, 3, 3], speed: [1, 12], }} />
我们已经准备好将 fireworks 与 VFX 引擎 连接起来!
烟花爆炸
在 Fireworks.jsx 文件中,我们创建一个 Firework 组件来表示一个烟花:
// ... import { useRef } from "react"; import { VFXEmitter } from "wawa-vfx"; export const Fireworks = () => { // ... }; const Firework = ({ velocity, delay, position, color }) => { const ref = useRef(); return ( <> <group ref={ref} position={position}> <VFXEmitter emitter="firework-particles" settings={{ nbParticles: 5000, delay: 0, spawnMode: "burst", colorStart: ["skyblue", "pink"], particlesLifetime: [0.1, 2], size: [0.01, 0.4], startPositionMin: [-0.1, -0.1, -0.1], startPositionMax: [0.1, 0.1, 0.1], directionMin: [-1, -1, -1], directionMax: [1, 1, 1], startRotationMin: [degToRad(-90), 0, 0], startRotationMax: [degToRad(90), 0, 0], rotationSpeedMin: [0, 0, 0], rotationSpeedMax: [3, 3, 3], speed: [1, 12], }} /> </group> </> ); };
只需将 VFXEmitter 从 Experience 组件剪切/粘贴到 Firework 组件中。
我们用 <group /> 将其包裹,以便能够根据 position 和 velocity 在场景中移动烟花。
React Three Fiber: The Ultimate Guide to 3D Web Development
✨ You have reached the end of the preview ✨
Go to the next level with Three.js and React Three Fiber!
Get full access to this lesson and the complete course when you enroll:
- 🔓 Full lesson videos with no limits
- 💻 Access to the final source code
- 🎓 Course progress tracking & completion
- 💬 Invite to our private Discord community
One-time payment. Lifetime updates included.