Shader 转场
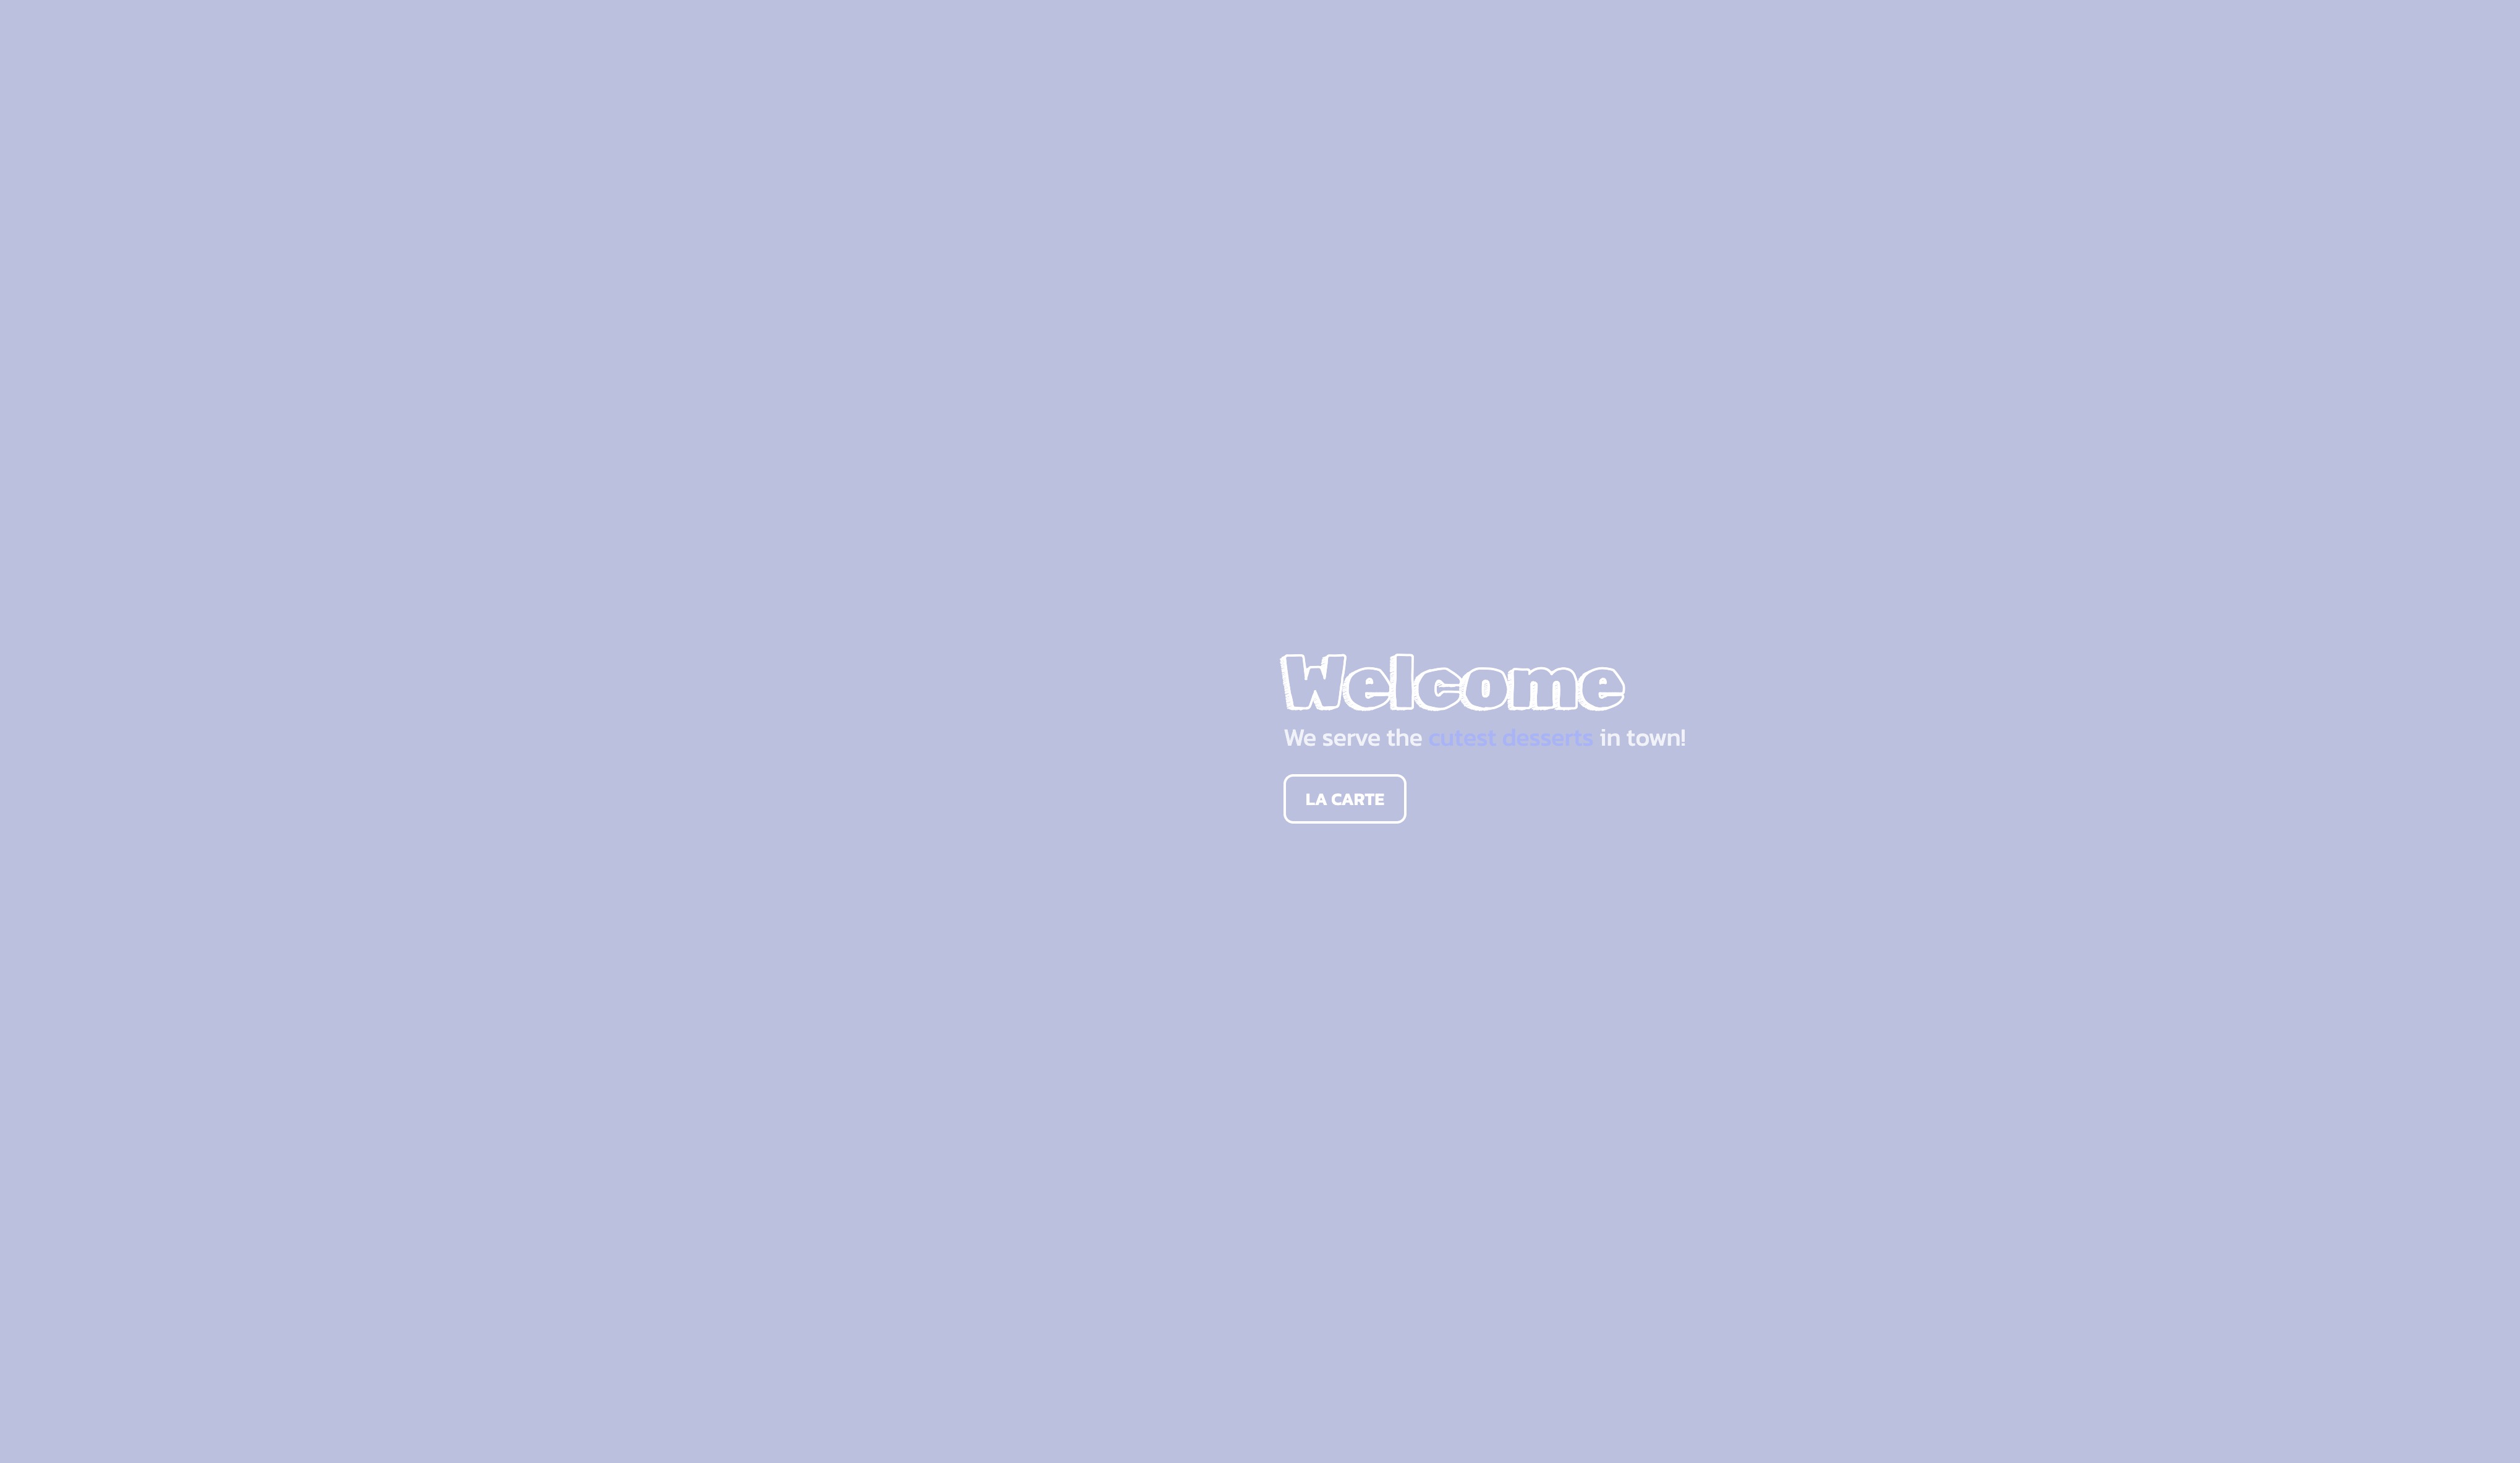
在本课中,我们将学习如何使用 shaders 创建转场效果。
我们将创建的第一个效果是屏幕转场效果:
我们可以完全控制转场效果,可以更改持续时间、缓动函数以及 shader 本身。
我们将创建的第二个效果是模型转场效果:
在淡出时,模型会溶解并且颜色渐变为白色,淡入时则相反。
启动包
以下是本课中使用的所有 3D 模型,由 Ergoni 提供并授权于 Creative Commons Attribution:
启动包使用了以下软件包:
- 用于样式的 Tailwind CSS
- 用于动画的 Framer Motion
- 用于管理组件之间共享状态的 Jotai library
使用的两个字体是 Kanit 和 Rubik Doodle Shadow,均来自 Google Fonts.
可以随意根据你的喜好调整任何组件。
您可以通过在右上角使用 Leva 控件来调整颜色。一旦找到满意的颜色,将 hidden 属性添加到 App.jsx 中的 Leva 组件:
// ... function App() { // ... return ( <> <Leva hidden /> {/* ... */} </> ); } // ...
屏幕过渡效果
让我们开始创建屏幕过渡效果。我们将制作一个名为 ScreenTransition 的组件来处理过渡效果。
在 components 文件夹中创建一个新文件,名为 ScreenTransition.jsx:
export const ScreenTransition = ({ transition, color }) => { return ( <mesh> <planeGeometry args={[2, 2]} /> <meshBasicMaterial color={color} /> </mesh> ); };
在这个组件中,我们创建了一个完整覆盖屏幕的彩色平面。我们将使用这个平面在屏幕之间进行过渡。
我们的组件接收两个 props:
- transition:一个布尔值,用于判断组件是否应该显示过渡效果
- color:过渡效果的主色
让我们将 ScreenTransition 组件添加到 App.jsx 中:
// ... import { ScreenTransition } from "./components/ScreenTransition"; function App() { // ... return ( <> {/* ... */} <Canvas camera={{ position: [0, 1.8, 5], fov: 42 }}> <color attach="background" args={[backgroundColor]} /> <fog attach="fog" args={[backgroundColor, 5, 12]} /> <ScreenTransition transition color="#a5b4fc" /> <Suspense> <Experience /> </Suspense> </Canvas> </> ); } export default App;
目前,我们通过传递 true 强制显示过渡效果。稍后我们将添加控制过渡效果的逻辑。
根据您的喜好调整颜色。如果更改,请确保在 index.css 文件中更新颜色,以避免网站加载时颜色闪烁:
// ... html { background-color: #a5b4fc; }

平面在场景的中间。
全屏平面
我们希望我们的平面覆盖整个屏幕。我们可以使用viewport的尺寸并让它面向相机,但我们也希望它在所有内容之上。
为此,Drei 提供了一个 Hud 组件,它可以将其子元素渲染在所有内容之上。我们可以向 Hud 组件添加一个固定相机,以确保它与我们的平面对齐完美:
import { Hud, OrthographicCamera } from "@react-three/drei"; export const ScreenTransition = ({ transition, color }) => { return ( <Hud> <OrthographicCamera makeDefault top={1} right={1} bottom={-1} left={-1} near={0} far={1} /> <mesh> <planeGeometry args={[2, 2]} /> <meshBasicMaterial color={color} /> </mesh> </Hud> ); };
我们使用一个 OrthographicCamera 来轻松覆盖整个屏幕,无论相机和平面之间的距离是多少。
平面现在覆盖了整个屏幕。
转场逻辑
在创建我们的自定义 shader 之前,最后一件事是在 UI.jsx 中定义一个 transition 状态:
// ... import { atom } from "jotai"; export const transitionAtom = atom(true); // ...
我们将初始值设置为 true,以便在网站加载后开始淡出效果。
我们将使用此状态来控制转场效果。
仍然在 UI.jsx 中,我们将定义两个常量来控制转场效果的持续时间和延迟:
// ... export const TRANSITION_DELAY = 0.8; export const TRANSITION_DURATION = 3.2; // ...
现在让我们用一个新的函数替换 setScreen 函数调用,这个新函数将处理转场效果:
// ... import { useAtom } from "jotai"; import { useRef } from "react"; // ... export const UI = () => { // ... const [transition, setTransition] = useAtom(transitionAtom); const timeout = useRef(); // ... const transitionToScreen = (newScreen) => { setTransition(true); clearTimeout(timeout.current); timeout.current = setTimeout(() => { setScreen(newScreen); setTransition(false); }, TRANSITION_DURATION * 1000 + TRANSITION_DELAY * 1000); }; // ... };
我们不是直接设置新屏幕,而是设置 transition 状态为 true,并使用 setTimeout 在转场效果完成后设置新屏幕_(转场效果的持续时间加上延迟)_。
现在我们的函数已经准备好了,在 UI 组件中搜索 setScreen 调用并将其替换为 transitionToScreen。
从 home 到 menu:
<motion.button onClick={() => transitionToScreen("menu")} // ... >
从 menu 到 home:
<motion.button onClick={() => transitionToScreen("home")} // ... >
React Three Fiber: The Ultimate Guide to 3D Web Development
✨ You have reached the end of the preview ✨
Go to the next level with Three.js and React Three Fiber!
Get full access to this lesson and the complete course when you enroll:
- 🔓 Full lesson videos with no limits
- 💻 Access to the final source code
- 🎓 Course progress tracking & completion
- 💬 Invite to our private Discord community
One-time payment. Lifetime updates included.