在3D图形中,阴影用于模拟光照到物体上并在另一个物体上投射阴影的效果。
投射和接收阴影
React Three Fiber 可以轻松地将阴影添加到场景中。
首先,我们需要通过在 <Canvas /> 组件上添加 shadows 属性来全局启用阴影:
<Canvas shadows />
然后,您需要在将投射阴影的对象上启用阴影:
<mesh castShadow />
以及在将接收阴影的对象上启用阴影:
<mesh receiveShadow />
当然,您可以在同一个对象上同时启用两种阴影:
<mesh castShadow receiveShadow />
让我们在项目中实现它:
<Canvas shadows camera={{ position: [0, 3, 3] }}> {/* ... */} <mesh rotation-y={Math.PI / 4} castShadow> <boxGeometry /> <meshStandardMaterial color="white" /> </mesh> <mesh rotation-x={-Math.PI / 2} position-y={-0.5} receiveShadow> <planeGeometry args={[5, 5]} /> <meshStandardMaterial color="white" /> </mesh> </Canvas>
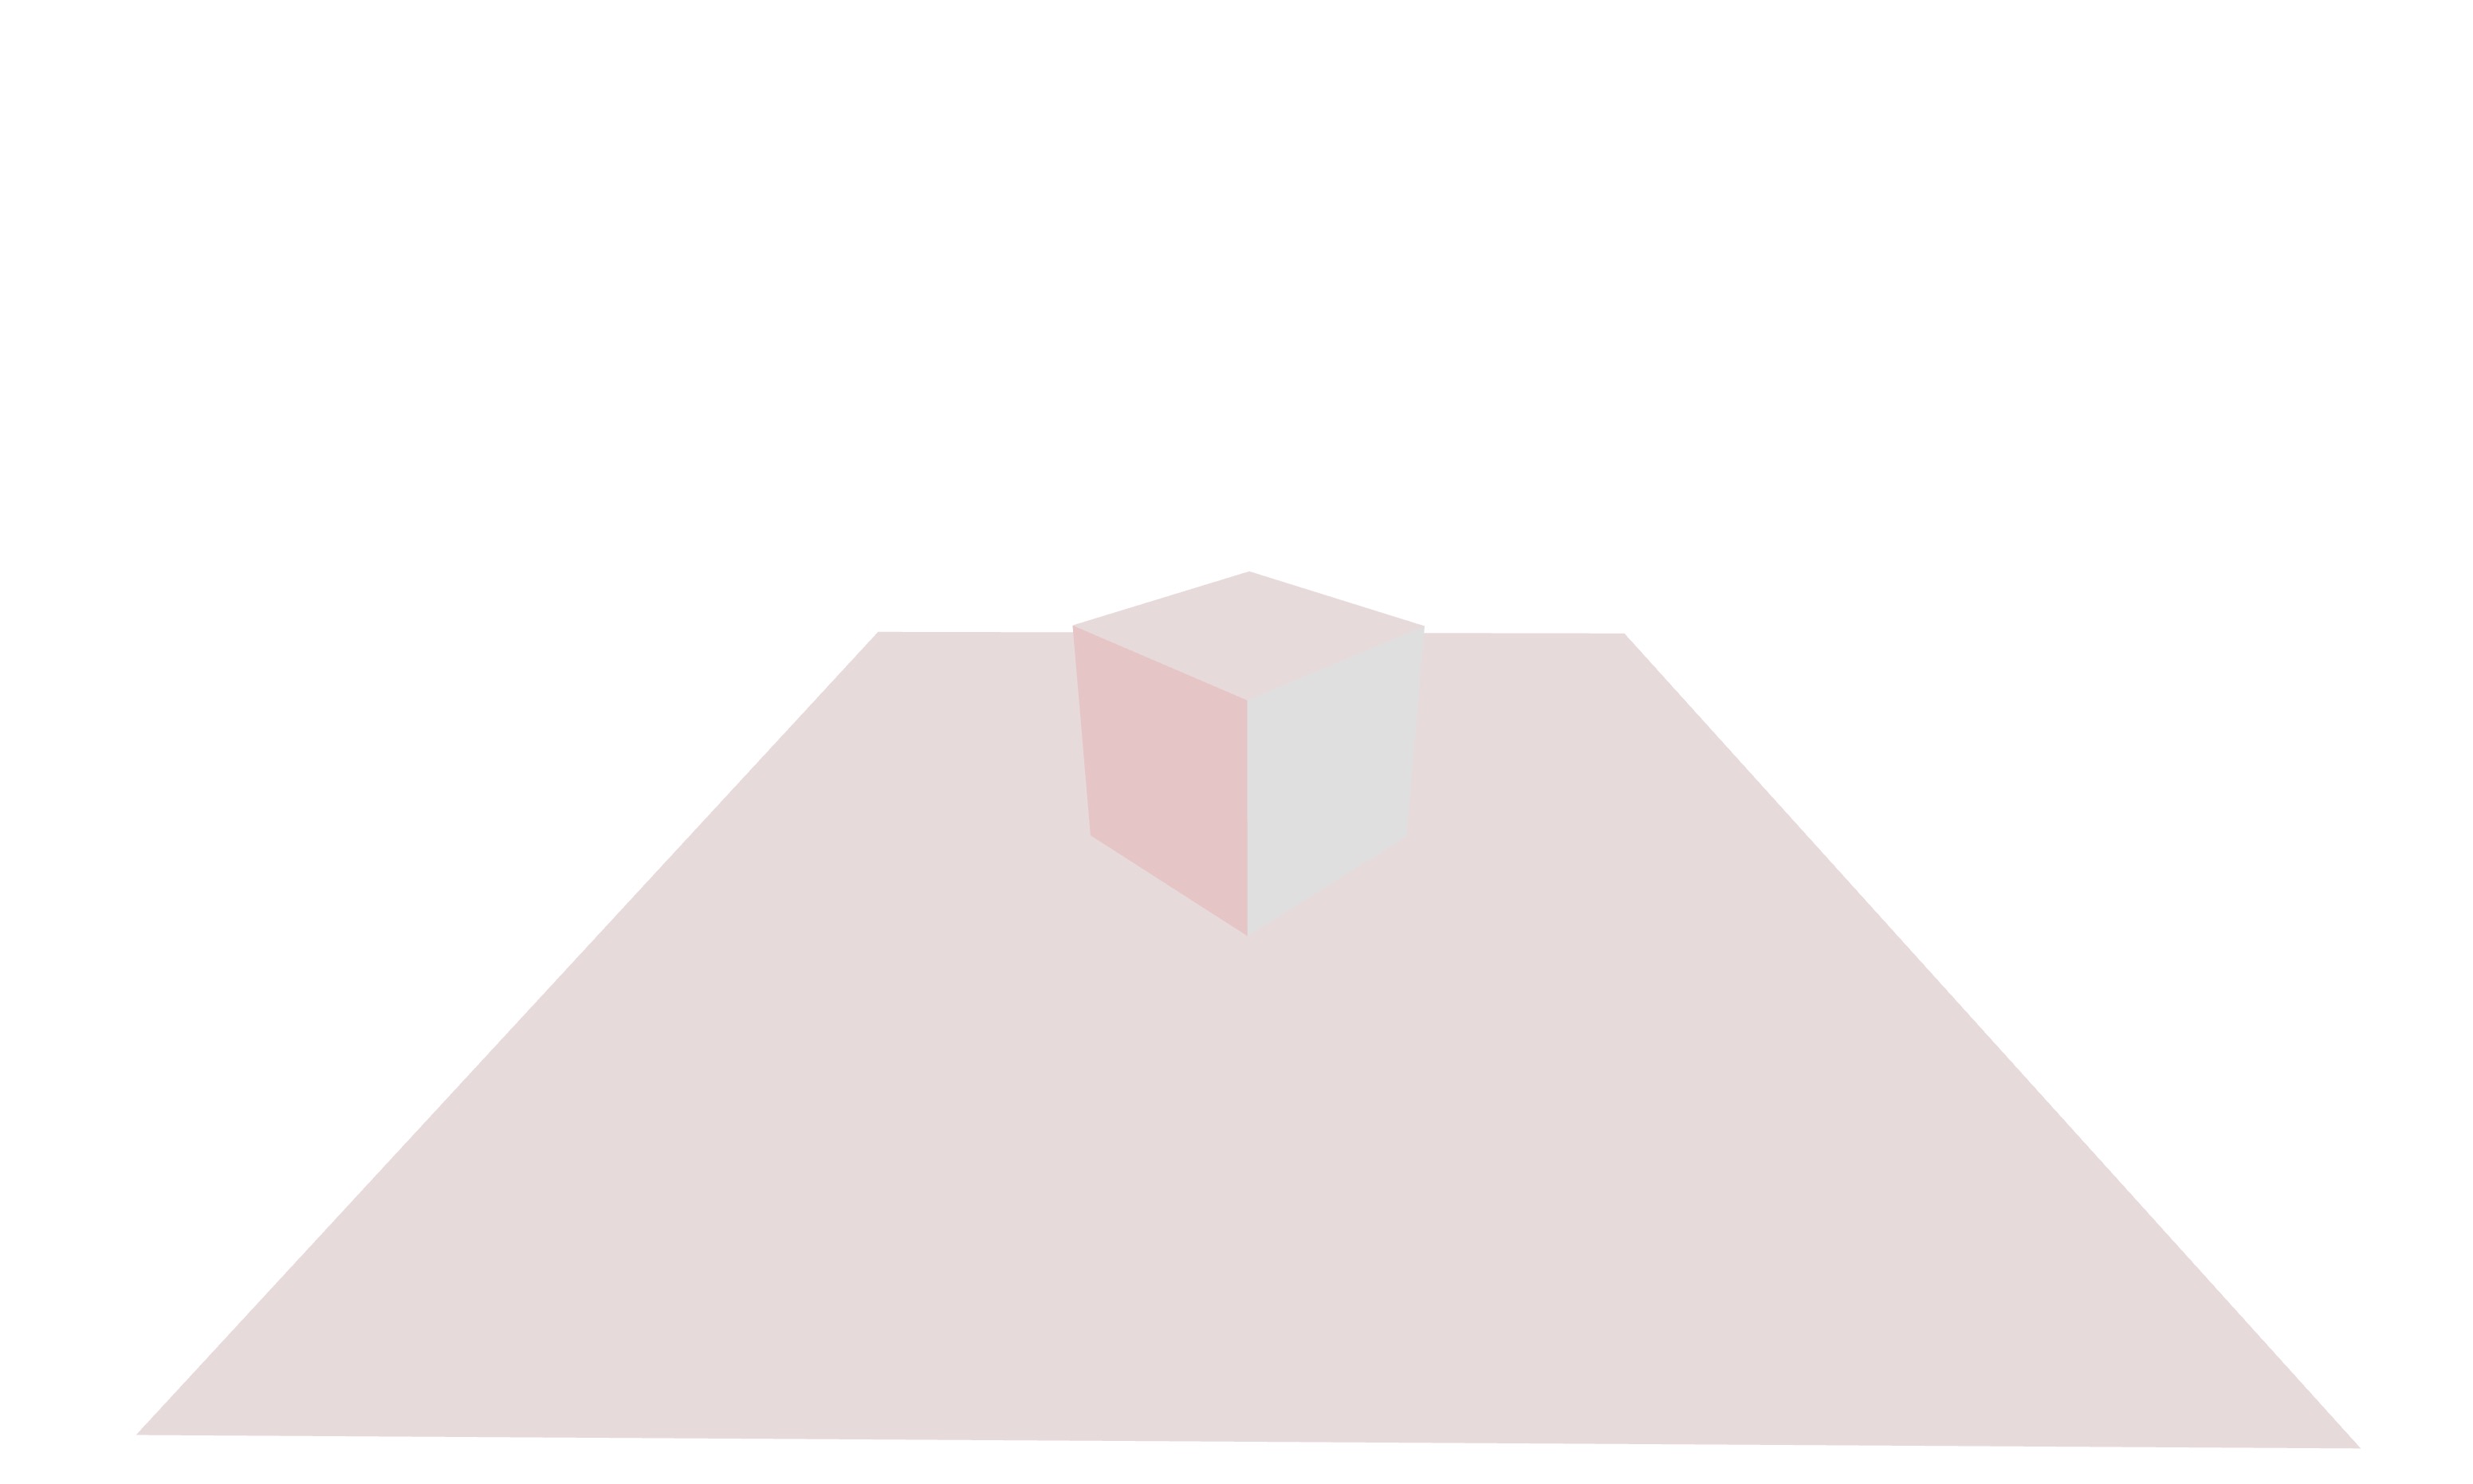
我们在 <Canvas /> 上添加了 shadows,在立方体上添加了 castShadow,在平面上添加了 receiveShadow,但什么也没有发生。
这是因为我们还需要指定哪个光源将投射阴影。
{ /* ... */ } <directionalLight position={[5, 5, 5]} intensity={0.5} castShadow />; { /* ... */ }
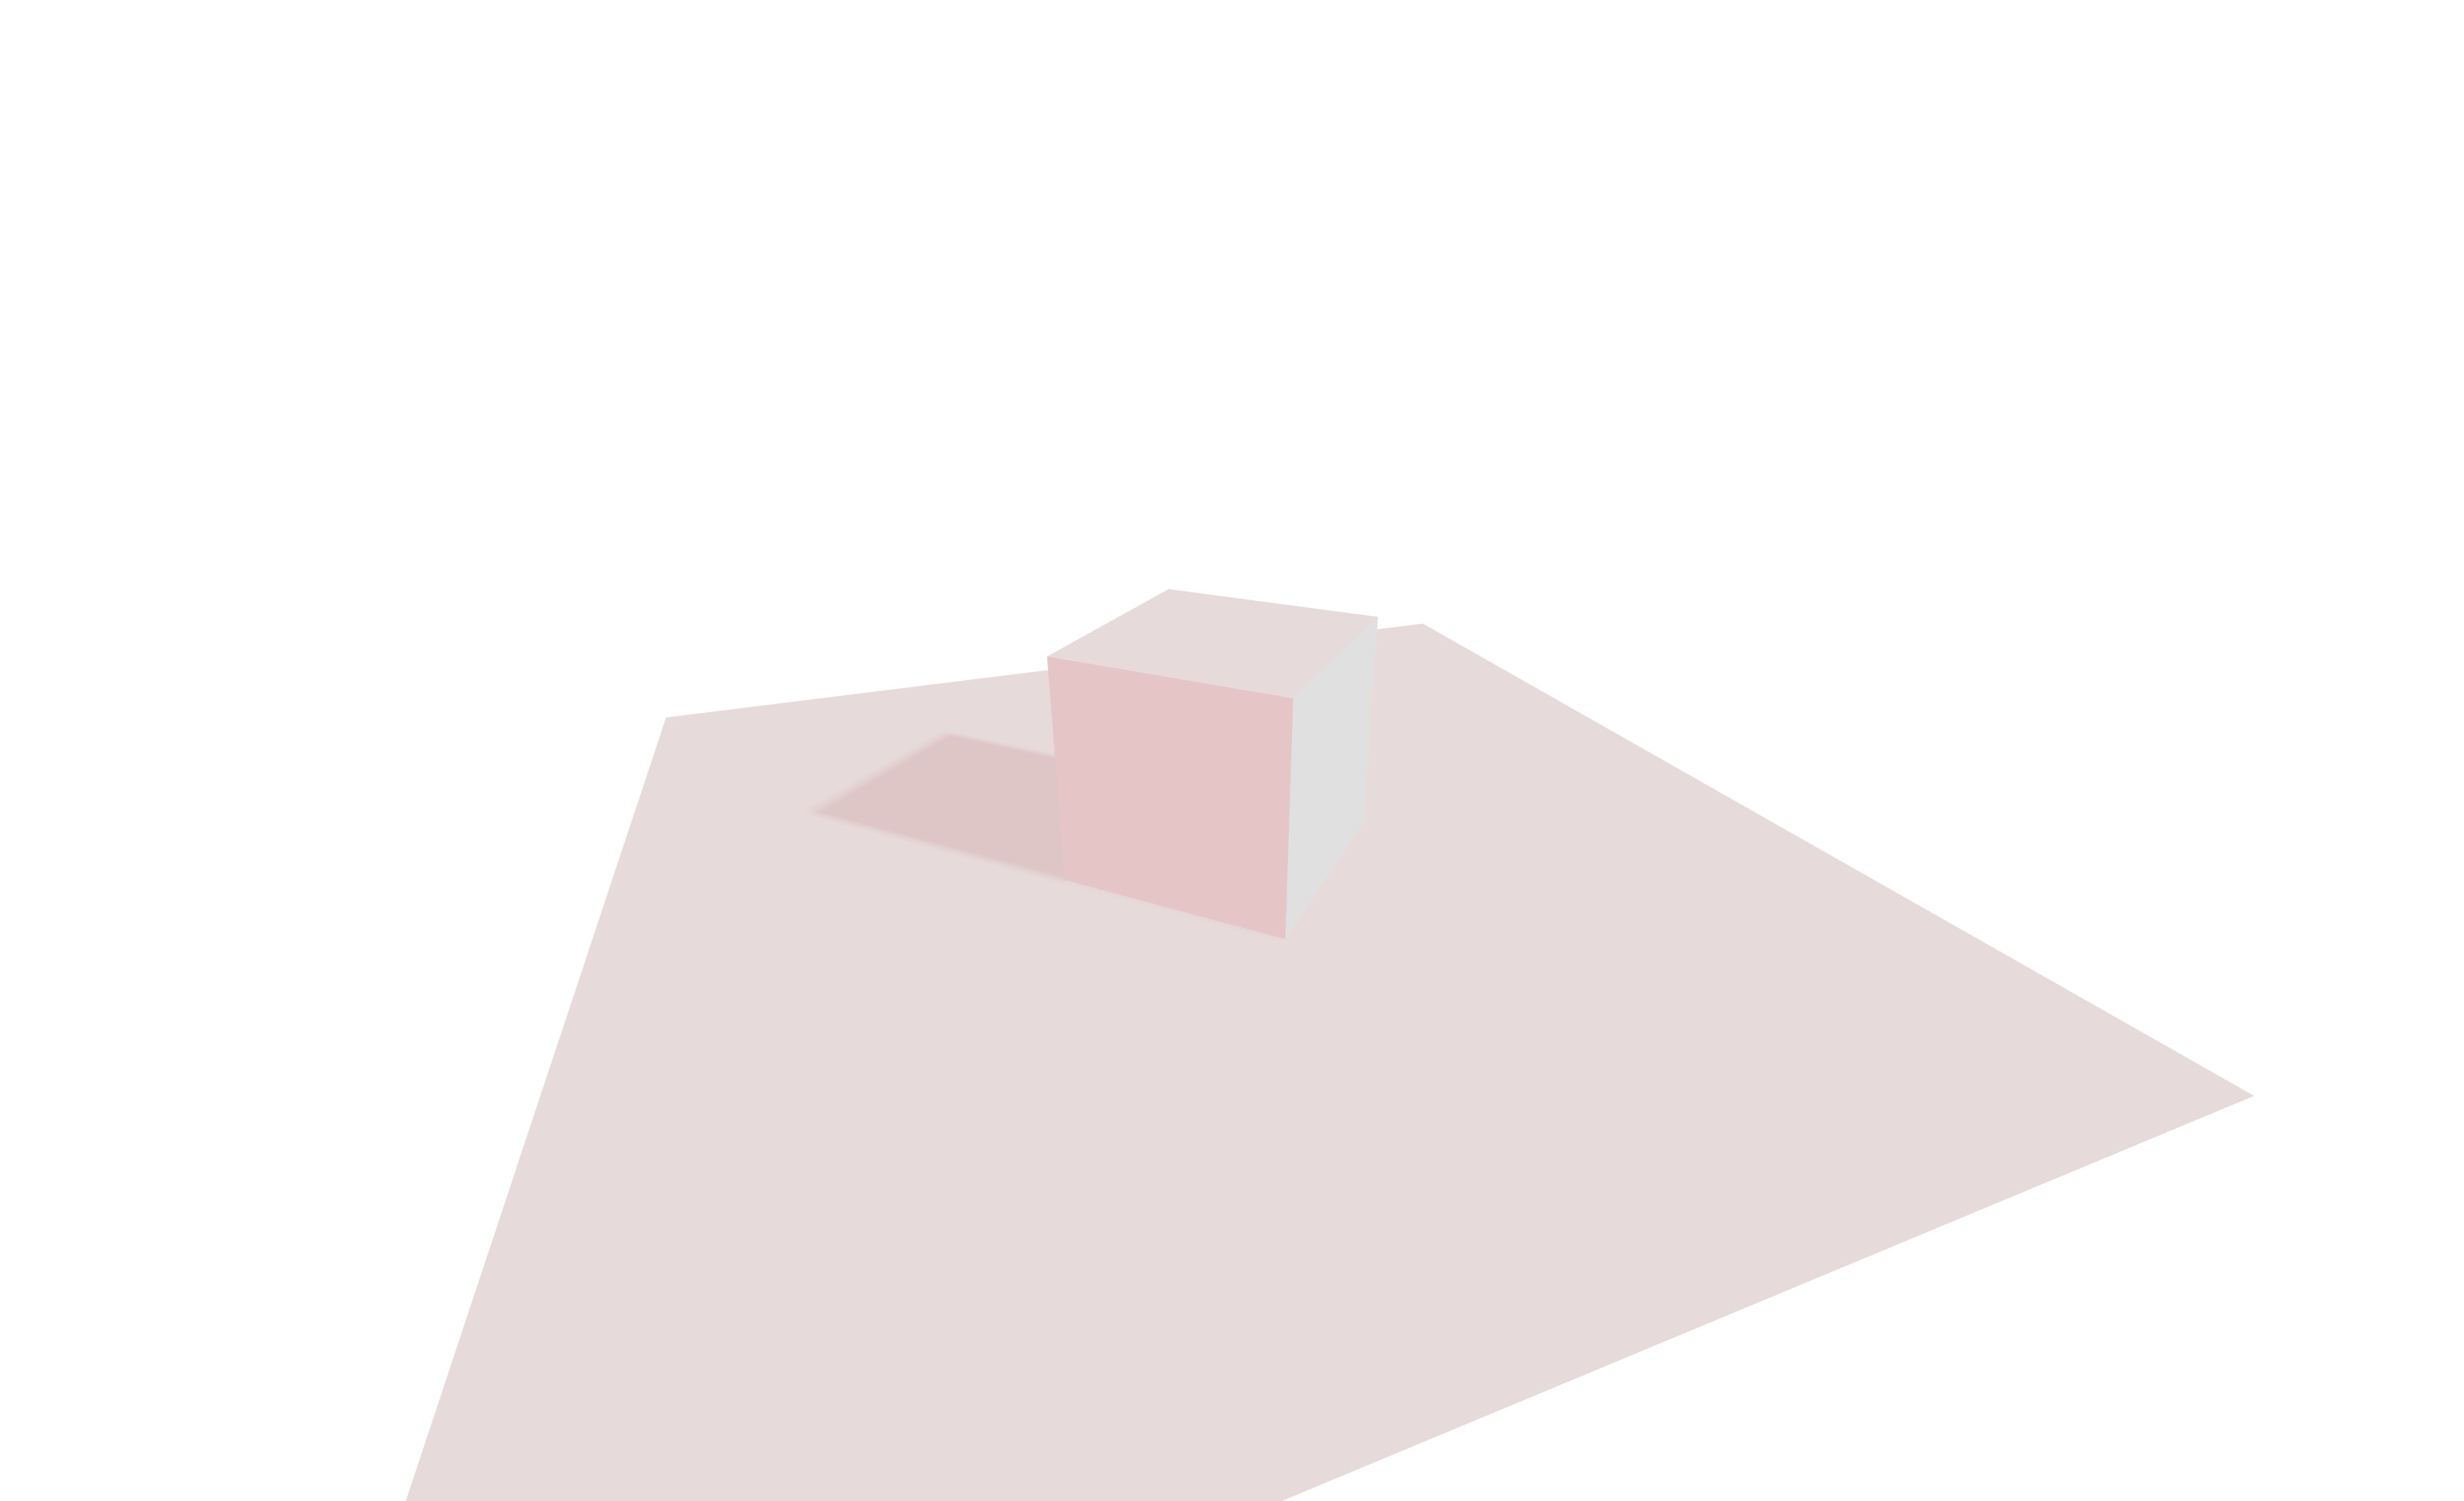
现在,我们可以看到立方体在平面上的阴影。我们还可以设置多个光源投射阴影:
{/* ... */} <directionalLight position={[5, 5, 5]} intensity={0.5} castShadow /> <directionalLight position={[-5, 5, 5]} intensity={0.5} color="red" castShadow /> {/* ... */}
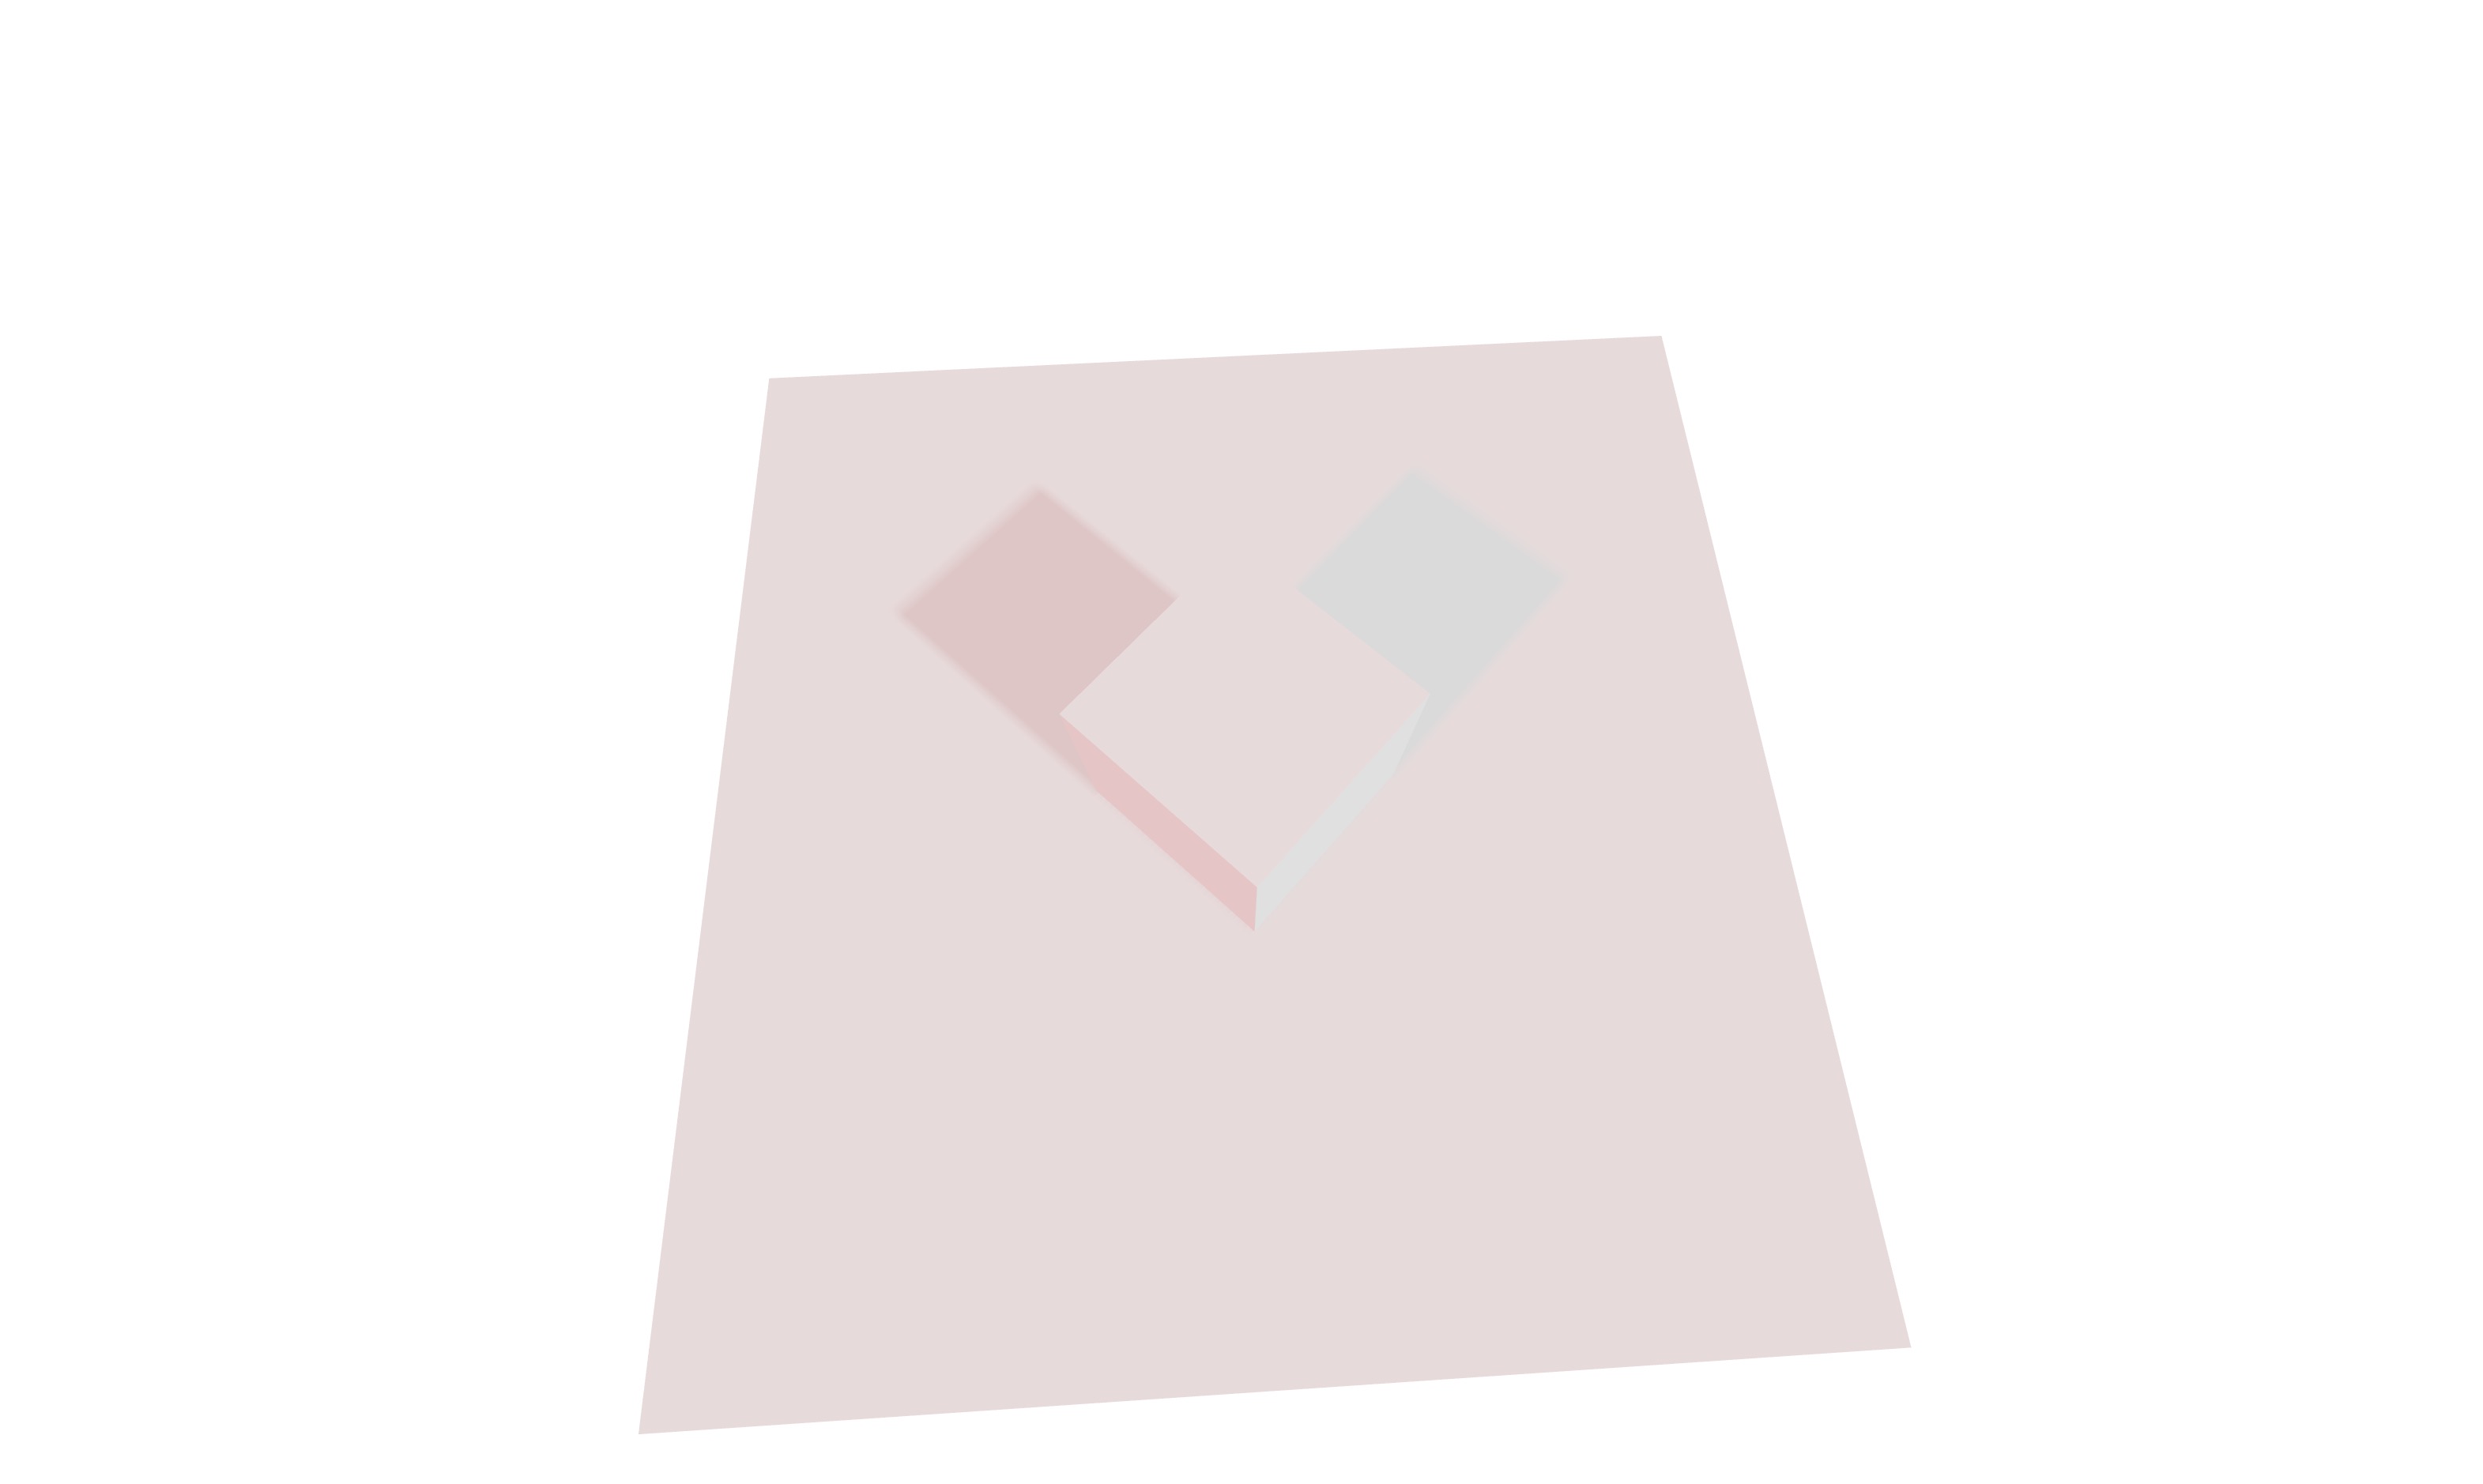
观察阴影颜色如何受到光源颜色的影响。
让我们在场景中添加一个球体:
React Three Fiber: The Ultimate Guide to 3D Web Development
✨ You have reached the end of the preview ✨
Go to the next level with Three.js and React Three Fiber!
Get full access to this lesson and the complete course when you enroll:
- 🔓 Full lesson videos with no limits
- 💻 Access to the final source code
- 🎓 Course progress tracking & completion
- 💬 Invite to our private Discord community
Unlock the Full Course – Just $85
One-time payment. Lifetime updates included.