Motor de VFX
Hasta ahora, hemos creado componentes personalizados para crear partículas en nuestras escenas 3D. La mayoría de las veces, queremos hacer casi lo mismo: emitir partículas desde un punto en el espacio y animarlas con el tiempo (color, tamaño, posición, etc.)
En lugar de duplicar el mismo código una y otra vez, podemos crear un motor de VFX relativamente genérico que se pueda usar para crear diferentes tipos de efectos de partículas.
Viene con muchos beneficios:
- Reusabilidad: Puedes usar el mismo motor para crear diferentes tipos de efectos de partículas en tus proyectos.
- Rendimiento: El motor puede ser optimizado para manejar eficientemente una gran cantidad de partículas y fusionar múltiples sistemas de partículas en uno solo.
- Flexibilidad: Puedes personalizar fácilmente el comportamiento de las partículas cambiando los parámetros del motor.
- Facilidad de uso: Puedes crear efectos complejos de partículas con solo unas pocas líneas de código.
- Evitar la duplicación de código: No tienes que escribir el mismo código múltiples veces.
Usaremos este motor de VFX en las próximas lecciones para crear varios efectos. Aunque puedes saltarte esta lección y usar el motor directamente, entender cómo funciona te ayudará a comprender más a fondo cómo dominar el rendimiento y la flexibilidad en tus proyectos 3D.
¿Listo para construir tu motor de VFX? ¡Comencemos!
Partículas en GPU
Hemos visto en las lecciones anteriores cómo podemos usar el componente <Instances /> de drei para crear partículas controladas en nuestras escenas 3D.
Pero este enfoque tiene una limitación principal: el número de partículas que podemos manejar está limitado por la CPU. Cuantas más partículas tengamos, más tiene que manejarlas la CPU, lo que puede llevar a problemas de rendimiento.
Esto se debe a que, en segundo plano, el componente <Instances /> realiza cálculos para obtener la posición, color y tamaño de cada <Instance /> en su bucle useFrame. Puedes ver el código aquí.
Para nuestro Motor de VFX, queremos poder generar muchas más partículas de las que podemos manejar con el componente <Instances />. Usaremos la GPU para manejar la posición, color y tamaño de las partículas. Lo que nos permite manejar cientos de miles de partículas (¿millones? 👀) sin problemas de rendimiento.
Instanced Mesh
Aunque podríamos usar Sprite o Points para crear partículas, utilizaremos InstancedMesh.
Esto nos permite renderizar no solo formas simples como puntos o sprites, sino también formas 3D como cubos, esferas y geometrías personalizadas.
Vamos a crear un componente en una nueva carpeta vfxs llamada VFXParticles.jsx:
import { useMemo, useRef } from "react"; import { PlaneGeometry } from "three"; export const VFXParticles = ({ settings = {} }) => { const { nbParticles = 1000 } = settings; const mesh = useRef(); const defaultGeometry = useMemo(() => new PlaneGeometry(0.5, 0.5), []); return ( <> <instancedMesh args={[defaultGeometry, null, nbParticles]} ref={mesh}> <meshBasicMaterial color="orange" /> </instancedMesh> </> ); };
Creamos la geometry que se utilizará para cada partícula. En este caso, usamos una geometría de plano simple con un tamaño de 0.5 en ambos ejes. Más adelante añadiremos una prop para pasar cualquier geometría que queramos.
El componente instancedMesh acepta tres argumentos:
- La geometry de las partículas.
- El material de las partículas. Pasamos
nullpara definirlo de forma declarativa dentro del componente. - El número de instances que el componente podrá manejar. Para nosotros, representa el número máximo de partículas que pueden mostrarse al mismo tiempo.
Reemplacemos el cubo naranja con nuestro componente VFXParticles en el archivo Experience.jsx:
// ... import { VFXParticles } from "./vfxs/VFXParticles"; export const Experience = () => { return ( <> {/* ... */} <VFXParticles /> </> ); };

Puedes ver una partícula naranja en el medio de la escena. Este es nuestro componente VFXParticles.
Nuestro número de partículas está configurado a 1000, pero solo podemos ver una. Esto se debe a que todas se están renderizando en la misma posición (0, 0, 0). Vamos a cambiar eso.
Matriz de Instancias
El mesh instanciado utiliza una matriz para definir la posición, rotación y escala de cada instancia. Al actualizar la propiedad instanceMatrix de nuestro mesh, podemos mover, rotar y escalar cada partícula individualmente.
Para cada instancia, la matriz es una matriz 4x4 que representa la transformación de la partícula. La clase Matrix4 de Three.js nos permite compose y decompose la matriz para establecer/obtener la posición, rotación y escala de la partícula de una manera más comprensible.
Encima de la declaración de VFXParticles, declaremos algunas variables temporales para manipular las partículas sin recrear Vectores y Matrices con demasiada frecuencia:
// ... import { Euler, Matrix4, PlaneGeometry, Quaternion, Vector3 } from "three"; const tmpPosition = new Vector3(); const tmpRotationEuler = new Euler(); const tmpRotation = new Quaternion(); const tmpScale = new Vector3(1, 1, 1); const tmpMatrix = new Matrix4();
Ahora creamos una función emit para configurar nuestras partículas:
// ... import { useEffect } from "react"; // ... export const VFXParticles = ({ settings = {} }) => { // ... const emit = (count) => { for (let i = 0; i < count; i++) { const position = [ randFloatSpread(5), randFloatSpread(5), randFloatSpread(5), ]; const scale = [ randFloatSpread(1), randFloatSpread(1), randFloatSpread(1), ]; const rotation = [ randFloatSpread(Math.PI), randFloatSpread(Math.PI), randFloatSpread(Math.PI), ]; tmpPosition.set(...position); tmpRotationEuler.set(...rotation); tmpRotation.setFromEuler(tmpRotationEuler); tmpScale.set(...scale); tmpMatrix.compose(tmpPosition, tmpRotation, tmpScale); mesh.current.setMatrixAt(i, tmpMatrix); } }; useEffect(() => { emit(nbParticles); }, []); // ... };
La función emit recorre el número de partículas que queremos emitir y establece una posición, rotación y escala aleatorias para cada partícula. Luego componemos la matriz con estos valores y la asignamos a la instancia en el índice actual.
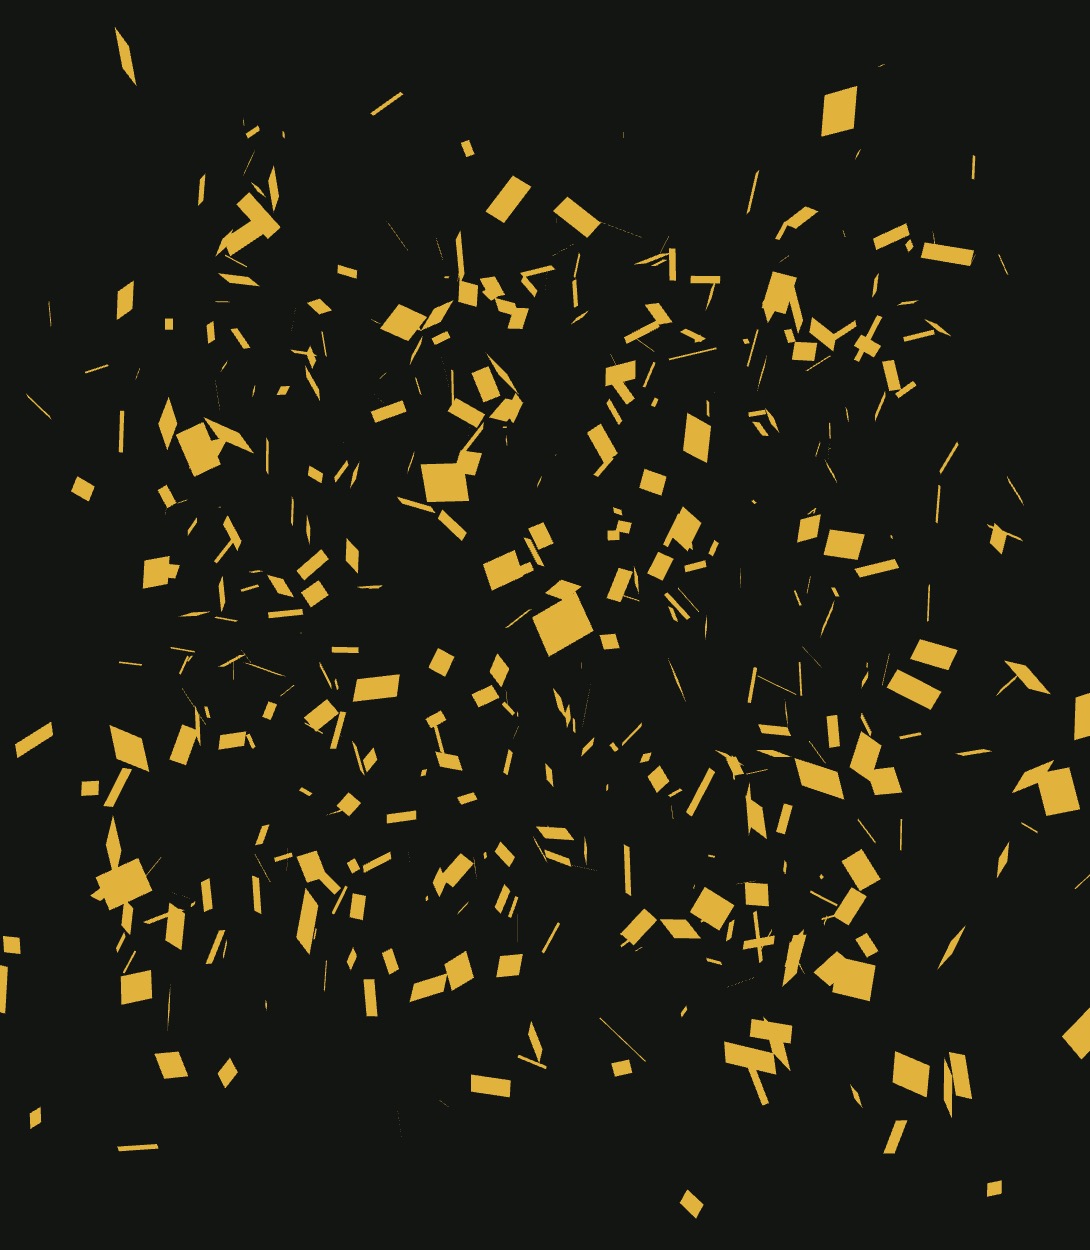
Puedes ver partículas aleatorias en la escena. Cada partícula tiene una posición, rotación y escala aleatorias.
Para animar nuestras partículas, definiremos atributos como lifetime, speed, direction para que el cálculo pueda realizarse en la GPU.
Antes de hacer eso, necesitamos cambiar a un shader material personalizado para manejar estos atributos, ya que no tenemos acceso ni control sobre los atributos del meshBasicMaterial.
Material de Partículas
Nuestro primer objetivo será no ver ningún cambio entre el meshBasicMaterial y nuestro nuevo shaderMaterial. Crearemos un material de shader simple que renderee las partículas de la misma manera que lo hace actualmente el meshBasicMaterial.
En el componente VFXParticles, vamos a crear un nuevo material de shader:
// ... import { shaderMaterial } from "@react-three/drei"; import { extend } from "@react-three/fiber"; import { Color } from "three"; const ParticlesMaterial = shaderMaterial( { color: new Color("white"), }, /* glsl */ ` varying vec2 vUv; void main() { gl_Position = projectionMatrix * modelViewMatrix * vec4(instanceMatrix * vec4(position, 1.0)); vUv = uv; } `, /* glsl */ ` uniform vec3 color; varying vec2 vUv; void main() { gl_FragColor = vec4(color, 1.0); }` ); extend({ ParticlesMaterial });
Este es un material de shader muy simple que toma un uniforme color y renderiza las partículas con este color. Lo único nuevo aquí es el instanceMatrix que usamos para obtener la position, rotation y scale de cada partícula.
Nota que no necesitamos declarar el atributo
instanceMatrixya que este es uno de los atributos incorporados delWebGLProgramcuando se utiliza instancing. Se puede encontrar más información aquí.
Reemplacemos el meshBasicMaterial con nuestro nuevo ParticlesMaterial:
<instancedMesh args={[defaultGeometry, null, nbParticles]} ref={mesh}> <particlesMaterial color="orange" /> </instancedMesh>
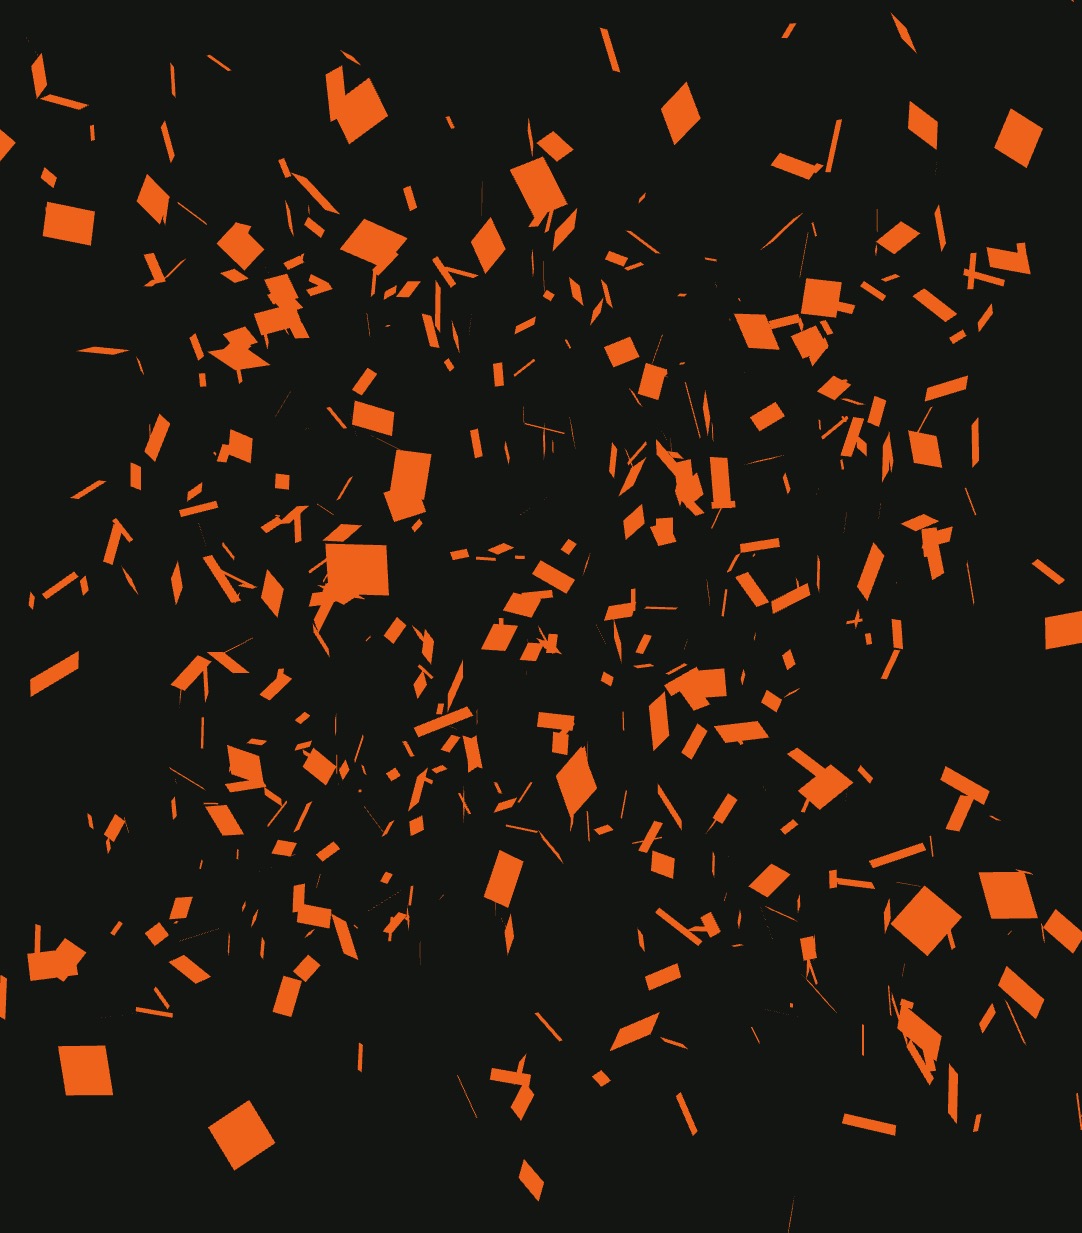
¡Perfecto! Nuestra position, rotation y scale siguen funcionando como se esperaba. Las partículas se renderizan con un color naranja ligeramente diferente. Esto se debe a que no consideramos el environment en nuestro material de shader. Para mantener las cosas simples, lo dejaremos así.
Ahora estamos listos para agregar atributos personalizados a nuestras partículas para animarlas.
Atributos Instanced Buffer
Hasta ahora, solo hemos utilizado el atributo instanceMatrix, ahora añadiremos atributos personalizados para tener más control sobre cada partícula.
Para esto, utilizaremos el InstancedBufferAttribute de Three.js.
Añadiremos los siguientes atributos a nuestras partículas:
instanceColor: Un vector3 que representa el color de la partícula.instanceColorEnd: Un vector3 que representa en qué color se convertirá con el tiempo.instanceDirection: Un vector3 que representa la dirección en la cual la partícula se moverá.instanceSpeed: Un float para definir qué tan rápido se moverá la partícula en su dirección.instanceRotationSpeed: Un vector3 para determinar la velocidad de rotación de la partícula por eje.instanceLifetime: Un vector2 para definir el tiempo de vida de la partícula. El primer valor (x) es el tiempo de inicio, y el segundo valor (y) es el tiempo de vida/duración. Combinado con un tiempo uniforme, podemos calcular la edad, el progreso, y si una partícula está viva o muerta.
Vamos a crear los diferentes buffers para nuestros atributos:
// ... import { useState } from "react"; // ... export const VFXParticles = ({ settings = {} }) => { // ... const [attributeArrays] = useState({ instanceColor: new Float32Array(nbParticles * 3), instanceColorEnd: new Float32Array(nbParticles * 3), instanceDirection: new Float32Array(nbParticles * 3), instanceLifetime: new Float32Array(nbParticles * 2), instanceSpeed: new Float32Array(nbParticles * 1), instanceRotationSpeed: new Float32Array(nbParticles * 3), }); // ... }; // ...
Estoy usando un useState para crear los diferentes buffers para nuestros atributos y así evitar recrearlos en cada renderizado. Elegí no usar el hook useMemo ya que cambiar el número máximo de partículas durante el ciclo de vida del componente no es algo que queramos manejar.
Se utiliza Float32Array para almacenar los valores de los atributos. Multiplicamos el número de partículas por el número de componentes del atributo para obtener el número total de valores en el array.
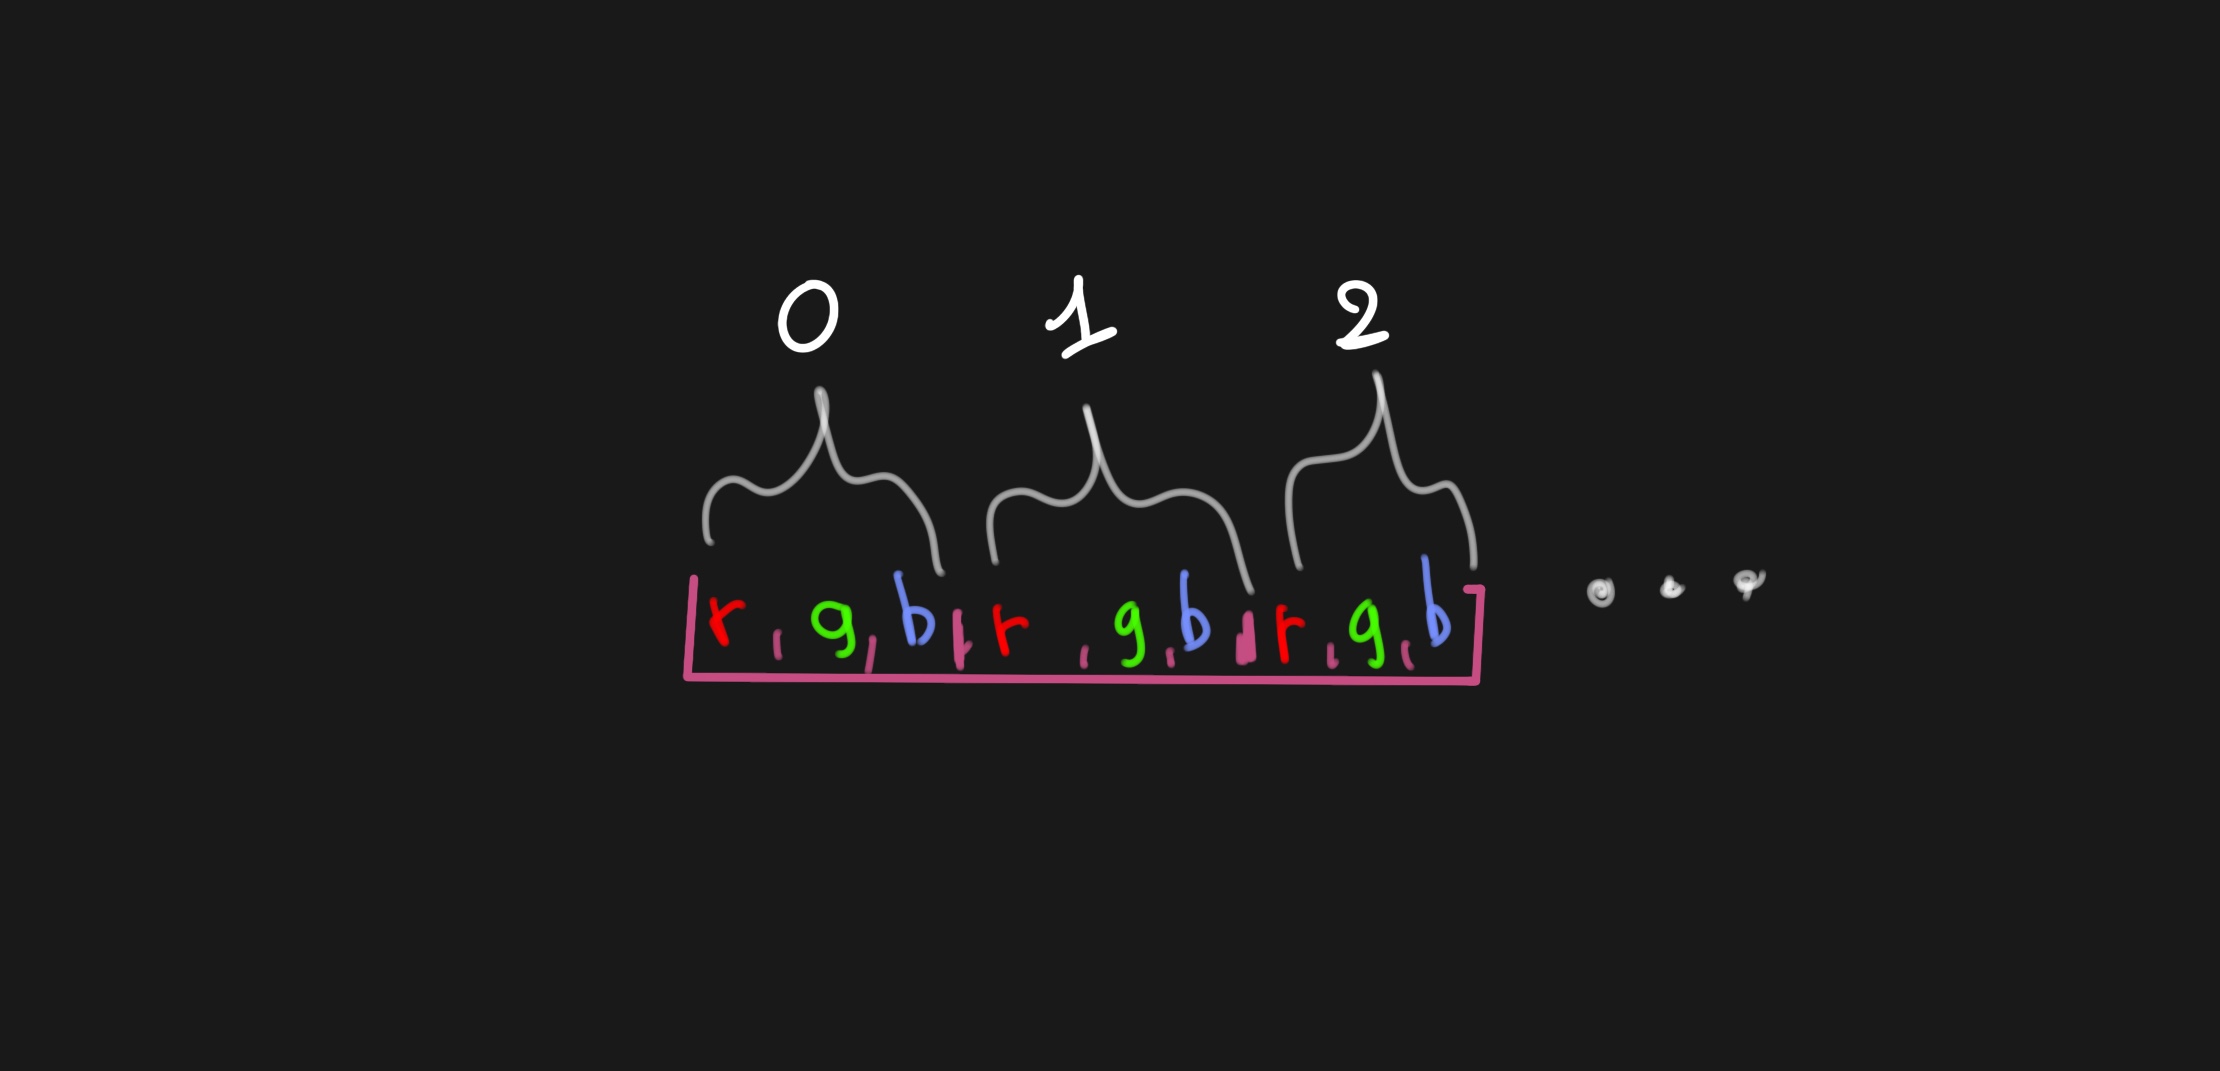
En el atributo instanceColor, los primeros 3 valores representarán el color de la primera partícula, los siguientes 3 valores representarán el color de la segunda partícula, y así sucesivamente.
Comencemos familiarizándonos con el InstancedBufferAttribute y cómo usarlo. Para esto, implementaremos el atributo instanceColor:
// ... import { DynamicDrawUsage } from "three"; export const VFXParticles = ({ settings = {} }) => { // ... return ( <> <instancedMesh args={[defaultGeometry, null, nbParticles]} ref={mesh}> <particlesMaterial color="orange" /> <instancedBufferAttribute attach={"geometry-attributes-instanceColor"} args={[attributeArrays.instanceColor]} itemSize={3} count={nbParticles} usage={DynamicDrawUsage} /> </instancedMesh> </> ); };
En nuestro <instancedMesh />, añadimos un componente <instancedBufferAttribute /> para definir el atributo instanceColor. Lo adjuntamos al atributo geometry-attributes-instanceColor del mesh. Pasamos el array attributeArrays.instanceColor como la fuente de datos, establecemos itemSize en 3 ya que tenemos un vector3, y el count en nbParticles.
La propiedad usage se establece en DynamicDrawUsage para indicar al renderizador que los datos se actualizarán con frecuencia. Los otros valores posibles y más detalles se pueden encontrar aquí.
No los actualizaremos en cada frame, pero cada vez que emitamos nuevas partículas, se actualizarán los datos. Lo suficiente como para considerarlo como DynamicDrawUsage.
Perfecto, creemos una variable ficticia tmpColor en la parte superior de nuestro archivo para manipular los colores de las partículas:
// ... const tmpColor = new Color();
Ahora actualicemos la función emit para establecer el atributo instanceColor:
const emit = (count) => { const instanceColor = mesh.current.geometry.getAttribute("instanceColor"); for (let i = 0; i < count; i++) { // ... tmpColor.setRGB(Math.random(), Math.random(), Math.random()); instanceColor.set([tmpColor.r, tmpColor.g, tmpColor.b], i * 3); } };
Comenzamos obteniendo el atributo instanceColor de la geometría del mesh. Luego, iteramos sobre el número de partículas que queremos emitir y establecemos un color aleatorio para cada partícula.
Actualicemos el particlesMaterial para usar el atributo instanceColor en lugar del color uniforme:
const ParticlesMaterial = shaderMaterial( { // color: new Color("white"), }, /* glsl */ ` varying vec2 vUv; varying vec3 vColor; attribute vec3 instanceColor; void main() { gl_Position = projectionMatrix * modelViewMatrix * vec4(instanceMatrix * vec4(position, 1.0)); vUv = uv; vColor = instanceColor; } `, /* glsl */ ` varying vec3 vColor; varying vec2 vUv; void main() { gl_FragColor = vec4(vColor, 1.0); }` ); // ...
Hemos añadido un attribute vec3 instanceColor; al vertex shader y establecimos el varying vColor para pasar el color al fragment shader. Luego establecemos el gl_FragColor al vColor para renderizar las partículas con su color.
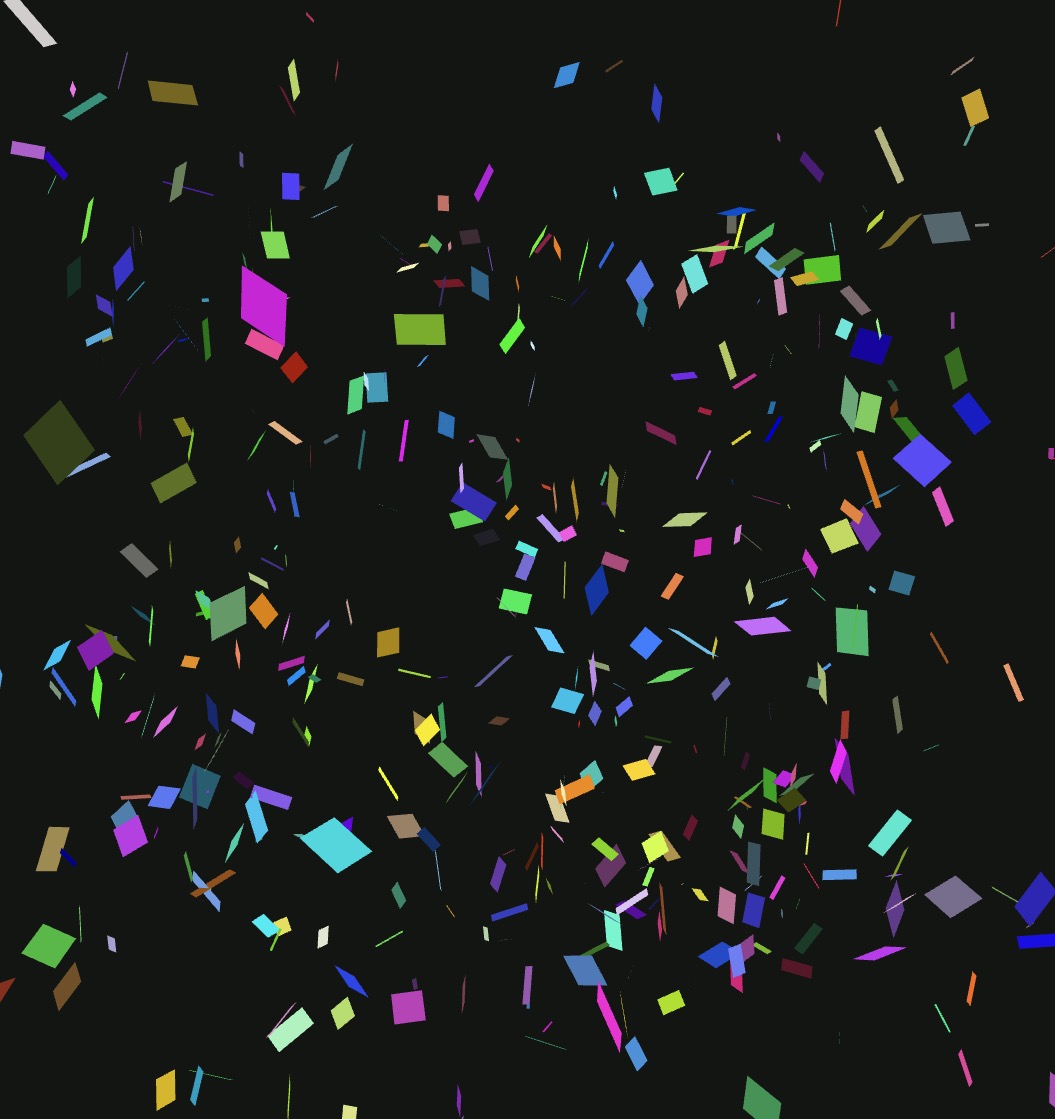
Hemos establecido con éxito un color aleatorio para cada partícula. Las partículas se renderizan con su color.
Perfecto, agreguemos los otros atributos a nuestras partículas. Primero, actualicemos nuestra función emit para establecer los atributos instanceColorEnd, instanceDirection, instanceLifetime, instanceSpeed y instanceRotationSpeed con valores aleatorios:
const emit = (count) => { const instanceColor = mesh.current.geometry.getAttribute("instanceColor"); const instanceColorEnd = mesh.current.geometry.getAttribute("instanceColorEnd"); const instanceDirection = mesh.current.geometry.getAttribute("instanceDirection"); const instanceLifetime = mesh.current.geometry.getAttribute("instanceLifetime"); const instanceSpeed = mesh.current.geometry.getAttribute("instanceSpeed"); const instanceRotationSpeed = mesh.current.geometry.getAttribute( "instanceRotationSpeed" ); for (let i = 0; i < count; i++) { // ... tmpColor.setRGB(Math.random(), Math.random(), Math.random()); instanceColor.set([tmpColor.r, tmpColor.g, tmpColor.b], i * 3); tmpColor.setRGB(Math.random(), Math.random(), Math.random()); instanceColorEnd.set([tmpColor.r, tmpColor.g, tmpColor.b], i * 3); const direction = [ randFloatSpread(1), randFloatSpread(1), randFloatSpread(1), ]; instanceDirection.set(direction, i * 3); const lifetime = [randFloat(0, 5), randFloat(0.1, 5)]; instanceLifetime.set(lifetime, i * 2); const speed = randFloat(5, 20); instanceSpeed.set([speed], i); const rotationSpeed = [ randFloatSpread(1), randFloatSpread(1), randFloatSpread(1), ]; instanceRotationSpeed.set(rotationSpeed, i * 3); } };
Y cree los componentes instancedBufferAttribute para cada atributo:
<instancedMesh args={[defaultGeometry, null, nbParticles]} ref={mesh}> <particlesMaterial color="orange" /> <instancedBufferAttribute attach={"geometry-attributes-instanceColor"} args={[attributeArrays.instanceColor]} itemSize={3} count={nbParticles} usage={DynamicDrawUsage} /> <instancedBufferAttribute attach={"geometry-attributes-instanceColorEnd"} args={[attributeArrays.instanceColorEnd]} itemSize={3} count={nbParticles} usage={DynamicDrawUsage} /> <instancedBufferAttribute attach={"geometry-attributes-instanceDirection"} args={[attributeArrays.instanceDirection]} itemSize={3} count={nbParticles} usage={DynamicDrawUsage} /> <instancedBufferAttribute attach={"geometry-attributes-instanceLifetime"} args={[attributeArrays.instanceLifetime]} itemSize={2} count={nbParticles} usage={DynamicDrawUsage} /> <instancedBufferAttribute attach={"geometry-attributes-instanceSpeed"} args={[attributeArrays.instanceSpeed]} itemSize={1} count={nbParticles} usage={DynamicDrawUsage} /> <instancedBufferAttribute attach={"geometry-attributes-instanceRotationSpeed"} args={[attributeArrays.instanceRotationSpeed]} itemSize={3} count={nbParticles} usage={DynamicDrawUsage} /> </instancedMesh>
Ahora es el momento de dar vida a nuestras partículas implementando su lógica de movimiento, color y tiempo de vida.
Duración de las partículas
Para calcular el comportamiento de nuestras partículas, necesitamos pasar el tiempo transcurrido a nuestro shader. Usaremos la prop uniforms del shaderMaterial para pasar el tiempo.
Actualicemos nuestro ParticlesMaterial para agregar un uniforme uTime:
const ParticlesMaterial = shaderMaterial( { uTime: 0, }, /* glsl */ ` uniform float uTime; // ... `, /* glsl */ ` // ... ` );
Y en un bucle useFrame, actualizaremos el uniforme uTime:
// ... import { useFrame } from "@react-three/fiber"; // ... export const VFXParticles = ({ settings = {} }) => { // ... useFrame(({ clock }) => { if (!mesh.current) { return; } mesh.current.material.uniforms.uTime.value = clock.elapsedTime; }); // ... };
En el vertex shader, calcularemos la edad y el progreso de cada partícula basándonos en el uniforme uTime y el atributo instanceLifetime. Pasaremos el progreso al fragment shader para animar las partículas usando un varying llamado vProgress.
uniform float uTime; varying vec2 vUv; varying vec3 vColor; varying vec3 vColorEnd; varying float vProgress; attribute float instanceSpeed; attribute vec3 instanceRotationSpeed; attribute vec3 instanceDirection; attribute vec3 instanceColor; attribute vec3 instanceColorEnd; attribute vec2 instanceLifetime; // x: startTime, y: duration void main() { float startTime = instanceLifetime.x; float duration = instanceLifetime.y; float age = uTime - startTime; vProgress = age / duration; gl_Position = projectionMatrix * modelViewMatrix * vec4(instanceMatrix * vec4(position, 1.0)); vUv = uv; vColor = instanceColor; vColorEnd = instanceColorEnd; }
La edad se calcula restando el startTime del uTime. El progreso se calcula luego dividiendo la edad por la duration.
Ahora en el fragment shader, interpolaremos el color de las partículas entre instanceColor y instanceColorEnd basándonos en el progreso:
varying vec3 vColor; varying vec3 vColorEnd; varying float vProgress; varying vec2 vUv; void main() { vec3 finalColor = mix(vColor, vColorEnd, vProgress); gl_FragColor = vec4(finalColor, 1.0); }
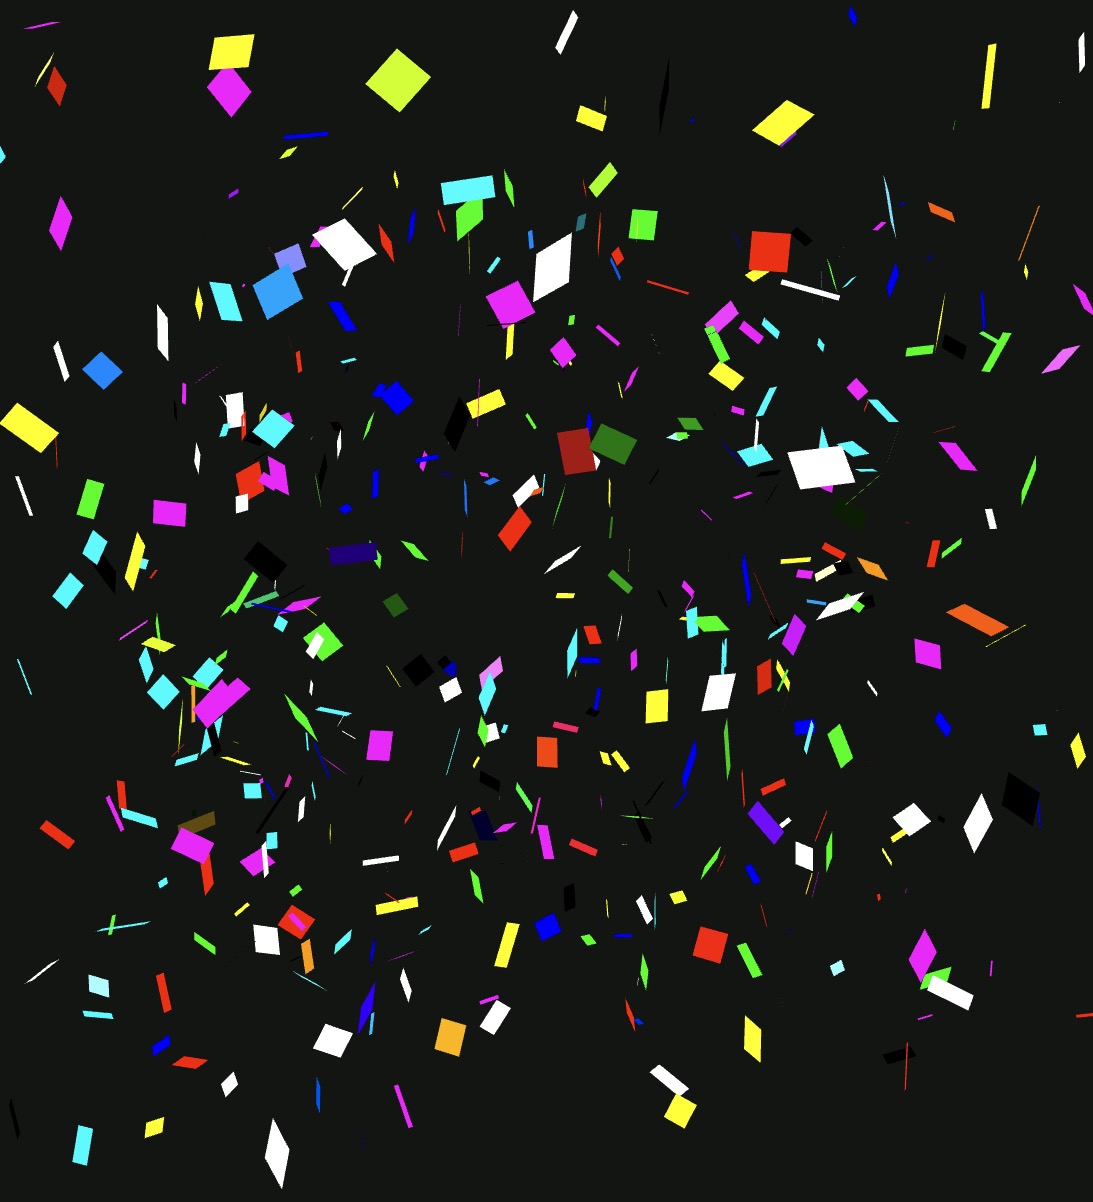
Podemos ver las partículas cambiando de color a lo largo del tiempo, pero enfrentamos un problema. Todas las partículas son visibles al principio mientras que su tiempo de inicio es aleatorio. Necesitamos ocultar las partículas que aún no están vivas.
Para evitar que las partículas no nacidas y muertas sean renderizadas, usaremos la palabra clave discard en el fragment shader:
// ... void main() { if (vProgress < 0.0 || vProgress > 1.0) { discard; } // ... }
La palabra clave discard le indica al renderizador que descarte el fragmento actual y no lo renderice.
Perfecto, nuestras partículas ahora nacen, viven y mueren a lo largo del tiempo. Ahora podemos agregar la lógica de movimiento y rotación.
Movimiento de partículas
Usando la dirección, velocidad y edad de las partículas, podemos calcular su posición a lo largo del tiempo.
En el vertex shader, ajustemos el gl_Position para tener en cuenta la dirección y velocidad de las partículas.
Primero, normalizamos la dirección para evitar que las partículas se muevan más rápido cuando la dirección no es un vector unitario:
vec3 normalizedDirection = length(instanceDirection) > 0.0 ? normalize(instanceDirection) : vec3(0.0);
Luego, calculamos el offset de la partícula basado en la velocidad y edad:
vec3 offset = normalizedDirection * age * instanceSpeed;
Obtenemos la posición de la instancia:
vec4 startPosition = modelMatrix * instanceMatrix * vec4(position, 1.0); vec3 instancePosition = startPosition.xyz;
Y aplicamos el offset:
vec3 finalPosition = instancePosition + offset;
Finalmente, obtenemos la posición de vista del modelo mvPosition aplicando la modelViewMatrix a la finalPosition para transformar la posición al espacio mundial:
vec4 mvPosition = modelViewMatrix * vec4(finalPosition, 1.0);
Y aplicamos el projectionMatrix para transformar la posición mundial al espacio de la cámara:
gl_Position = projectionMatrix * mvPosition;
Aquí está nuestro vertex shader completo hasta ahora:
uniform float uTime; varying vec2 vUv; varying vec3 vColor; varying vec3 vColorEnd; varying float vProgress; attribute float instanceSpeed; attribute vec3 instanceRotationSpeed; attribute vec3 instanceDirection; attribute vec3 instanceColor; attribute vec3 instanceColorEnd; attribute vec2 instanceLifetime; // x: startTime, y: duration void main() { float startTime = instanceLifetime.x; float duration = instanceLifetime.y; float age = uTime - startTime; vProgress = age / duration; vec3 normalizedDirection = length(instanceDirection) > 0.0 ? normalize(instanceDirection) : vec3(0.0); vec3 offset = normalizedDirection * age * instanceSpeed; vec4 startPosition = modelMatrix * instanceMatrix * vec4(position, 1.0); vec3 instancePosition = startPosition.xyz; vec3 finalPosition = instancePosition + offset; vec4 mvPosition = modelViewMatrix * vec4(finalPosition, 1.0); gl_Position = projectionMatrix * mvPosition; vUv = uv; vColor = instanceColor; vColorEnd = instanceColorEnd; }
Las partículas ahora se mueven en varias direcciones a diferentes velocidades. Esto es caótico, pero se debe a nuestros valores aleatorios.
Vamos a reparar esto ajustando nuestros valores aleatorios en la función emit para tener una visión más clara del movimiento de las partículas:
for (let i = 0; i < count; i++) { const position = [ randFloatSpread(0.1), randFloatSpread(0.1), randFloatSpread(0.1), ]; const scale = [randFloatSpread(1), randFloatSpread(1), randFloatSpread(1)]; const rotation = [ randFloatSpread(Math.PI), randFloatSpread(Math.PI), randFloatSpread(Math.PI), ]; tmpPosition.set(...position); tmpRotationEuler.set(...rotation); tmpRotation.setFromEuler(tmpRotationEuler); tmpScale.set(...scale); tmpMatrix.compose(tmpPosition, tmpRotation, tmpScale); mesh.current.setMatrixAt(i, tmpMatrix); tmpColor.setRGB(1, 1, 1); instanceColor.set([tmpColor.r, tmpColor.g, tmpColor.b], i * 3); tmpColor.setRGB(0, 0, 0); instanceColorEnd.set([tmpColor.r, tmpColor.g, tmpColor.b], i * 3); const direction = [randFloatSpread(0.5), 1, randFloatSpread(0.5)]; instanceDirection.set(direction, i * 3); const lifetime = [randFloat(0, 5), randFloat(0.1, 5)]; instanceLifetime.set(lifetime, i * 2); const speed = randFloat(1, 5); instanceSpeed.set([speed], i); const rotationSpeed = [ randFloatSpread(1), randFloatSpread(1), randFloatSpread(1), ]; instanceRotationSpeed.set(rotationSpeed, i * 3); }
¡Empezando a tomar forma!
Agregaremos controles de UI simples para ajustar las variables más adelante. Ahora vamos a finalizar las partículas añadiendo la lógica de rotación.
Mientras que separamos la dirección y velocidad para el movimiento, para la rotación usaremos un solo atributo instanceRotationSpeed para definir la velocidad de rotación por eje.
En el vertex shader, podemos calcular la rotación de la partícula basada en la velocidad de rotación y edad:
vec3 rotationSpeed = instanceRotationSpeed * age;
Luego, para poder aplicar esta "rotación de compensación" a la partícula, necesitamos convertirla en una matriz de rotación:
mat4 rotX = rotationX(rotationSpeed.x); mat4 rotY = rotationY(rotationSpeed.y); mat4 rotZ = rotationZ(rotationSpeed.z); mat4 rotationMatrix = rotZ * rotY * rotX;
rotationX, rotationY, y rotationZ son funciones que devuelven una matriz de rotación alrededor del eje X, Y y Z respectivamente. Las definiremos sobre la función main en el vertex shader:
mat4 rotationX(float angle) { float s = sin(angle); float c = cos(angle); return mat4( 1, 0, 0, 0, 0, c, -s, 0, 0, s, c, 0, 0, 0, 0, 1 ); } mat4 rotationY(float angle) { float s = sin(angle); float c = cos(angle); return mat4( c, 0, s, 0, 0, 1, 0, 0, -s, 0, c, 0, 0, 0, 0, 1 ); } mat4 rotationZ(float angle) { float s = sin(angle); float c = cos(angle); return mat4( c, -s, 0, 0, s, c, 0, 0, 0, 0, 1, 0, 0, 0, 0, 1 ); }
Para aprender más sobre las matrices de rotación, puedes consultar este artículo de Wikipedia, el increíble Matemáticas de Juego Explicadas Simplemente por Simon Dev, o la sección de Matrices de The Book of Shaders.
Finalmente, podemos aplicar la matriz de rotación a la posición inicial de la partícula:
vec4 startPosition = modelMatrix * instanceMatrix * rotationMatrix * vec4(position, 1.0);
Probémoslo:
¡Las partículas ahora se están moviendo, cambiando de color y rotando! ✨
Perfecto, tenemos una base sólida para nuestro VFX Engine. Antes de agregar más características y controles, preparemos una segunda parte importante del motor: el emisor.
Emisores
En ejemplos y tutoriales, a menudo es una parte pasada por alto del sistema de partículas. Pero es una parte crucial para integrar partículas en tus proyectos fácil y eficientemente:
- Fácilmente, porque tu componente
<VFXParticles />estará en la parte superior de tu jerarquía y tu emisor podrá generarlas desde cualquier subcomponente en tu escena. Haciendo que sea fácil generarlas desde un punto específico, adjuntarlas a un objeto en movimiento o a un hueso en movimiento. - Eficientemente, porque en lugar de recrear instanced meshes, compilar shader materials y configurar atributos cada vez que quieras generar partículas, puedes reutilizar el mismo componente VFXParticles y simplemente llamar a una función para generar partículas con la configuración deseada.
useVFX
Queremos poder llamar a la función emit de nuestro componente VFXParticles desde cualquier lugar en nuestro proyecto. Para hacerlo, crearemos un hook personalizado llamado useVFX que se encargará de registrar y desregistrar los emisores del componente VFXParticles.
Usaremos Zustand ya que es una forma simple y eficiente de gestionar el estado global en React con gran rendimiento.
Vamos a añadirlo a nuestro proyecto:
yarn add zustand
En nuestra carpeta vfxs, crearemos un archivo VFXStore.js:
import { create } from "zustand"; export const useVFX = create((set, get) => ({ emitters: {}, registerEmitter: (name, emitter) => { if (get().emitters[name]) { console.warn(`Emitter ${name} already exists`); return; } set((state) => { state.emitters[name] = emitter; return state; }); }, unregisterEmitter: (name) => { set((state) => { delete state.emitters[name]; return state; }); }, emit: (name, ...params) => { const emitter = get().emitters[name]; if (!emitter) { console.warn(`Emitter ${name} not found`); return; } emitter(...params); }, }));
Lo que contiene:
- emitters: Un objeto que almacenará todos los emisores de nuestros componentes
VFXParticles. - registerEmitter: Una función para registrar un emisor con un nombre dado.
- unregisterEmitter: Una función para desregistrar un emisor con un nombre dado.
- emit: Una función para llamar al emisor con un nombre y parámetros dados desde cualquier lugar en nuestro proyecto.
Vamos a integrarlo en nuestro componente VFXParticles:
// ... import { useVFX } from "./VFXStore"; // ... export const VFXParticles = ({ name, settings = {} }) => { // ... const registerEmitter = useVFX((state) => state.registerEmitter); const unregisterEmitter = useVFX((state) => state.unregisterEmitter); useEffect(() => { // emit(nbParticles); registerEmitter(name, emit); return () => { unregisterEmitter(name); }; }, []); // ... }; // ...
Añadimos una prop name a nuestro componente VFXParticles para identificar el emisor. Luego, usamos el hook useVFX para obtener las funciones registerEmitter y unregisterEmitter.
Llamamos a registerEmitter con el name y la función emit dentro del hook useEffect para registrar el emisor cuando el componente se monta y desregistrarlo cuando se desmonta.
En el componente Experience, añadamos la prop name a nuestro componente VFXParticles:
// ... import { VFXParticles } from "./vfxs/VFXParticles"; export const Experience = () => { return ( <> {/* ... */} <VFXParticles name="sparks" /> </> ); };
VFXEmitter
Ahora que tenemos nuestro hook useVFX, podemos crear un componente VFXEmitter que será responsable de generar partículas desde nuestro componente VFXParticles.
En la carpeta vfxs, creemos un archivo VFXEmitter.jsx:
import { forwardRef, useImperativeHandle, useRef } from "react"; import { useVFX } from "./VFXStore"; export const VFXEmitter = forwardRef( ({ emitter, settings = {}, ...props }, forwardedRef) => { const { duration = 1, nbParticles = 1000, spawnMode = "time", // time, burst loop = false, delay = 0, } = settings; const emit = useVFX((state) => state.emit); const ref = useRef(); useImperativeHandle(forwardedRef, () => ref.current); return ( <> <object3D {...props} ref={ref} /> </> ); } );
React Three Fiber: The Ultimate Guide to 3D Web Development
✨ You have reached the end of the preview ✨
Go to the next level with Three.js and React Three Fiber!
Get full access to this lesson and the complete course when you enroll:
- 🔓 Full lesson videos with no limits
- 💻 Access to the final source code
- 🎓 Course progress tracking & completion
- 💬 Invite to our private Discord community
One-time payment. Lifetime updates included.