Camera
In a 3D scene, the camera is the point of view of the user. It's the camera that defines what the user sees on the screen.
In threejs there are different types of cameras. For now we will cover only the 3 most common ones: the perspective camera, the orthographic camera, and the cube camera.
Before diving into the different types of cameras available, let's add OrbitControls to our project.
Orbit controls
The orbit controls are a set of controls that allow the user to move the camera around the scene.
We will see how to use it in depth later but we will start using it from now to be able to move the camera for a better understanding of the different types of cameras.
Import and add the OrbitControls component from the @react-three/drei package to the Canvas component:
import { OrbitControls } from "@react-three/drei"; function App() { return ( <> <Canvas> <OrbitControls /> </Canvas> </> ); }
You can now move the camera around the scene:
- Left click + drag: to rotate the camera
- Mouse wheel: to zoom in and out
- Right click + drag: to pan the camera
It's also compatible with touch devices:
- One finger + drag: to rotate the camera
- Two fingers + pinch: to zoom in and out
- Two fingers + drag: to pan the camera
Perspective camera
In r3f, the default camera is a perspective camera. It's the most common camera in 3D applications as it simulates the way the human eye sees the world.
Because it is the default camera, we don't need to add it to the scene. It's already there and we can control it by adding the camera prop to the Canvas component:
<Canvas camera={{ position: [3, 3, 3] }}>
But you can also add a new camera to the scene manually.
And add a PerspectiveCamera component anywhere in the Canvas component with the makeDefault prop. It will make this camera the default camera of the scene:
<Canvas> <PerspectiveCamera position={[0, 8, 0]} makeDefault /> </Canvas>
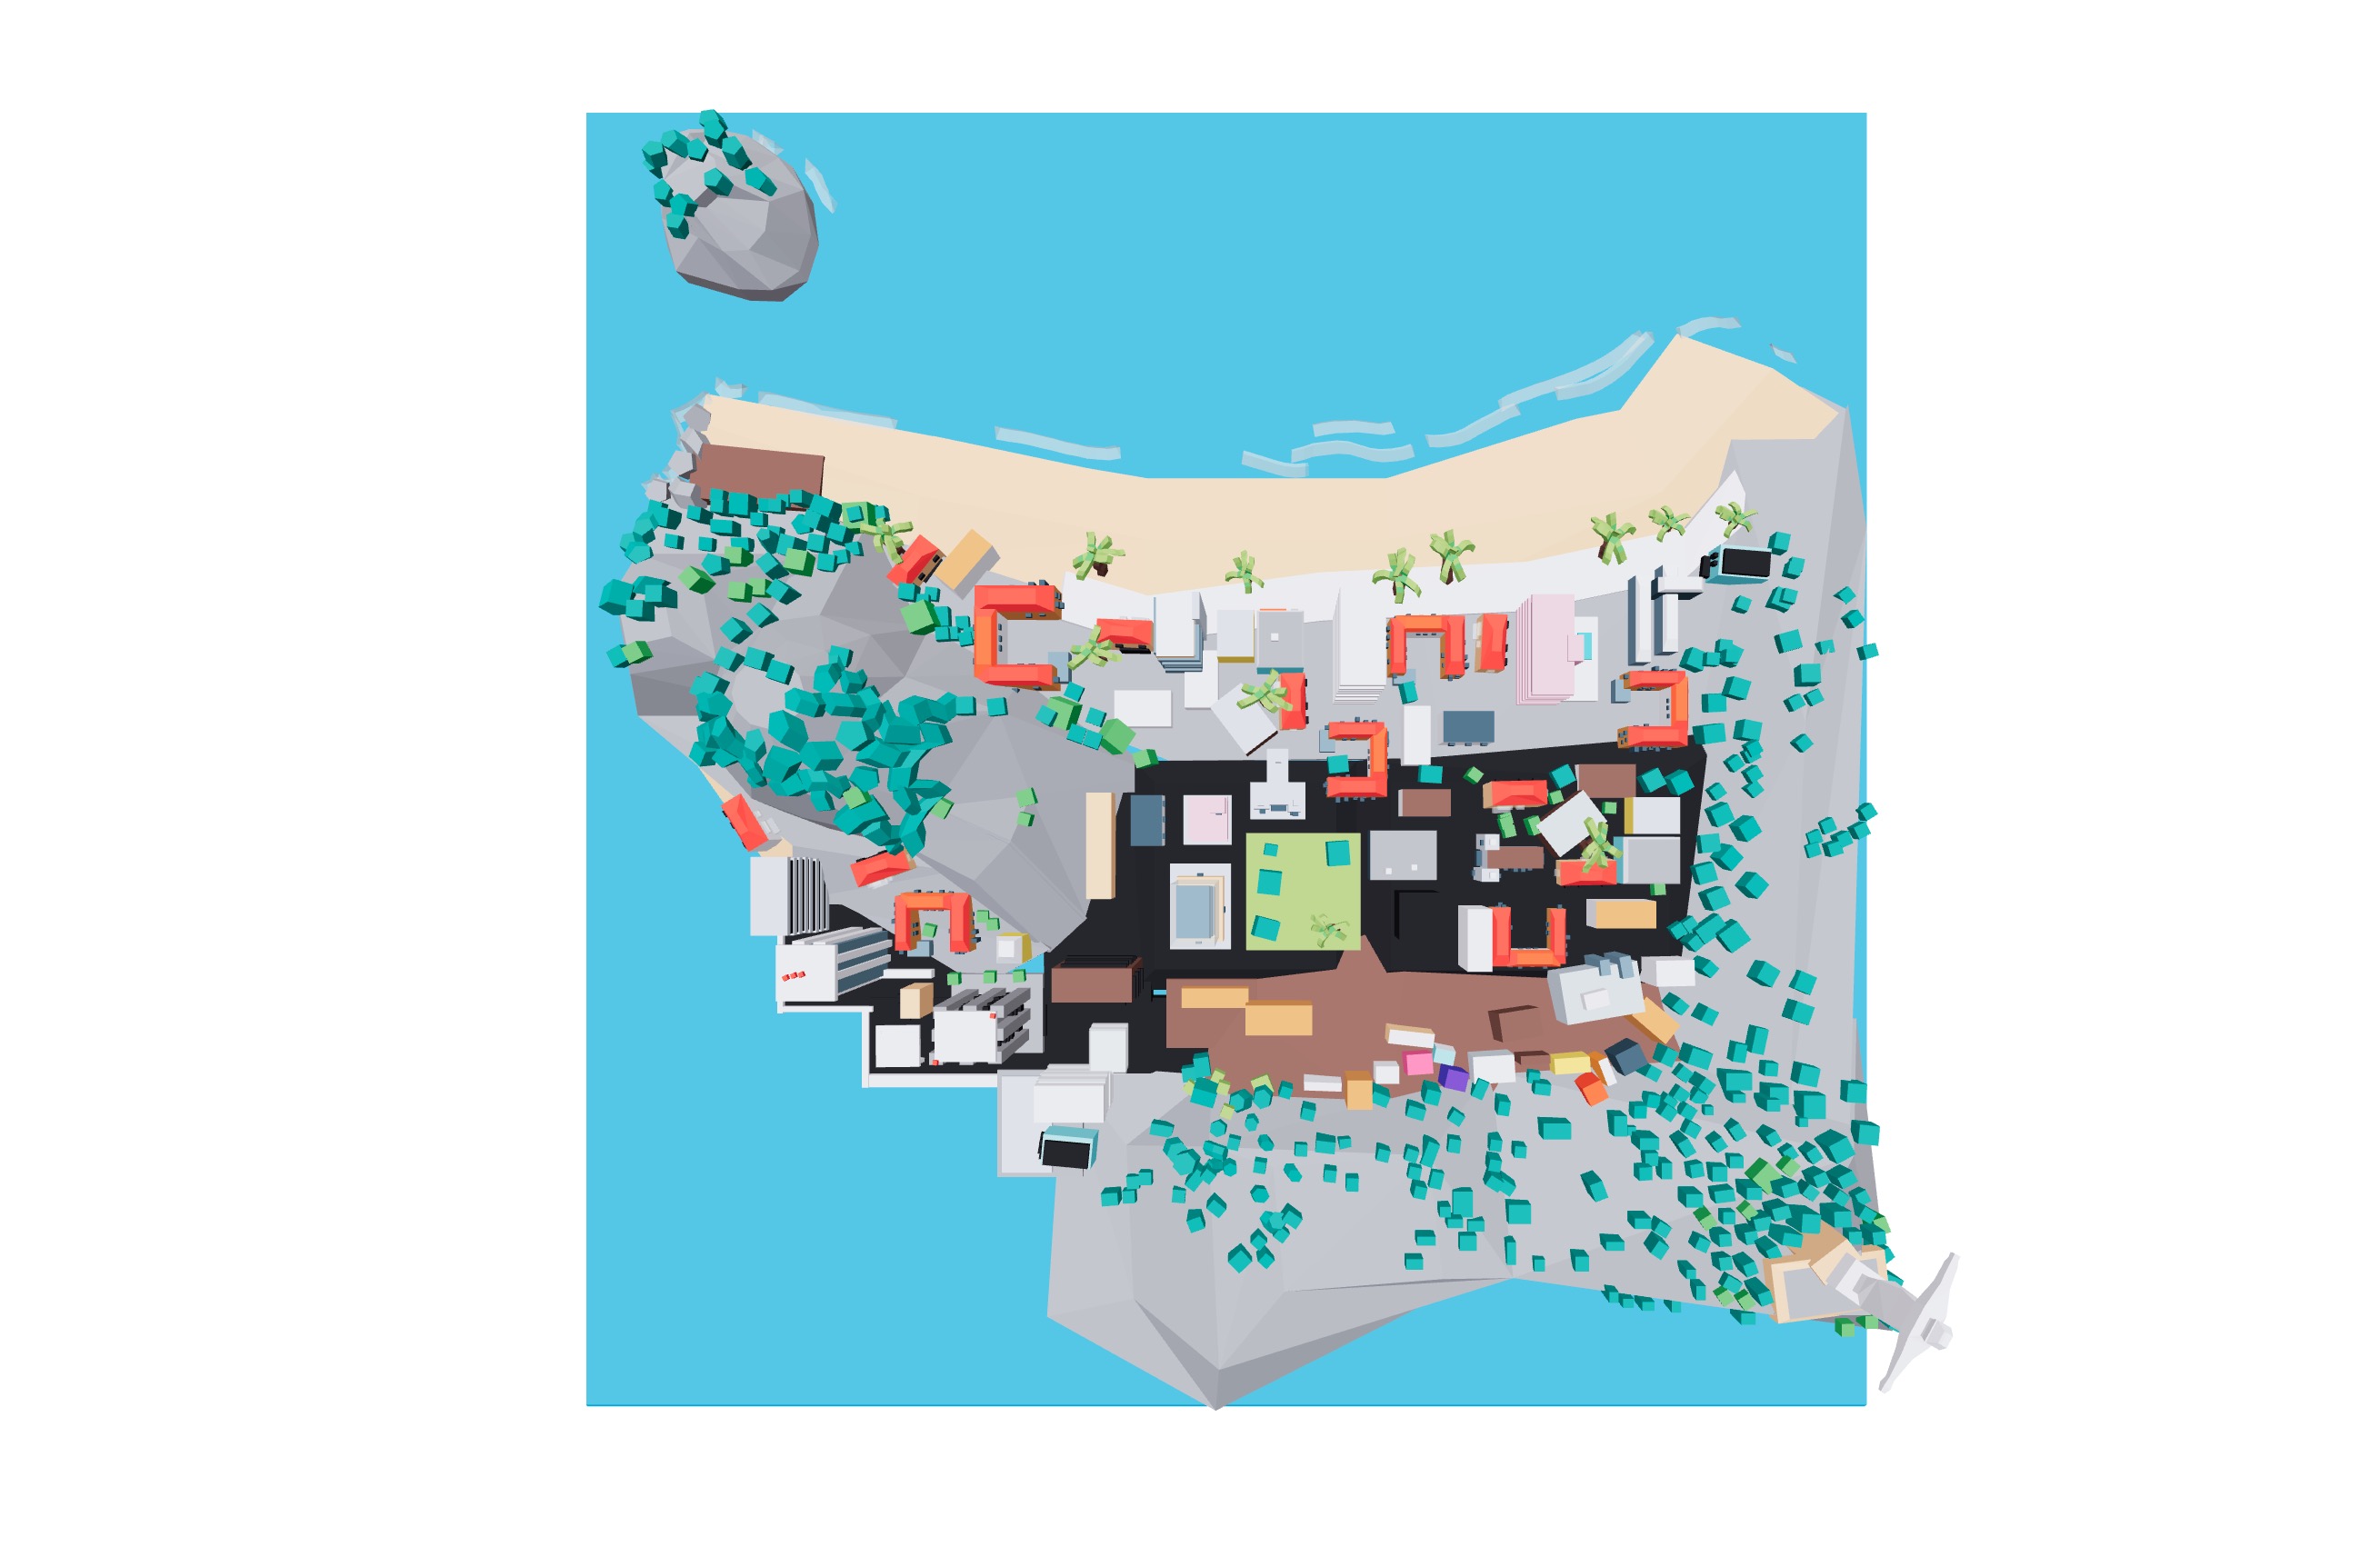
Now the camera is at the top of the scene:

By default, the camera is looking at the center of the scene: [0, 0, 0]. We will see in the next lessons how to change the target of the camera for animations.
The perspective camera has a field of view, an aspect ratio, and a near/far clipping plane.
Field of view
The field of view is the angle of the camera. It's the angle from the bottom to the top side of the camera.
The field of view is defined in degrees. The default value is 75 degrees.
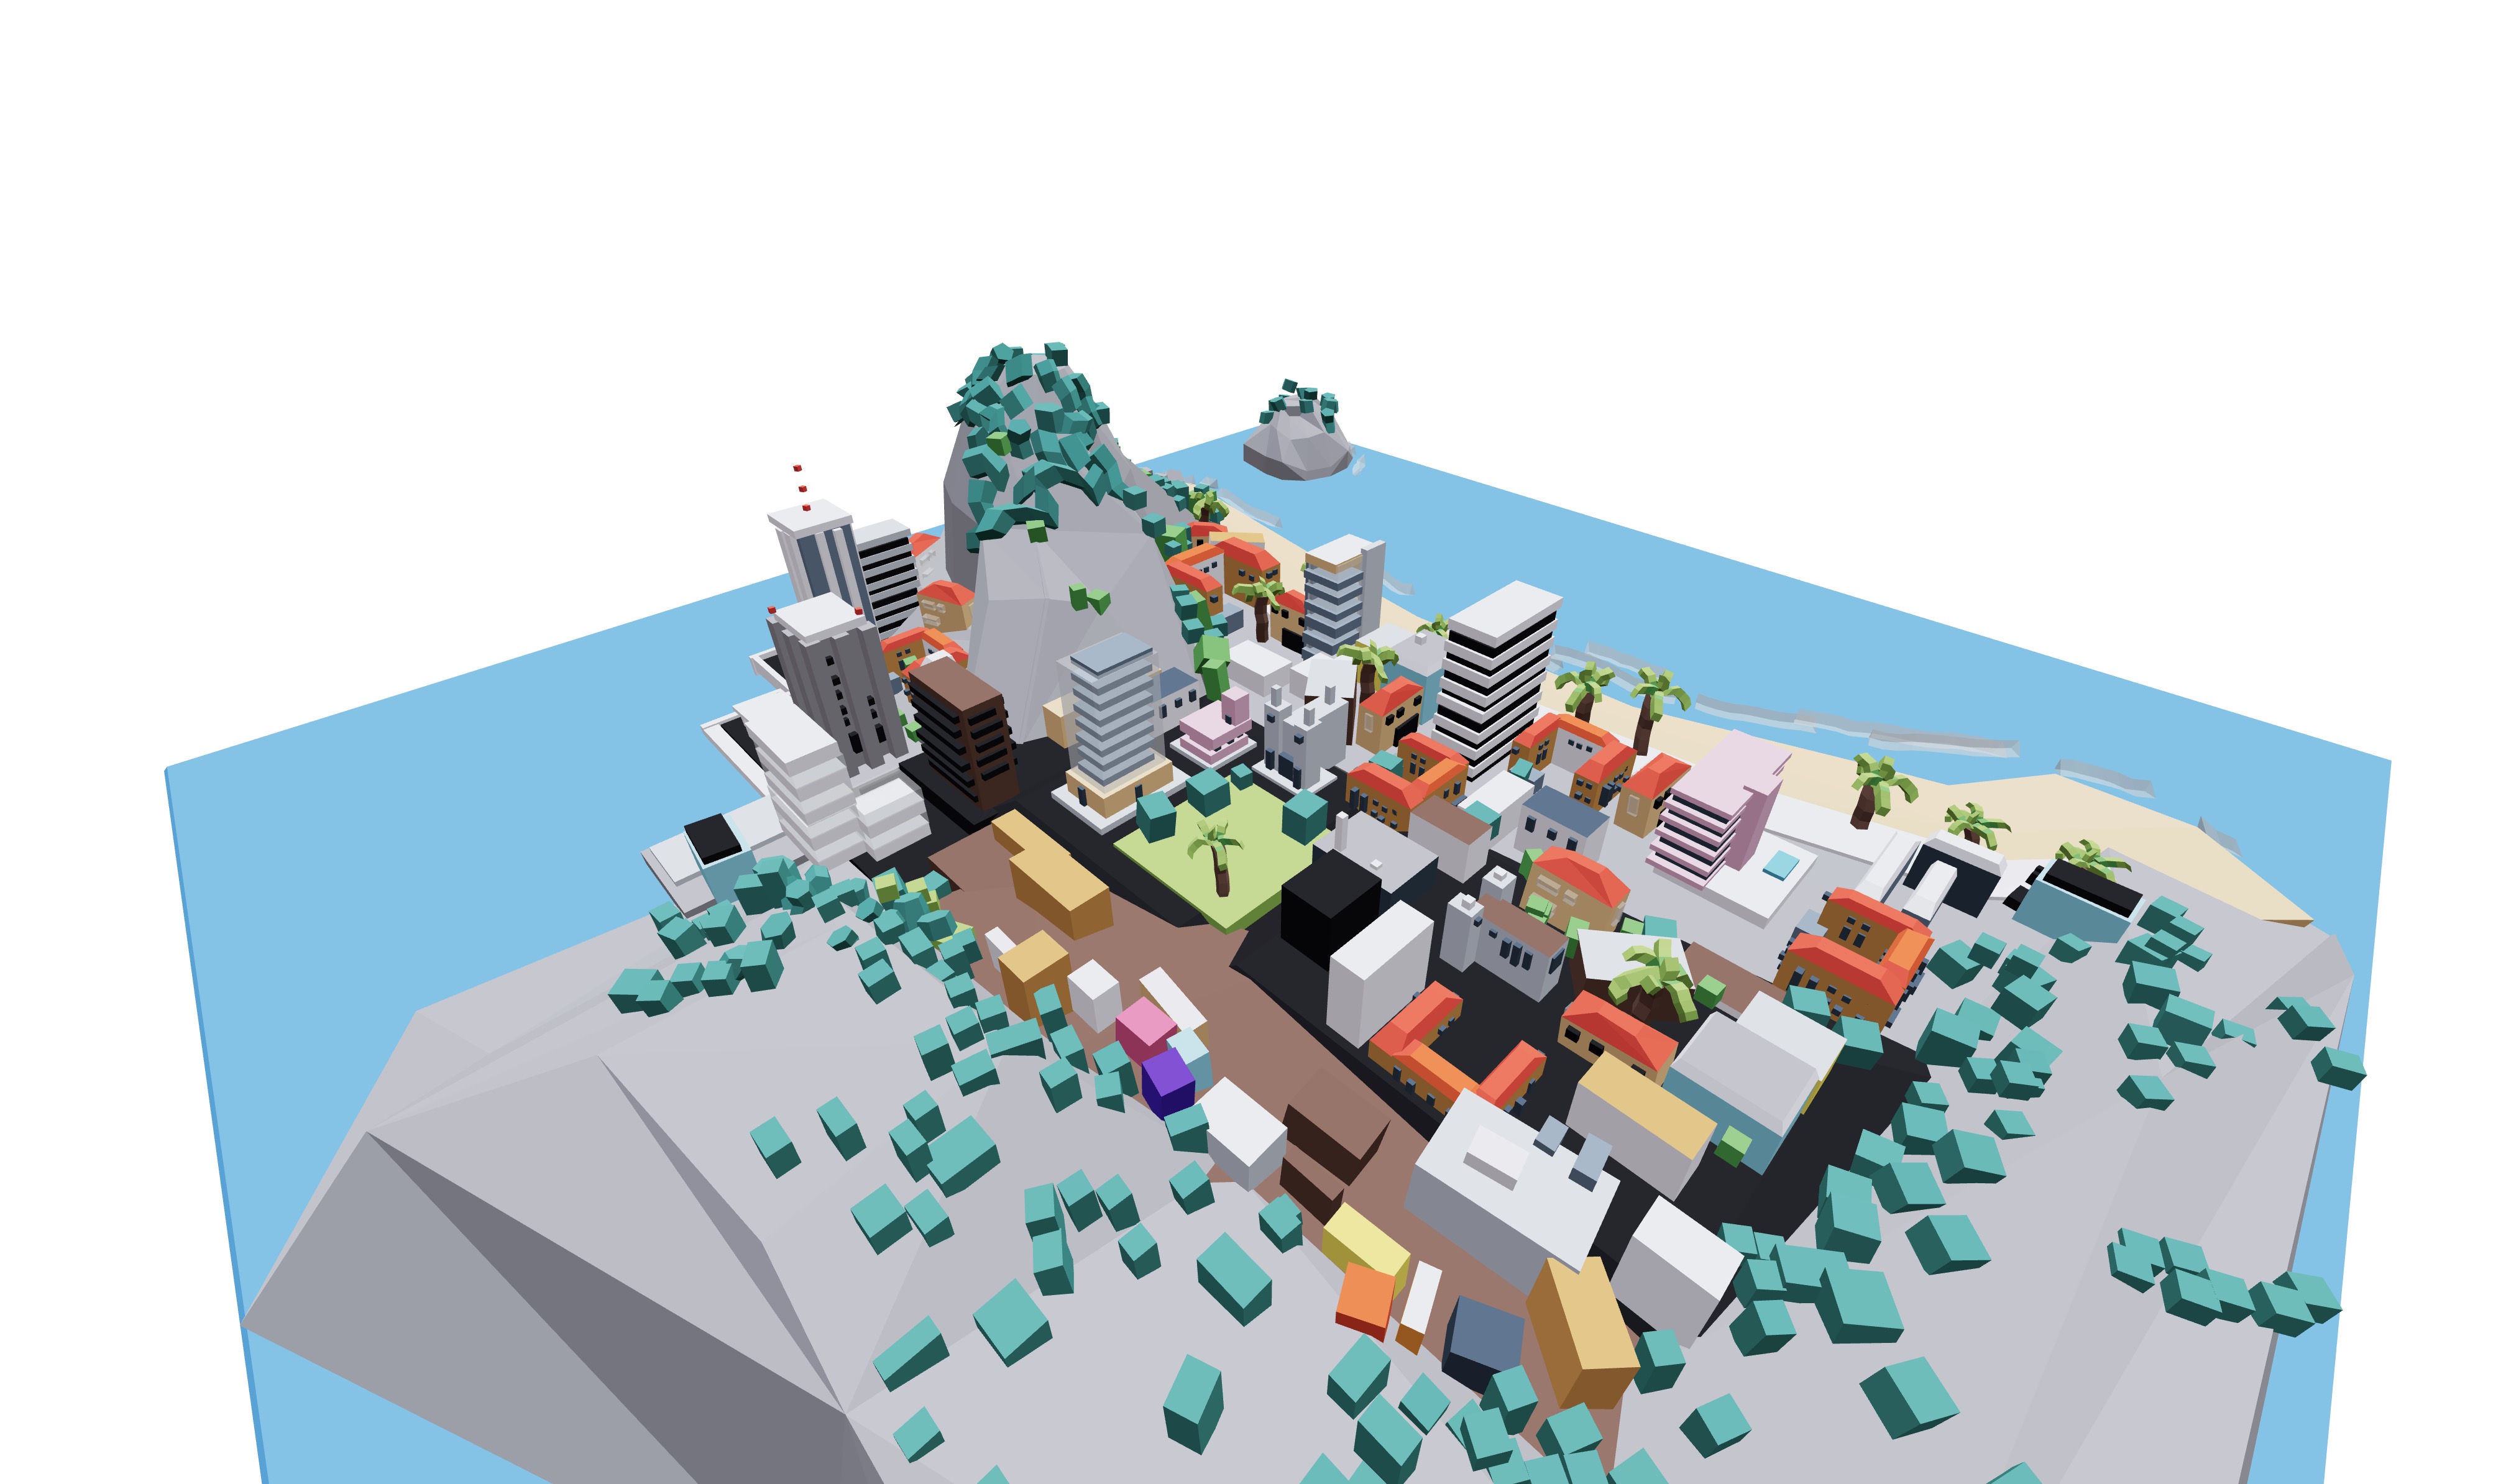
This is what we currently see in our scene:

Now let's change the field of view to 30 degrees:
<Canvas camera={{ position: [3, 3, 3], fov: 30 }}> {/* ... */}
Or
<Canvas> <PerspectiveCamera makeDefault position={[3, 3, 3]} fov={30} /> {/* ... */}
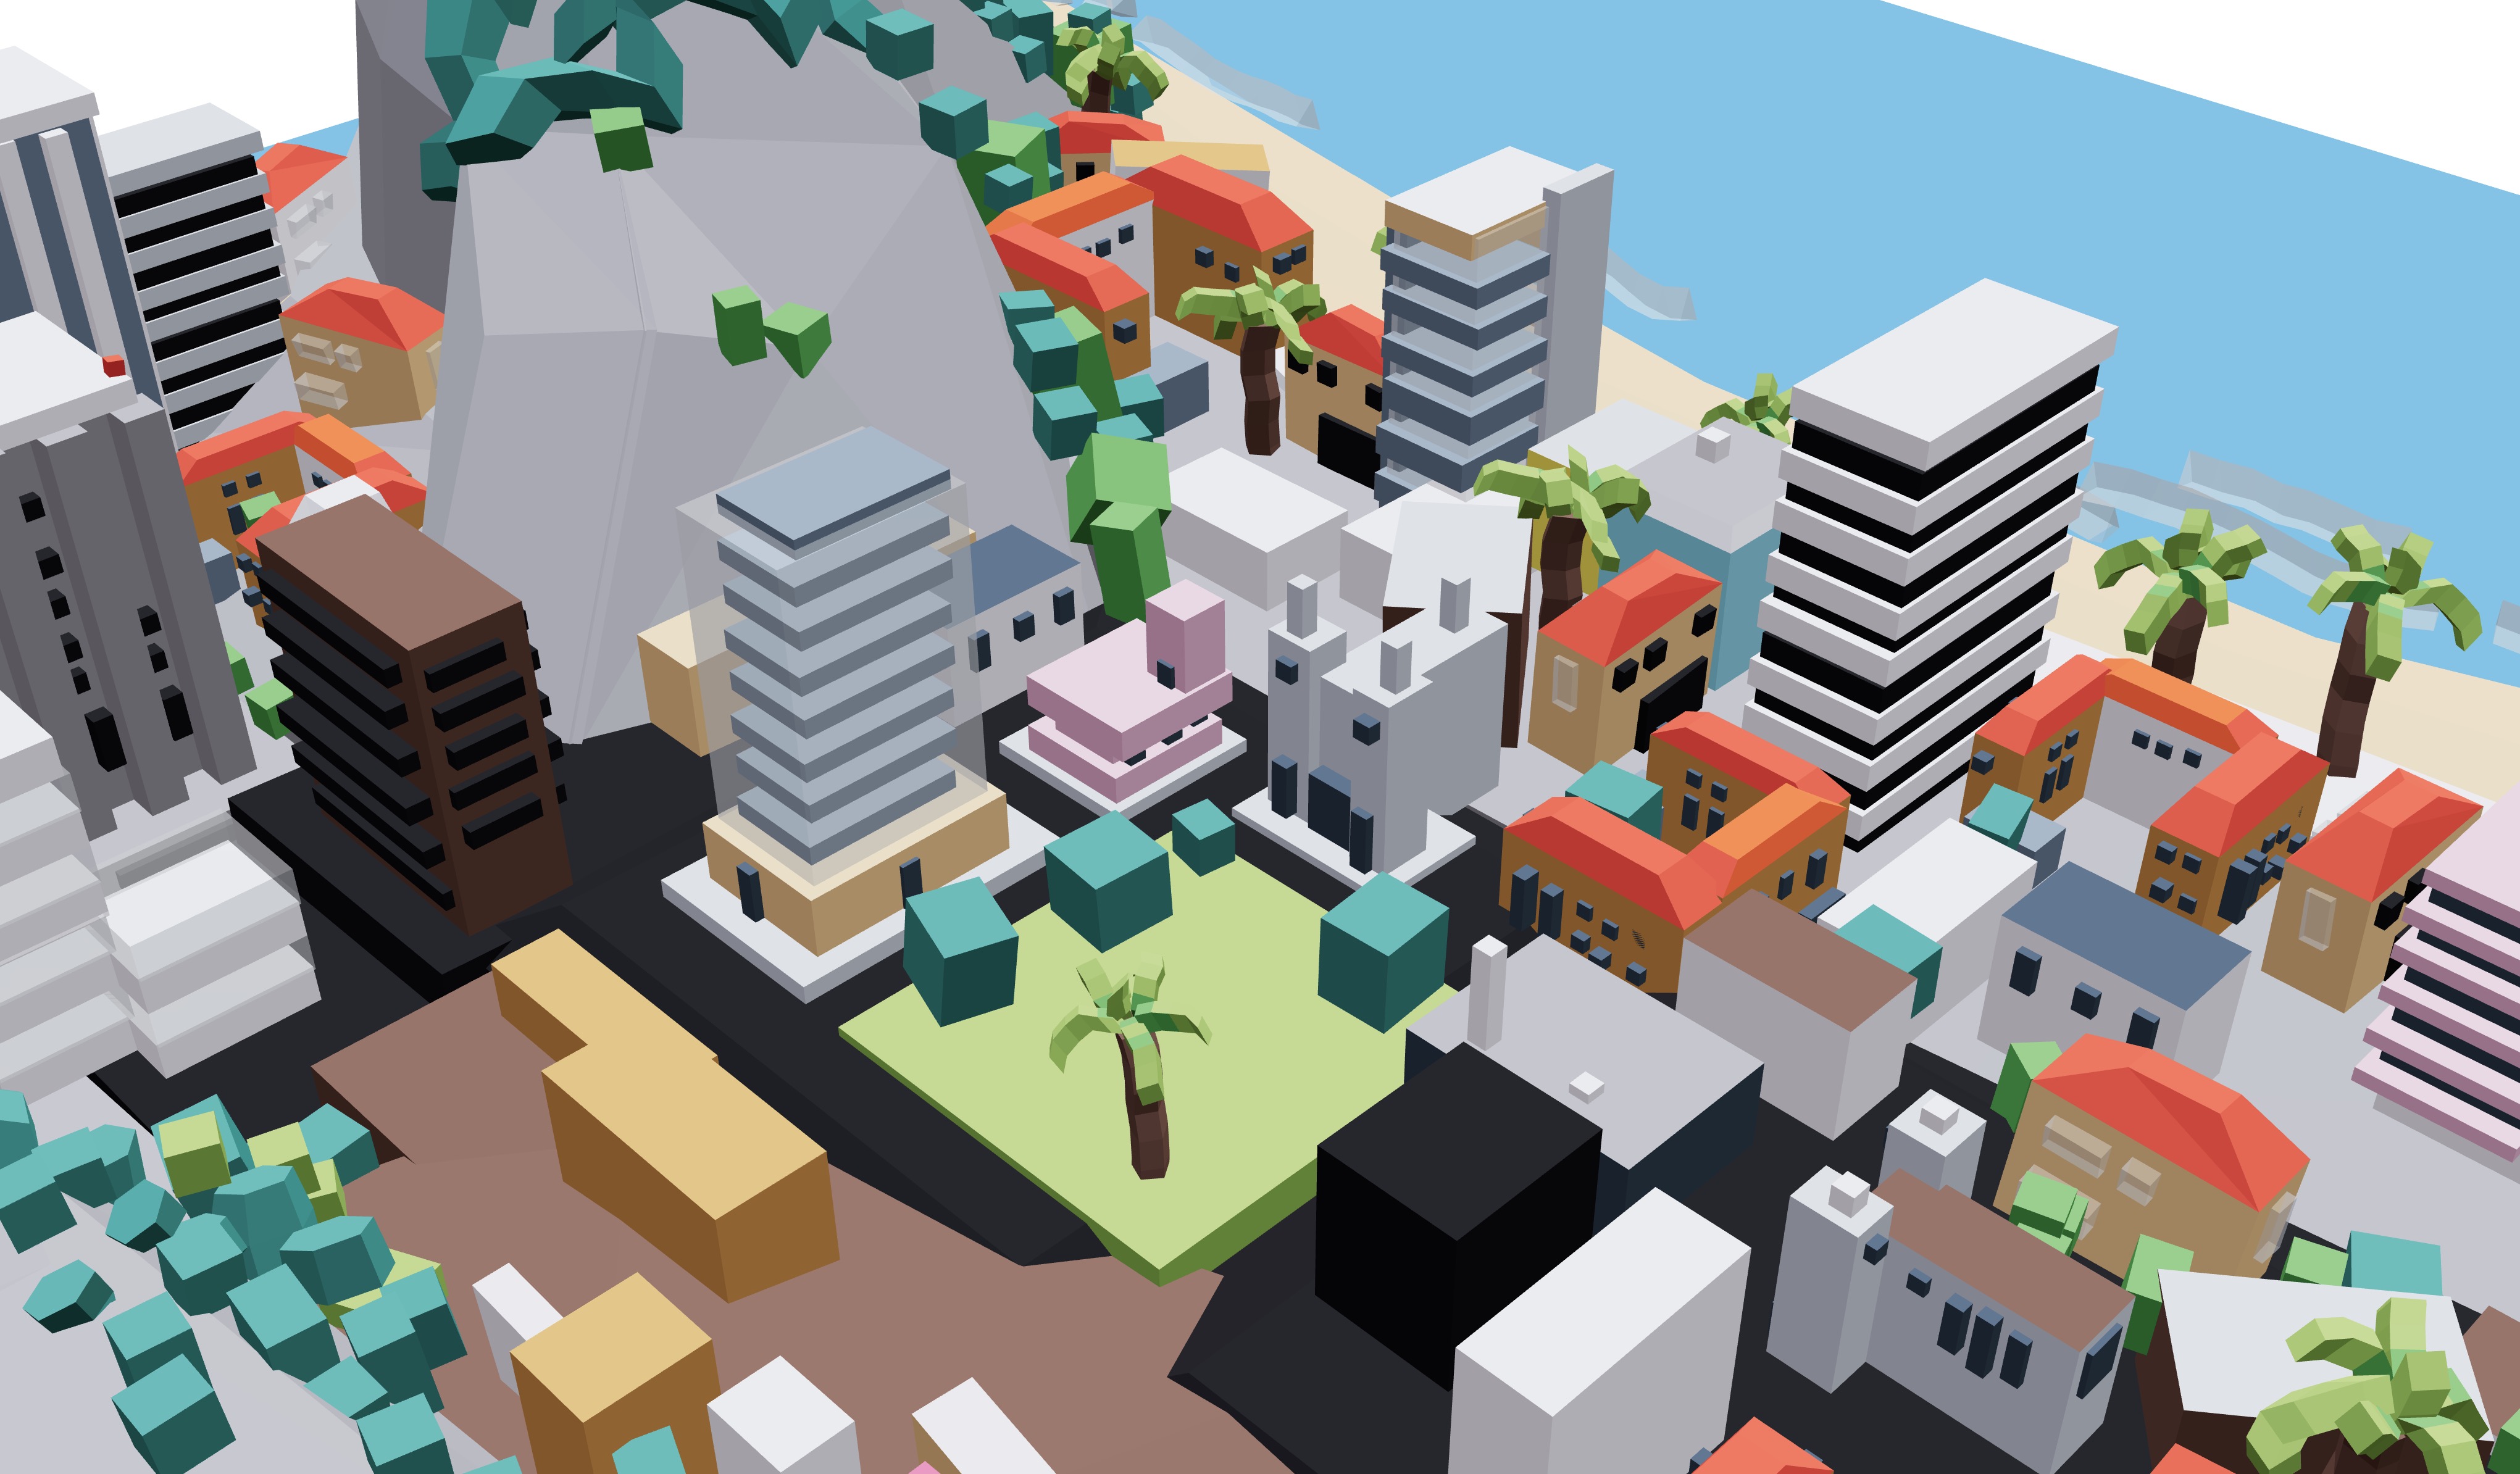
This is what we see now:

By reducing the field of view, we now see less of the scene and the objects appear bigger. It's like if we were zooming in.
Aspect ratio
The aspect ratio is the ratio between the width and the height of the camera. It's defined as width / height.
The default value is window.innerWidth / window.innerHeight.
Let's change the aspect ratio to 1. We use the aspect prop and need to set the manual prop to true to prevent r3f from calculating the aspect ratio automatically:
React Three Fiber: The Ultimate Guide to 3D Web Development
✨ You have reached the end of the preview ✨
Go to the next level with Three.js and React Three Fiber!
Get full access to this lesson and the complete course when you enroll:
- 🔓 Full lesson videos with no limits
- 💻 Access to the final source code
- 🎓 Course progress tracking & completion
- 💬 Invite to our private Discord community
One-time payment. Lifetime updates included.