Widget Embedding
The Chatbot Kit widget can be embedded into any website, regardless of the platform you're using. Whether you're working with vanilla HTML, WordPress, Webflow, or any other web platform, our lightweight JavaScript SDK makes integration simple and seamless.

A clickable chat bubble with the picture of a 3D avatar will appear on the bottom right corner of your website.
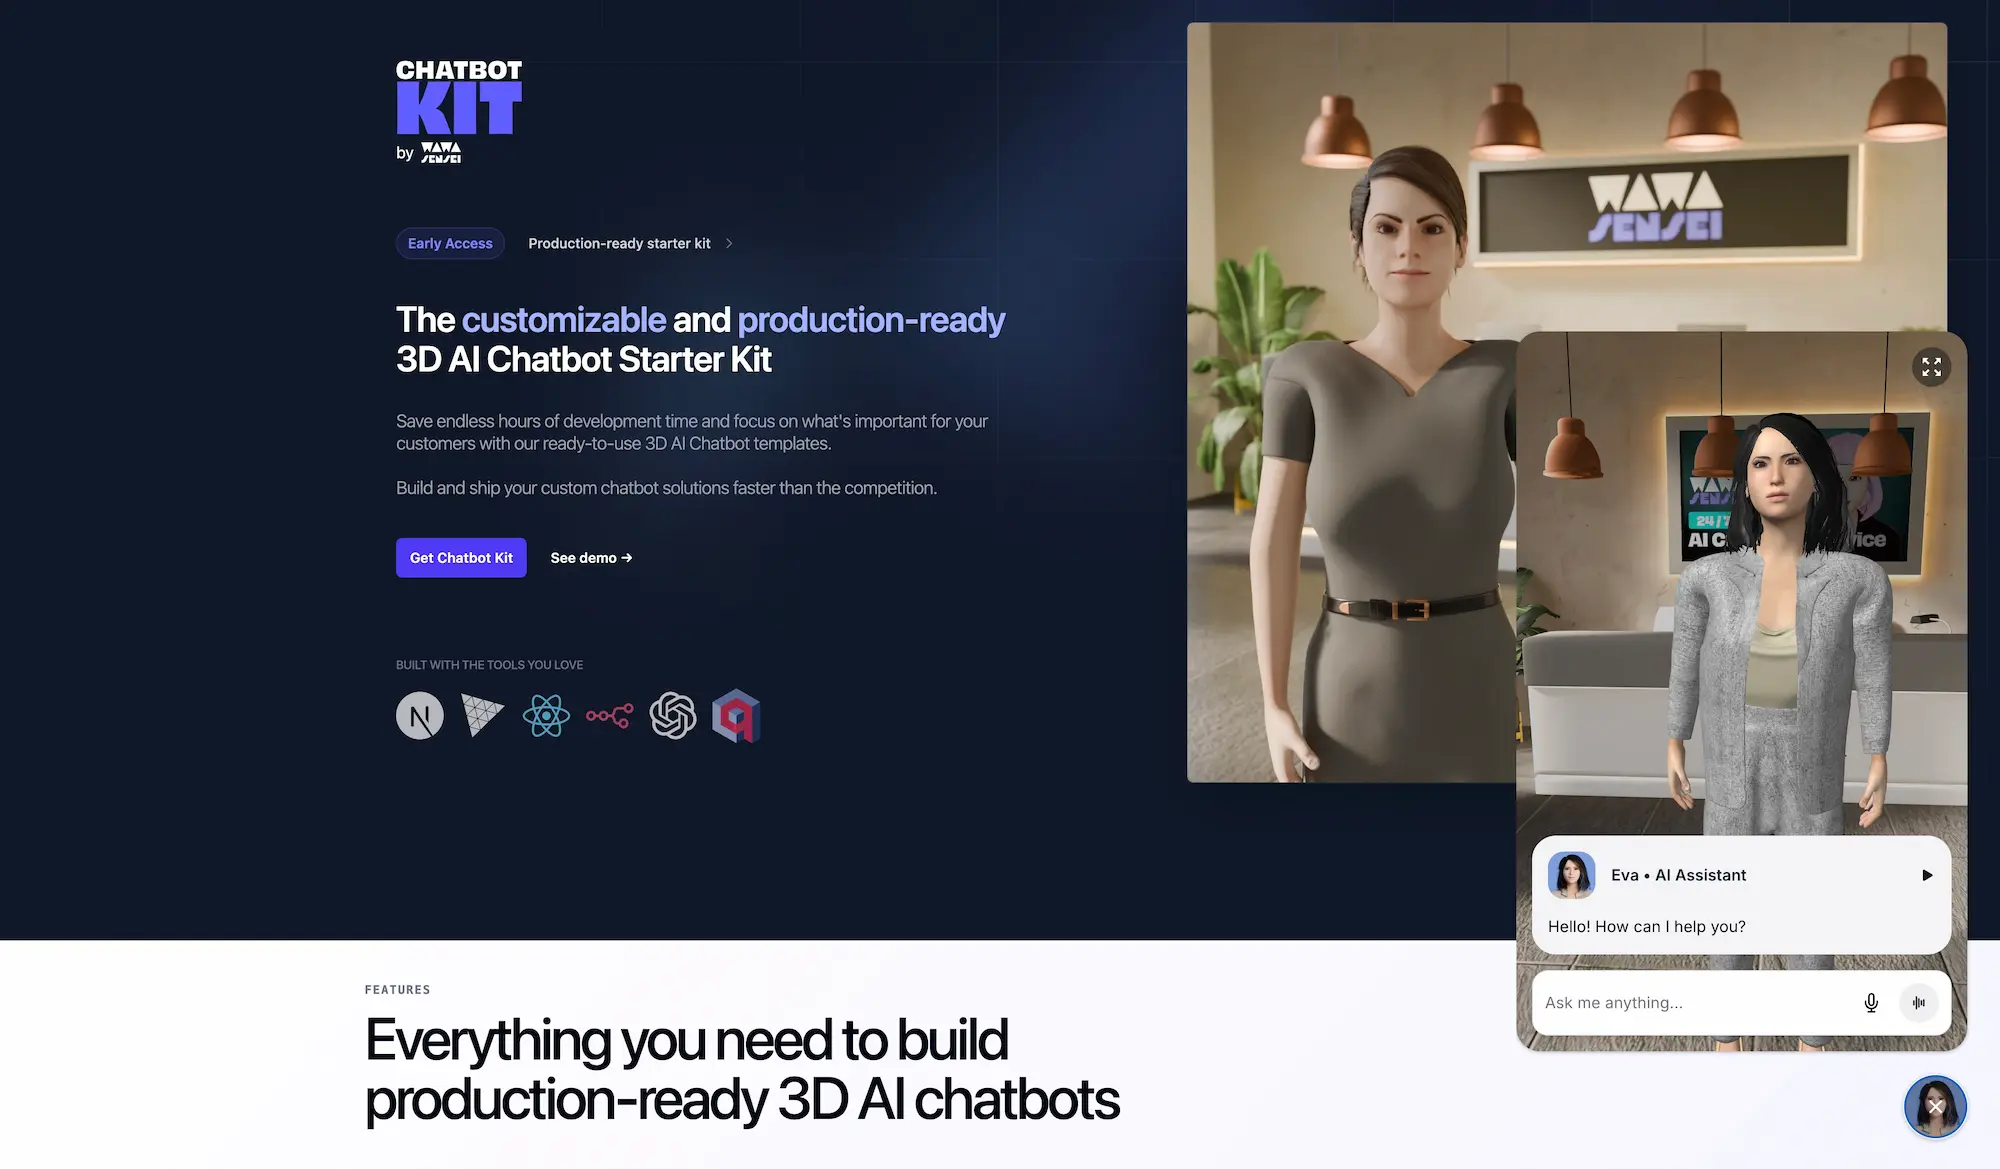
Once clicked, the full chatbot interface expands, allowing users to interact with the 3D AI assistant.
Quick Start
Step 1: Include the SDK Script
Add the Chatbot Kit SDK script to your website by including it in your HTML:
<script src="https://your-chatbot-domain.com/js/chatbot-sdk.js" async></script>
Step 2: Initialize the Widget
Initialize the chatbot widget by calling the initChatbot function with your configuration:
<script> // Wait for the SDK to load, then initialize window.addEventListener("load", function () { if (window.initChatbot) { window.initChatbot({ baseUrl: "https://your-chatbot-domain.com", scenario: "customer-service", // Optional: specify different scenario than customer-service }); } }); </script>
Complete Example
Here's a complete HTML page with the chatbot widget embedded:
<!DOCTYPE html> <html lang="en"> <head> <meta charset="UTF-8" /> <meta name="viewport" content="width=device-width, initial-scale=1.0" /> <title>My Website with AI Chatbot</title> </head> <body> <h1>Welcome to My Website</h1> <p> This is my website content. Click the button below to open the AI chatbot! </p> <button onclick="openChatbot()">Chat with AI Assistant</button> <!-- Chatbot SDK --> <script src="https://your-chatbot-domain.com/js/chatbot-sdk.js" async ></script> <script> function openChatbot() { if (window.initChatbot) { window.initChatbot({ baseUrl: "https://your-chatbot-domain.com", scenario: "customer-service", }); } } </script> </body> </html>
Understanding Scenarios and Implementation
Current Implementation
The widget currently serves the implementation located in the customer-service directory by default. This includes:
- The 3D scene and avatar
- Customer service-specific AI prompts and responses
- UI components and styling
- Conversation flow logic
Switching Between AI Scenarios
You can change the AI behavior and conversation context by specifying different scenarios:
// Customer service scenario (default) window.initChatbot({ baseUrl: "https://your-chatbot-domain.com", scenario: "customer-service", }); // Wellness coaching scenario window.initChatbot({ baseUrl: "https://your-chatbot-domain.com", scenario: "wellness", });
Note: Changing the
scenarioparameter switches the AI's behavior, prompts, and conversation style, but continues to use the same 3D scene and UI from thecustomer-serviceimplementation.See the Custom Scenarios documentation for detailed instructions on creating new implementations.
Example Configurations
Basic Customer Service Bot
window.initChatbot({ baseUrl: "https://mychatbot.example.com", scenario: "customer-service", });
Platform-Specific Integration
WordPress
- Using a Plugin: Install a "Header and Footer Scripts" plugin
- Add to functions.php: Add the script through your theme's functions.php file
- Custom HTML Block: Use WordPress's Custom HTML block in the editor
// Add to your theme's functions.php function add_chatbot_sdk() { ?> <script src="https://your-chatbot-domain.com/js/chatbot-sdk.js" async></script> <script> window.addEventListener('load', function() { if (window.initChatbot) { window.initChatbot({ baseUrl: "https://your-chatbot-domain.com", scenario: "customer-service" }); } }); </script> <?php } add_action('wp_head', 'add_chatbot_sdk');
Webflow
- Go to your Webflow project settings
- Navigate to the Custom Code tab
- Paste the SDK script in the Head Code section:
<script src="https://your-chatbot-domain.com/js/chatbot-sdk.js" async></script>
- Add the initialization script to the Footer Code section:
<script> window.addEventListener("load", function () { if (window.initChatbot) { window.initChatbot({ baseUrl: "https://your-chatbot-domain.com", scenario: "customer-service", }); } }); </script>
Shopify
- Go to Online Store > Themes
- Click Actions > Edit code
- Open
theme.liquidfile - Add the script before the closing
</head>tag:
<script src="https://your-chatbot-domain.com/js/chatbot-sdk.js" async></script> <script> window.addEventListener("load", function () { if (window.initChatbot) { window.initChatbot({ baseUrl: "https://your-chatbot-domain.com", scenario: "customer-service", }); } }); </script>
React/Next.js Applications
or React applications, you can use the Script component from Next.js with proper lifecycle management to handle React StrictMode and component mounting/unmounting:
import Script from "next/script"; import { useRef, useCallback, useEffect } from "react"; const MyPage = () => { const chatbotRef = useRef(null); const scriptLoadedRef = useRef(false); const mountedRef = useRef(false); const initializeChatbot = useCallback(() => { // Only initialize if all conditions are met if (scriptLoadedRef.current && mountedRef.current && !chatbotRef.current) { chatbotRef.current = window.initChatbot({ baseUrl: "https://your-chatbot-domain.com", scenario: "customer-service", }); } }, []); const onChatBotLoaded = useCallback(() => { scriptLoadedRef.current = true; initializeChatbot(); }, [initializeChatbot]); useEffect(() => { mountedRef.current = true; // Initialize if script was already loaded (e.g., from cache) if ( typeof window !== "undefined" && window.initChatbot && !chatbotRef.current ) { scriptLoadedRef.current = true; initializeChatbot(); } return () => { mountedRef.current = false; // Cleanup chatbot on unmount if (chatbotRef.current) { chatbotRef.current.unmount(); chatbotRef.current = null; } }; }, [initializeChatbot]); return ( <main> <h1>My React App</h1> <p>Content goes here...</p> <Script src="https://your-chatbot-domain.com/js/chatbot-sdk.js" onLoad={onChatBotLoaded} strategy="afterInteractive" /> </main> ); };
For better reusability across multiple components, create a custom hook:
// hooks/useChatbot.js import { useRef, useCallback, useEffect } from "react"; export const useChatbot = (config) => { const chatbotRef = useRef(null); const scriptLoadedRef = useRef(false); const mountedRef = useRef(false); const initializeChatbot = useCallback(() => { if (scriptLoadedRef.current && mountedRef.current && !chatbotRef.current) { chatbotRef.current = window.initChatbot(config); } }, [config]); const onScriptLoad = useCallback(() => { scriptLoadedRef.current = true; initializeChatbot(); }, [initializeChatbot]); useEffect(() => { mountedRef.current = true; if ( typeof window !== "undefined" && window.initChatbot && !chatbotRef.current ) { scriptLoadedRef.current = true; initializeChatbot(); } return () => { mountedRef.current = false; if (chatbotRef.current) { chatbotRef.current.unmount(); chatbotRef.current = null; } }; }, [initializeChatbot]); return { onScriptLoad, chatbotInstance: chatbotRef.current, }; }; // Usage in component import Script from "next/script"; import { useChatbot } from "@/hooks/useChatbot"; const MyPage = () => { const { onScriptLoad } = useChatbot({ baseUrl: "https://your-chatbot-domain.com", scenario: "customer-service", }); return ( <main> <h1>My React App</h1> <Script src="https://your-chatbot-domain.com/js/chatbot-sdk.js" onLoad={onScriptLoad} strategy="afterInteractive" /> </main> ); };
Advanced Usage
Conditional Loading
You can conditionally load the chatbot based on user behavior or page conditions:
// Only load chatbot on specific pages if (window.location.pathname.includes("/support")) { window.initChatbot({ baseUrl: "https://your-chatbot-domain.com", scenario: "customer-service", }); } // Load chatbot after user spends certain time on page setTimeout(() => { window.initChatbot({ baseUrl: "https://your-chatbot-domain.com", }); }, 30000); // 30 seconds
Multiple Scenarios
You can initialize different chatbot scenarios based on the current page or user context:
function initPageSpecificBot() { const currentPage = window.location.pathname; let scenario = "customer-service"; // default if (currentPage.includes("/health") || currentPage.includes("/wellness")) { scenario = "wellness"; } else if ( currentPage.includes("/education") || currentPage.includes("/learning") ) { scenario = "education"; } window.initChatbot({ baseUrl: "https://your-chatbot-domain.com", scenario: scenario, }); }