wawa-vfx: Open-Source VFX + Particle System for React Three Fiber Projects

Wawa Sensei
15 abr 2025
Add visual effects, particles, and trails to your 3D web apps with ease with wawa-vfx engine.
wawa-vfx is a lightweight, composable, and performance-focused visual effects engine tailored for React Three Fiber. Ideal if you're building a game, a product configurator, or an interactive 3D website, this library helps you adding GPU-accelerated particles, bursts, and trails with minimal effort.
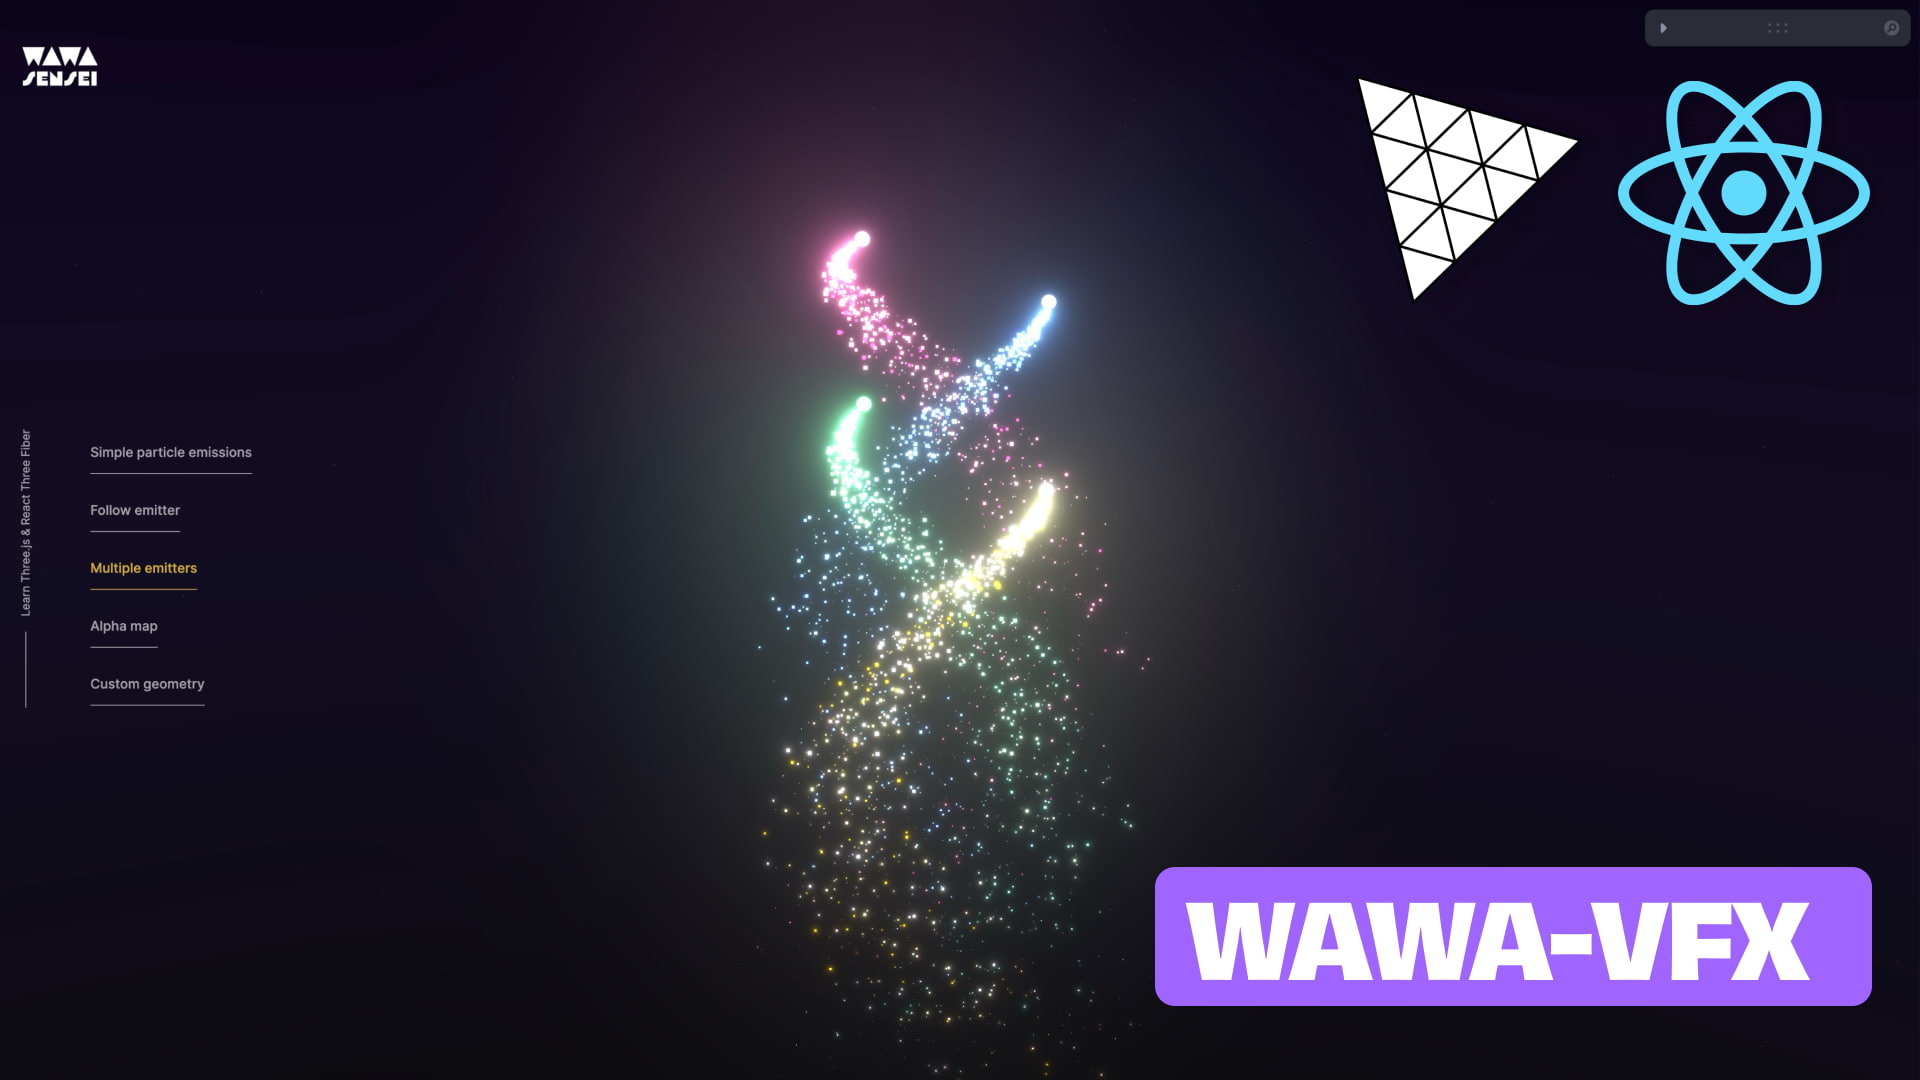
Preview of the wawa-vfx engine in action!
💡 Why wawa-vfx Exists
Through multiple projects, I found myself needing a simple yet powerful VFX engine that could easily integrate with Three.js and React Three Fiber. I wanted to create stunning visual effects without the complexity of traditional game engines or the steep learning curve of shader programming.
I often found myself re-inventing the wheel, creating custom shaders and effects from scratch. This was time-consuming and inefficient, while the code was often very similar across projects. I wanted to focus on building experiences rather than getting bogged down in the technical details of VFX.
During my course development, I realized there was a real need for a modular, React-friendly VFX system that doesn't rely on bulky engines or require advanced shader knowledge. So I built wawa-vfx to teach core VFX concepts while keeping it practical, performant, and production-ready.
This is the VFX engine we build together in this lesson from my course: React Three Fiber: The Ultimate Guide to 3D Web Development.
Then, I dedicated two lessons to learn how to leverage the engine to create lovely vfx.
The first one is the Fireworks lesson 🎇 where we create a landing page allowing us to trigger different types of fireworks.
Preview of the Fireworks lesson or follow this link to try it out yourself!
The second one is the Wizard Game in which we create a game where you can shoot different spells (Fire, Ice, Void) to fight orcs. 🧙
Preview of the Wizard Game lesson or follow this link to try it out yourself!
⚡ Features
Here is what the wawa-vfx engine offers:
-
💻 Built for React Three Fiber (R3F-first design)
-
✨ Declarative effects like particles, bursts, and trails
-
⚙️ GPU-powered and optimized for real-time rendering
-
🧱 Custom geometries
-
🎓 Fully explained in my course for complete understanding
-
🤝 Open to contributions and community-driven improvements
📦 Installation
npm install wawa-vfx
or
yarn add wawa-vfx
Usage
To use the wawa-vfx engine, you need to use the two main components: VFXParticles and VFXEmitter.
-
VFXParticles: Defines the particle system and its rendering properties -
VFXEmitter: Controls where, when and how particles are emitted into the scene
Basic Example
import { VFXEmitter, VFXParticles } from "wawa-vfx"; const MyEffect = () => { return ( <> {/* Step 1: Define your particle system */} <VFXParticles name="particles" // A unique identifier for this particle system settings={{ nbParticles: 100000, // Maximum number of particles to allocate gravity: [0, -9.8, 0], // Apply gravity (x, y, z) fadeSize: [0, 0], // Size fade in/out settings fadeOpacity: [0, 0], // Opacity fade in/out settings renderMode: "billboard", // "billboard" or "mesh" intensity: 3, // Brightness multiplier }} ></VFXParticles> {/* Step 2: Define your emitter */} <VFXEmitter debug // Show debug visualization emitter="particles" // Target the particle system by name settings={{ loop: true, // Continuously emit particles (only if `spawnMode` is 'time') duration: 1, // Emission cycle duration in seconds nbParticles: 100, // Number of particles to emit per cycle spawnMode: "time", // Emission mode: 'time' or 'burst' delay: 0, // Time delay before starting emission // Particle lifetime range [min, max] particlesLifetime: [0.1, 1], // Position range (min/max) startPositionMin: [-0.1, -0.1, -0.1], startPositionMax: [0.1, 0.1, 0.1], // Rotation range (min/max) startRotationMin: [0, 0, 0], startRotationMax: [0, 0, 0], // Rotation speed range (min/max) rotationSpeedMin: [0, 0, 0], rotationSpeedMax: [0, 0, 0], // Direction range (min/max) directionMin: [-1, 0, -1], directionMax: [1, 1, 1], // Particle size range [min, max] size: [0.01, 0.25], // Particle speed range [min, max] speed: [1, 12], // Color at start - an array of strings for random selection colorStart: ["white", "skyblue"], // Color at end - an array of strings for random selection colorEnd: ["white", "pink"], }} ></VFXEmitter> </> ); };
Explore the source code of the examples you can find on the demo page of the VFXEngine to see how to use the engine in different scenarios.
🚀 Open for Contributions
The project is open-source and community-driven!
Feel free to check out the repo, submit issues, contribute ideas, or open pull requests.